
The canvas
How the Buni.ai canvas works - nodes, handles, connections, state, the node palette, sticky notes, frames and comments.
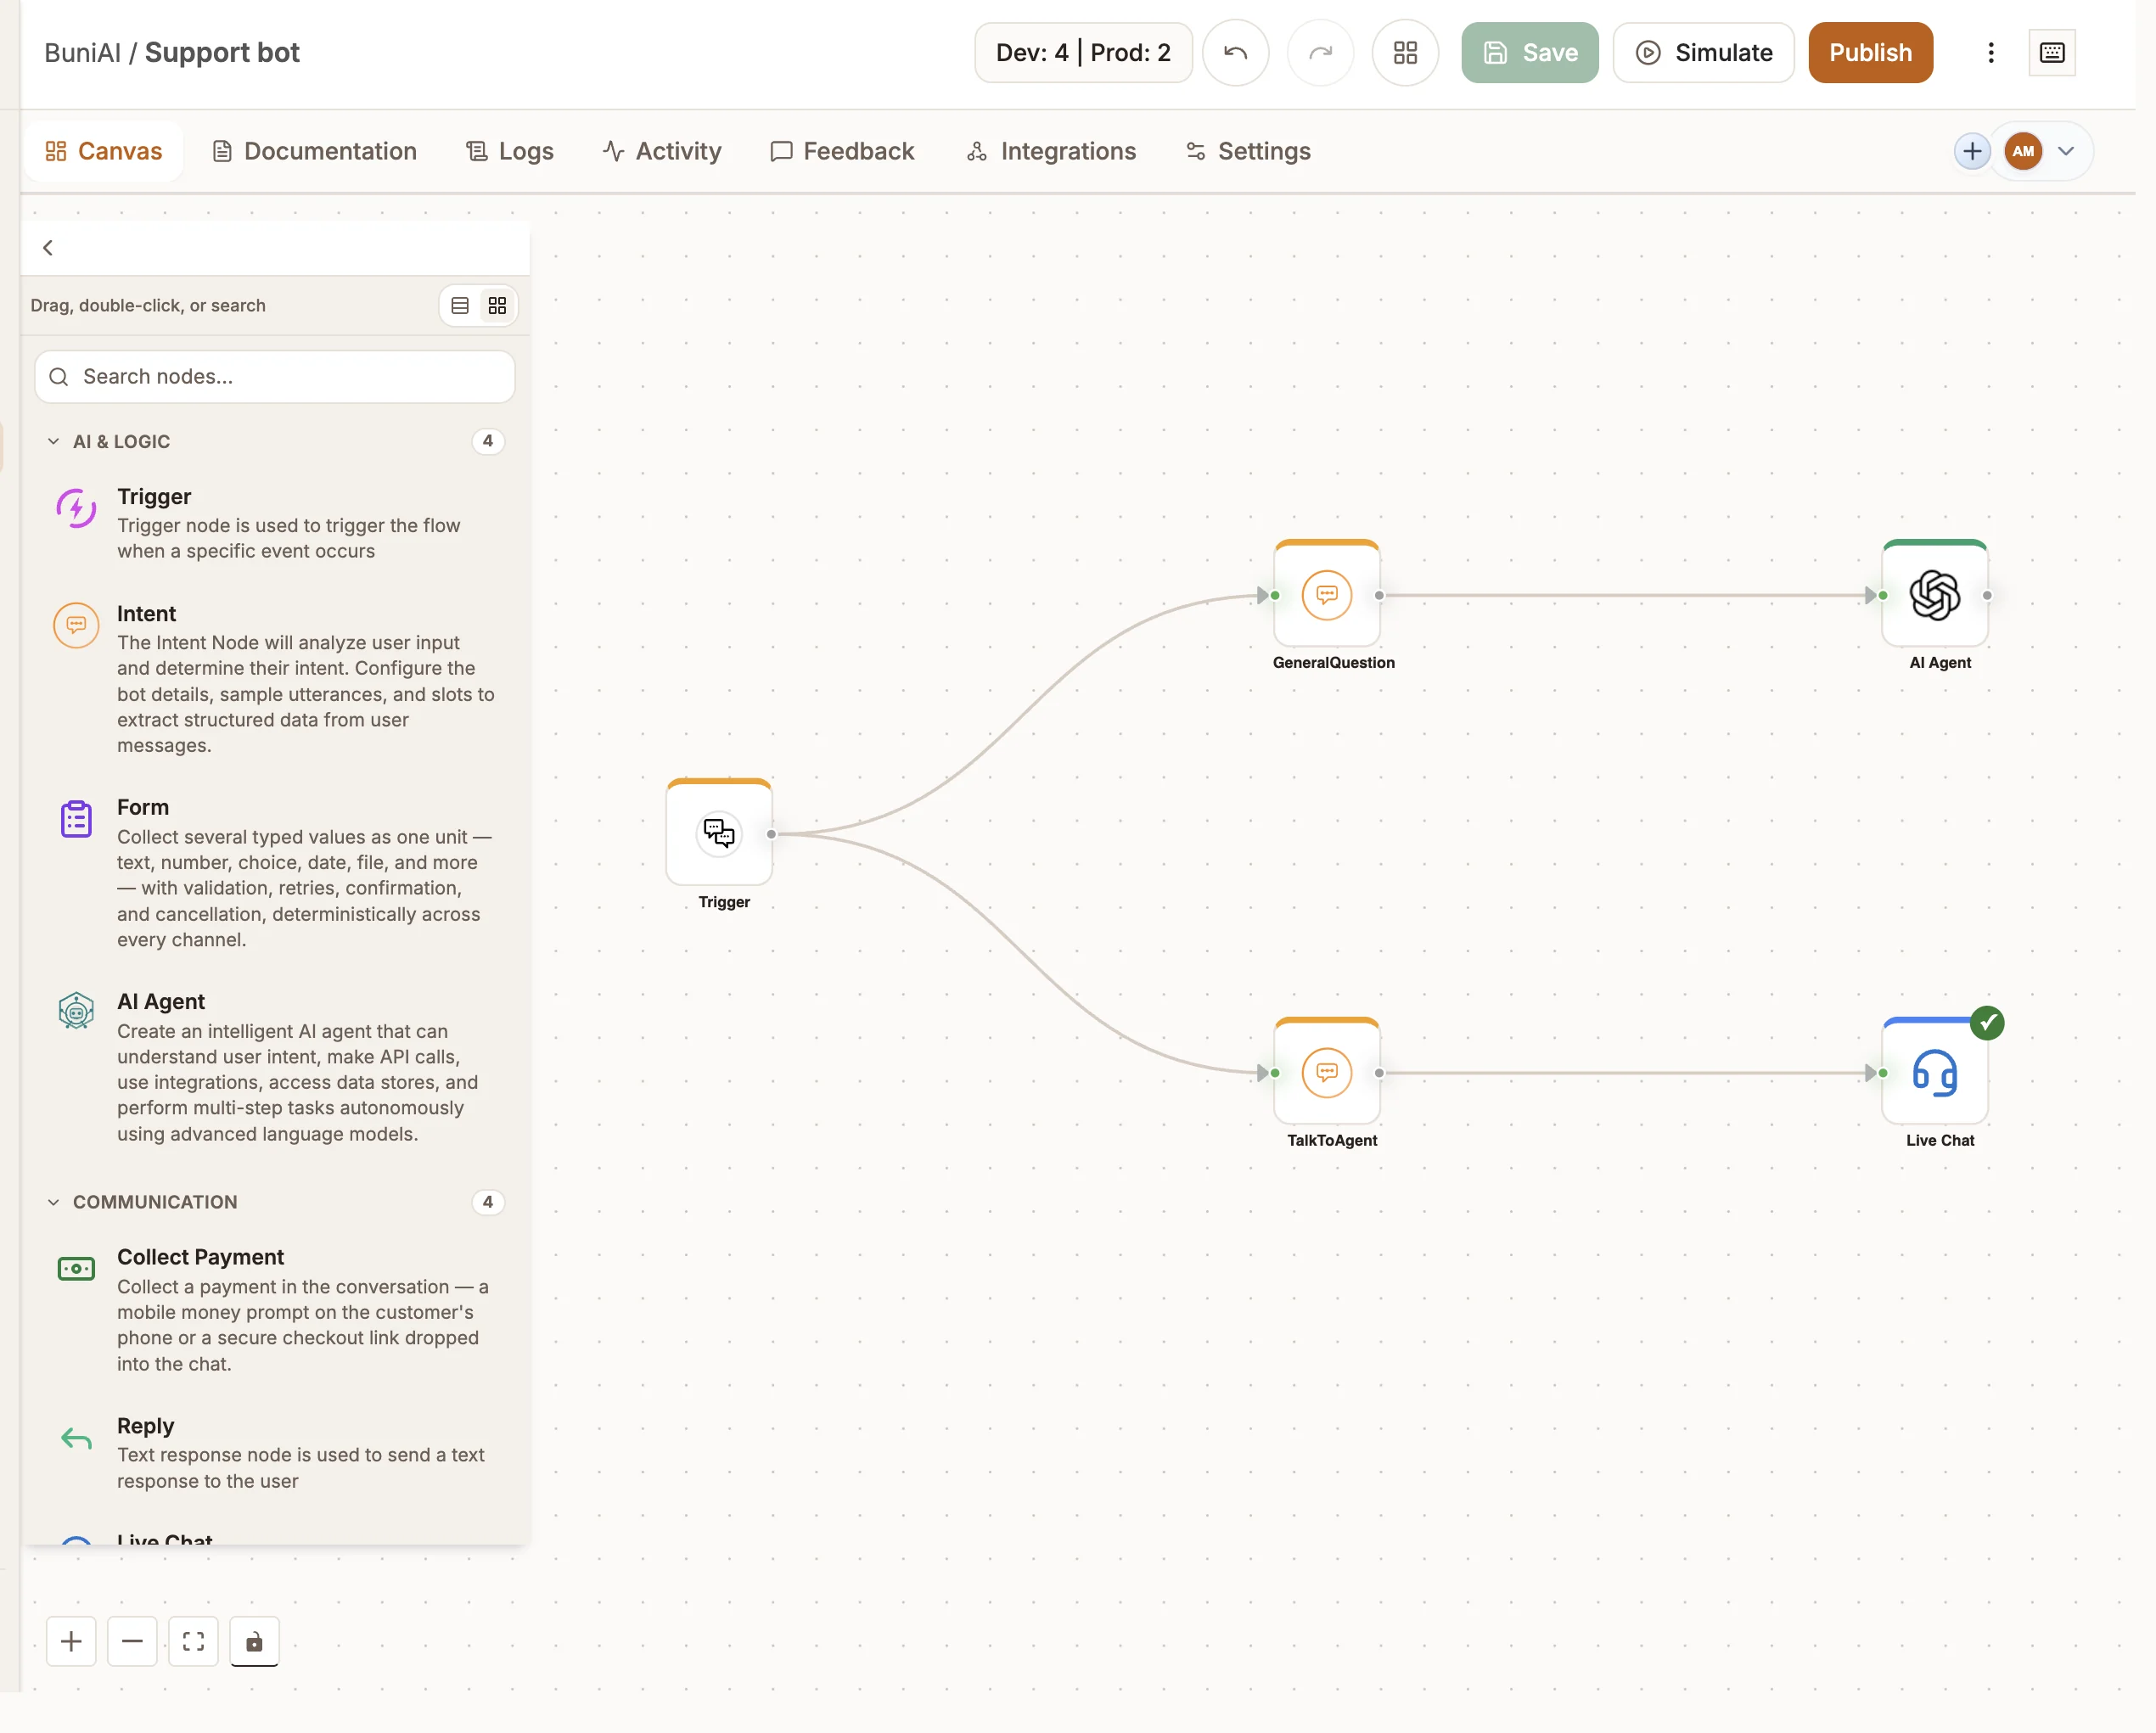
Every Buni.ai project is built on the same visual canvas. You place nodes, join them with connections, and the flow runs from node to node each time a user dials, messages, calls or triggers your project. USSD apps, chatbots, voice lines and automations all use it; what changes between them is which nodes the palette offers.
The building blocks
| Part | What it is |
|---|---|
| Node | One step in the flow: show a menu, send a reply, call an API, branch on a condition. Double-click a node to open its settings. |
| Handle | The small dot on a node's edge. The input handle receives the flow; output handles send it on. Nodes that can go more than one way have one labelled output handle per path. |
| Connection | A line from an output handle to the next node's input handle. It decides what runs next and passes the previous node's result along as input. |
| State | The variables a run carries from node to node, such as state.phone or state.balance. Any node can read them. |
Read more in Connections and Variables and templating.
How a run moves through the canvas
- A run starts at the entry point for your project type: the Main menu for USSD, the Trigger node for a chatbot (followed by Intent nodes), Incoming Call or Outbound Call for voice, and one or more triggers for an automation.
- Each node does its work, optionally saves its result to state under its Output variable name, and hands the flow to the node its output handle is connected to.
- Branching nodes such as Router pick one output handle; the others are skipped.
- The run ends when it reaches a node with nothing connected after it, or a node that ends the session, such as a USSD Last menu or End Call.
State lasts for one session: one USSD dial, one chat conversation, one call, or one automation run.
The node palette
Open the palette with Show Nodes Library on the left of the canvas. Drag a node onto the canvas or double-click it to add it. Search at the top filters by name and description, and you can switch between a compact and an expanded view.
In the expanded view, nodes are grouped into categories:
| Category | Examples |
|---|---|
| Triggers | Schedule, Webhook, Manual, Form and app triggers (automation projects) |
| AI & Logic | AI Agent, Trigger, Intent, Form, AI Voice Agent |
| Communication | Messaging, Reply, Live Chat, Collect Payment, Queue, Transfer |
| Integration | API, Integration, Respond Webhook |
| Data | Data Store, Contact, Remove Duplicates, Resolve |
| Logic | Router, Function, Set Fields, Filter, Date & Time, Wait, Error, Loop, Parallel |
| User Interface | Menu, Play Message, Collect Input, End Call |
The palette only lists nodes your project type can run. You can also drag a connection from an output handle onto empty canvas to open Add Node and insert the next node in place.
Triggers
Conversation
Voice
AI
Logic
Data
Integrations
See the node reference for every node's settings.
Working with nodes
Right-click a node, or select it, to open its menu:
| Action | Shortcut (Mac / Windows) |
|---|---|
| Edit | ⌘E / Ctrl + E |
| Comment | C |
| Duplicate | ⌘D / Ctrl + D |
| Delete | Delete |
| Group N nodes (two or more selected) | ⌘G / Ctrl + G |
The same menu lets you give a node a colour or remove it from a group. Select several nodes with Shift + drag for an area, or ⌘ + click / Ctrl + click one at a time.
Sticky notes, frames and comments
Three tools help you explain a flow without changing how it runs.
Sticky notes are free-form notes on the canvas. Press Shift + N, then click where the note should go. Double-click a note to write in it, and pick a colour from its toolbar. Notes are saved with the flow and its versions.
Frames group related nodes under a label. Select two or more nodes and press ⌘G / Ctrl + G. Double-click the frame's label to rename it; Group options lets you change its colour or Ungroup. Collapse a frame to hide its nodes while you work on something else. A frame follows its nodes when you move them.
Comments are threaded discussions pinned to the canvas. Press C to toggle comment mode, click where the comment belongs, and type. Use @ to mention a teammate. Comments can be replied to, reacted to and resolved, and they are not part of the published flow.
Finding your way around
- ⌘F / Ctrl + F searches the nodes on the canvas and jumps to a match.
- Select a long connection and choose Make jump link to replace it with a pair of chips you can click to jump between its two ends. Restore edge turns it back into a line.
- ⌘Z / Ctrl + Z undoes and ⇧⌘Z / Ctrl + Shift + Z redoes, including changes Buni made.
- Press ? or select Open keyboard shortcuts to see every shortcut.
Changes save automatically as you work; Save forces a save straight away. Saving does not change what your users see until you publish.
Next steps
Version history
See every saved and published version of a project, compare a version with the current Draft node by node, annotate versions and roll back.
Build a flow
Plan a flow, place and connect nodes, store and reuse values, and test it, with the differences between USSD, chatbot, voice and automation projects.