
Menu
Show a numbered list on a USSD screen and wait for the caller to reply with a digit, or end the session with a final screen.
The Menu node shows a USSD screen: a message, usually followed by numbered options. The caller replies with a digit and the flow continues along the path for that choice. A menu can be the first screen of the flow, a screen in the middle, or the last screen, which ends the session.
When to use it
- Build the first screen of a USSD service and its submenus.
- Show a final confirmation such as "Thank you. You will receive an SMS shortly." and end the session.
- Let the caller pick from a list another node fetched, such as their accounts or recent orders.
- Ask for free input, such as an amount or a meter number, by showing a prompt with no options.
To branch on anything other than the caller's digit, follow the menu with a Router. Chatbot flows use Reply instead; voice flows use IVR Menu.
Settings
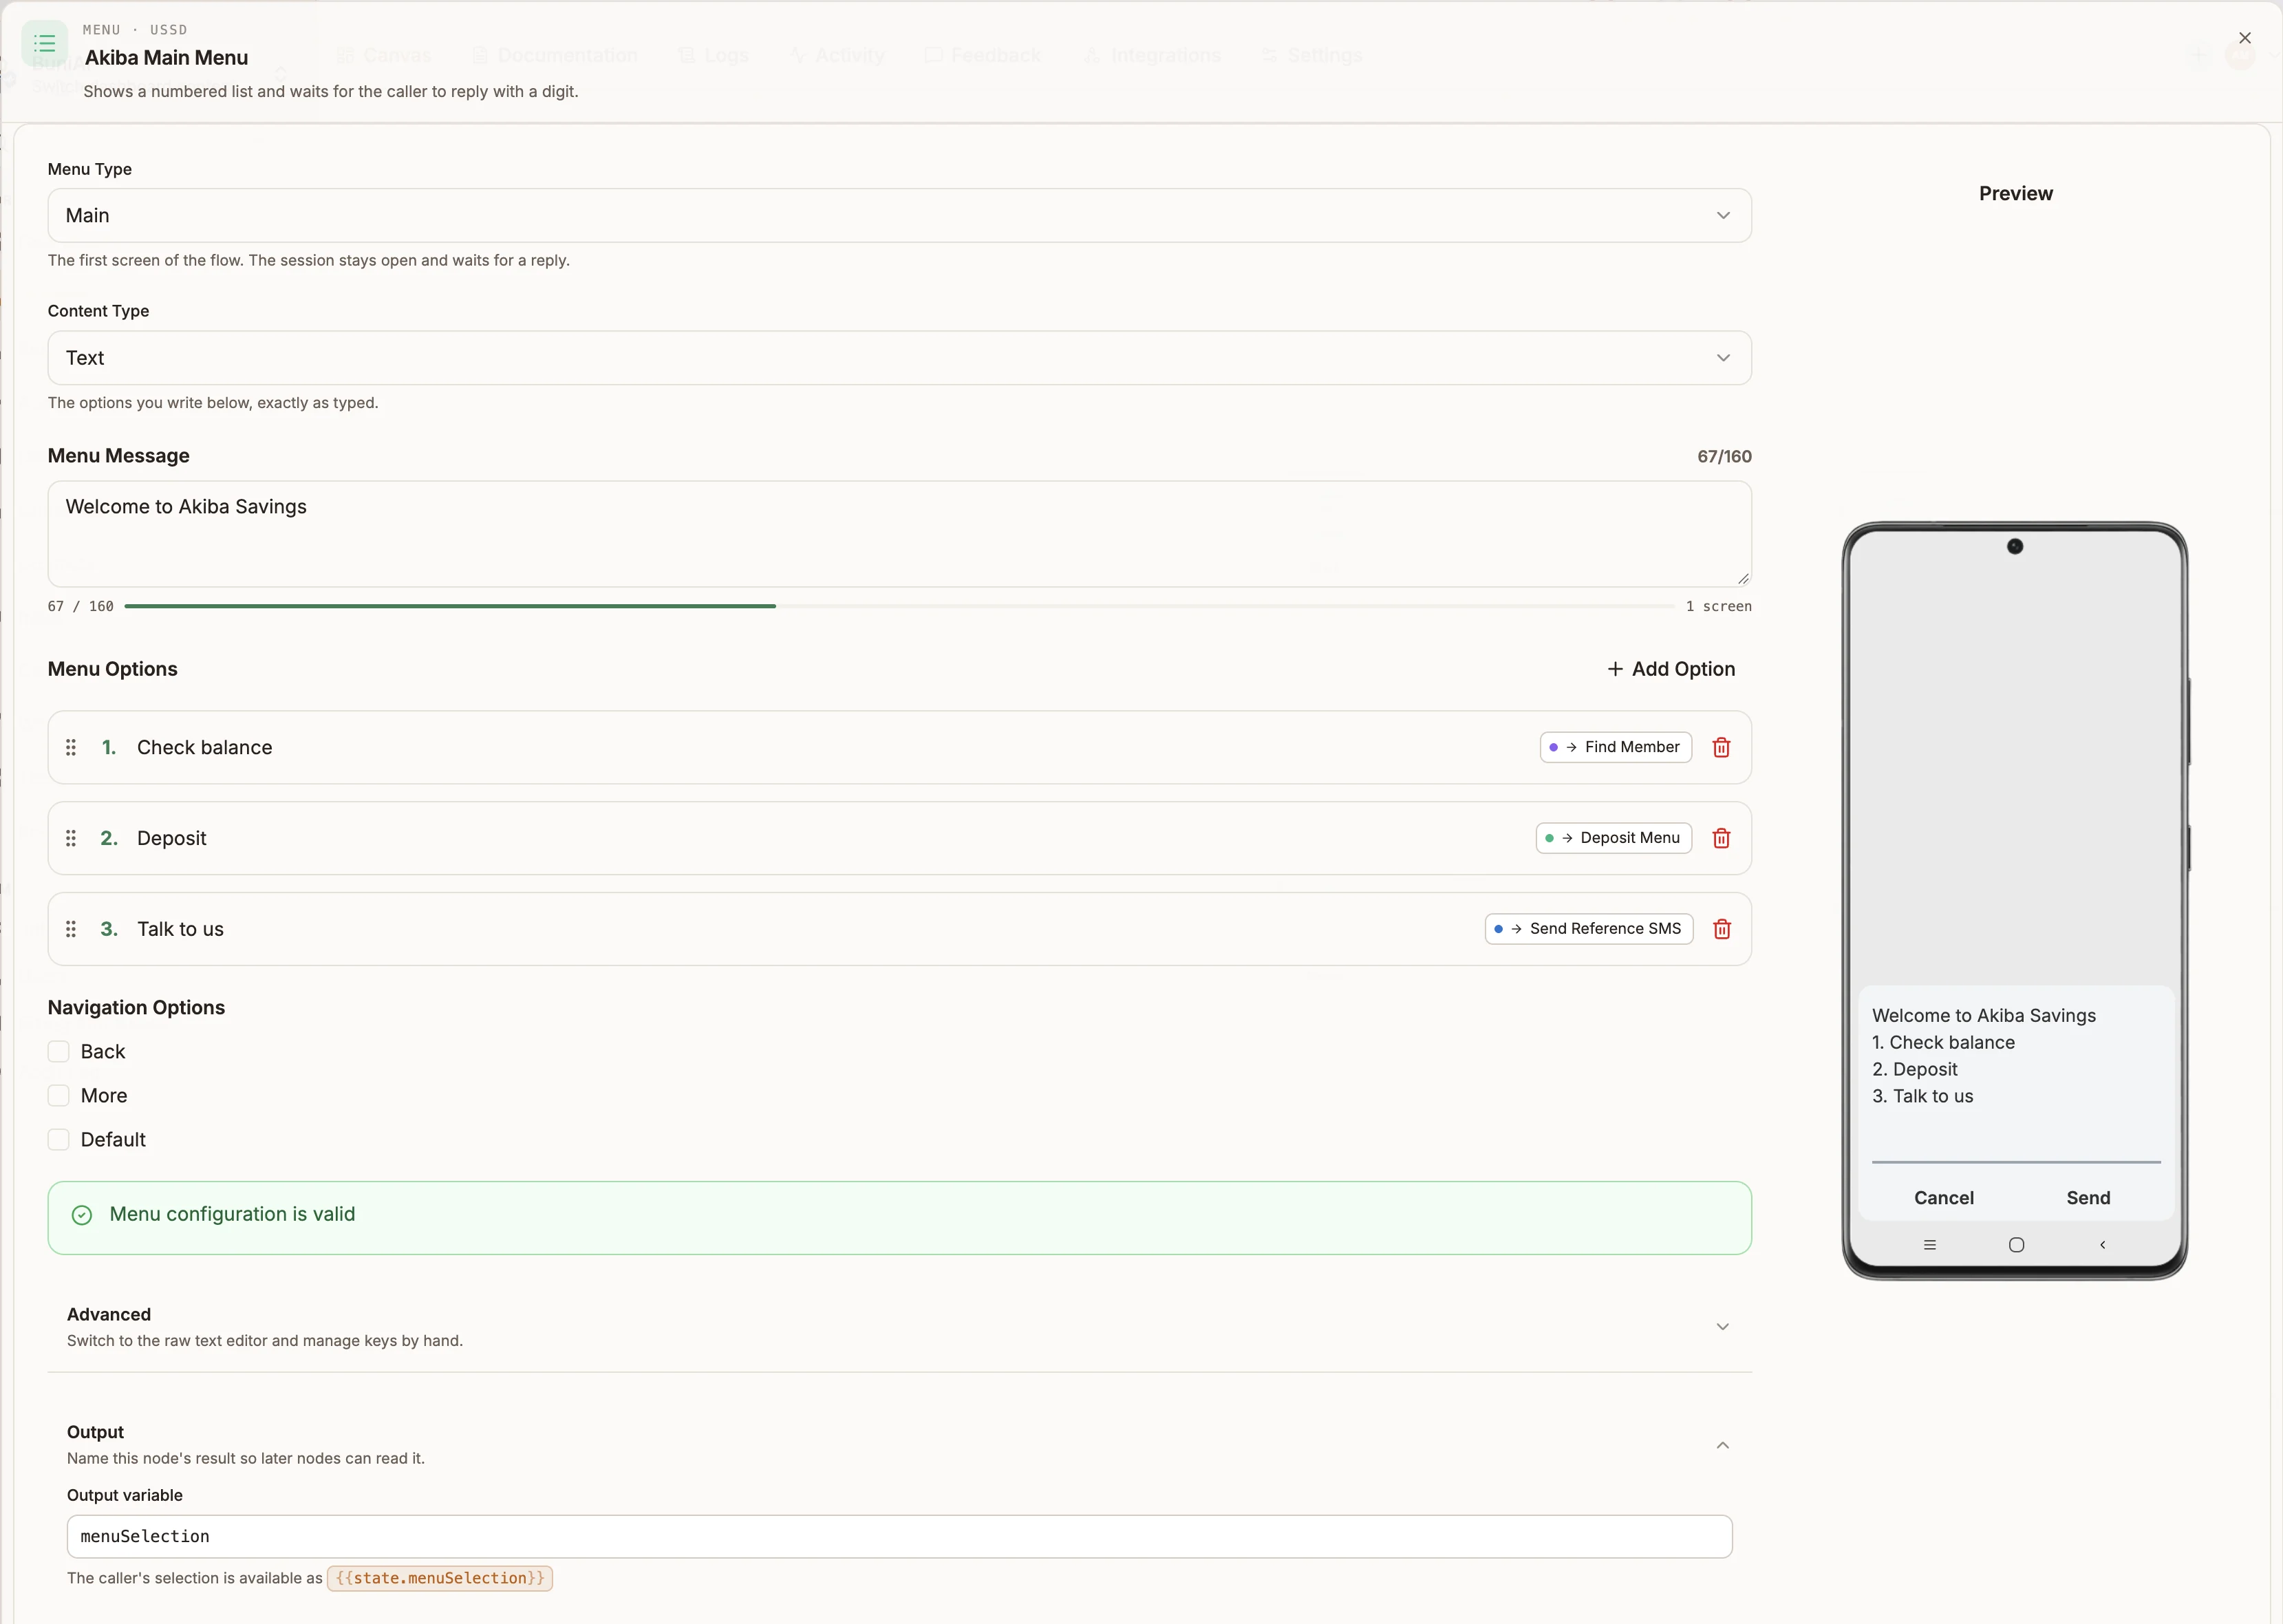
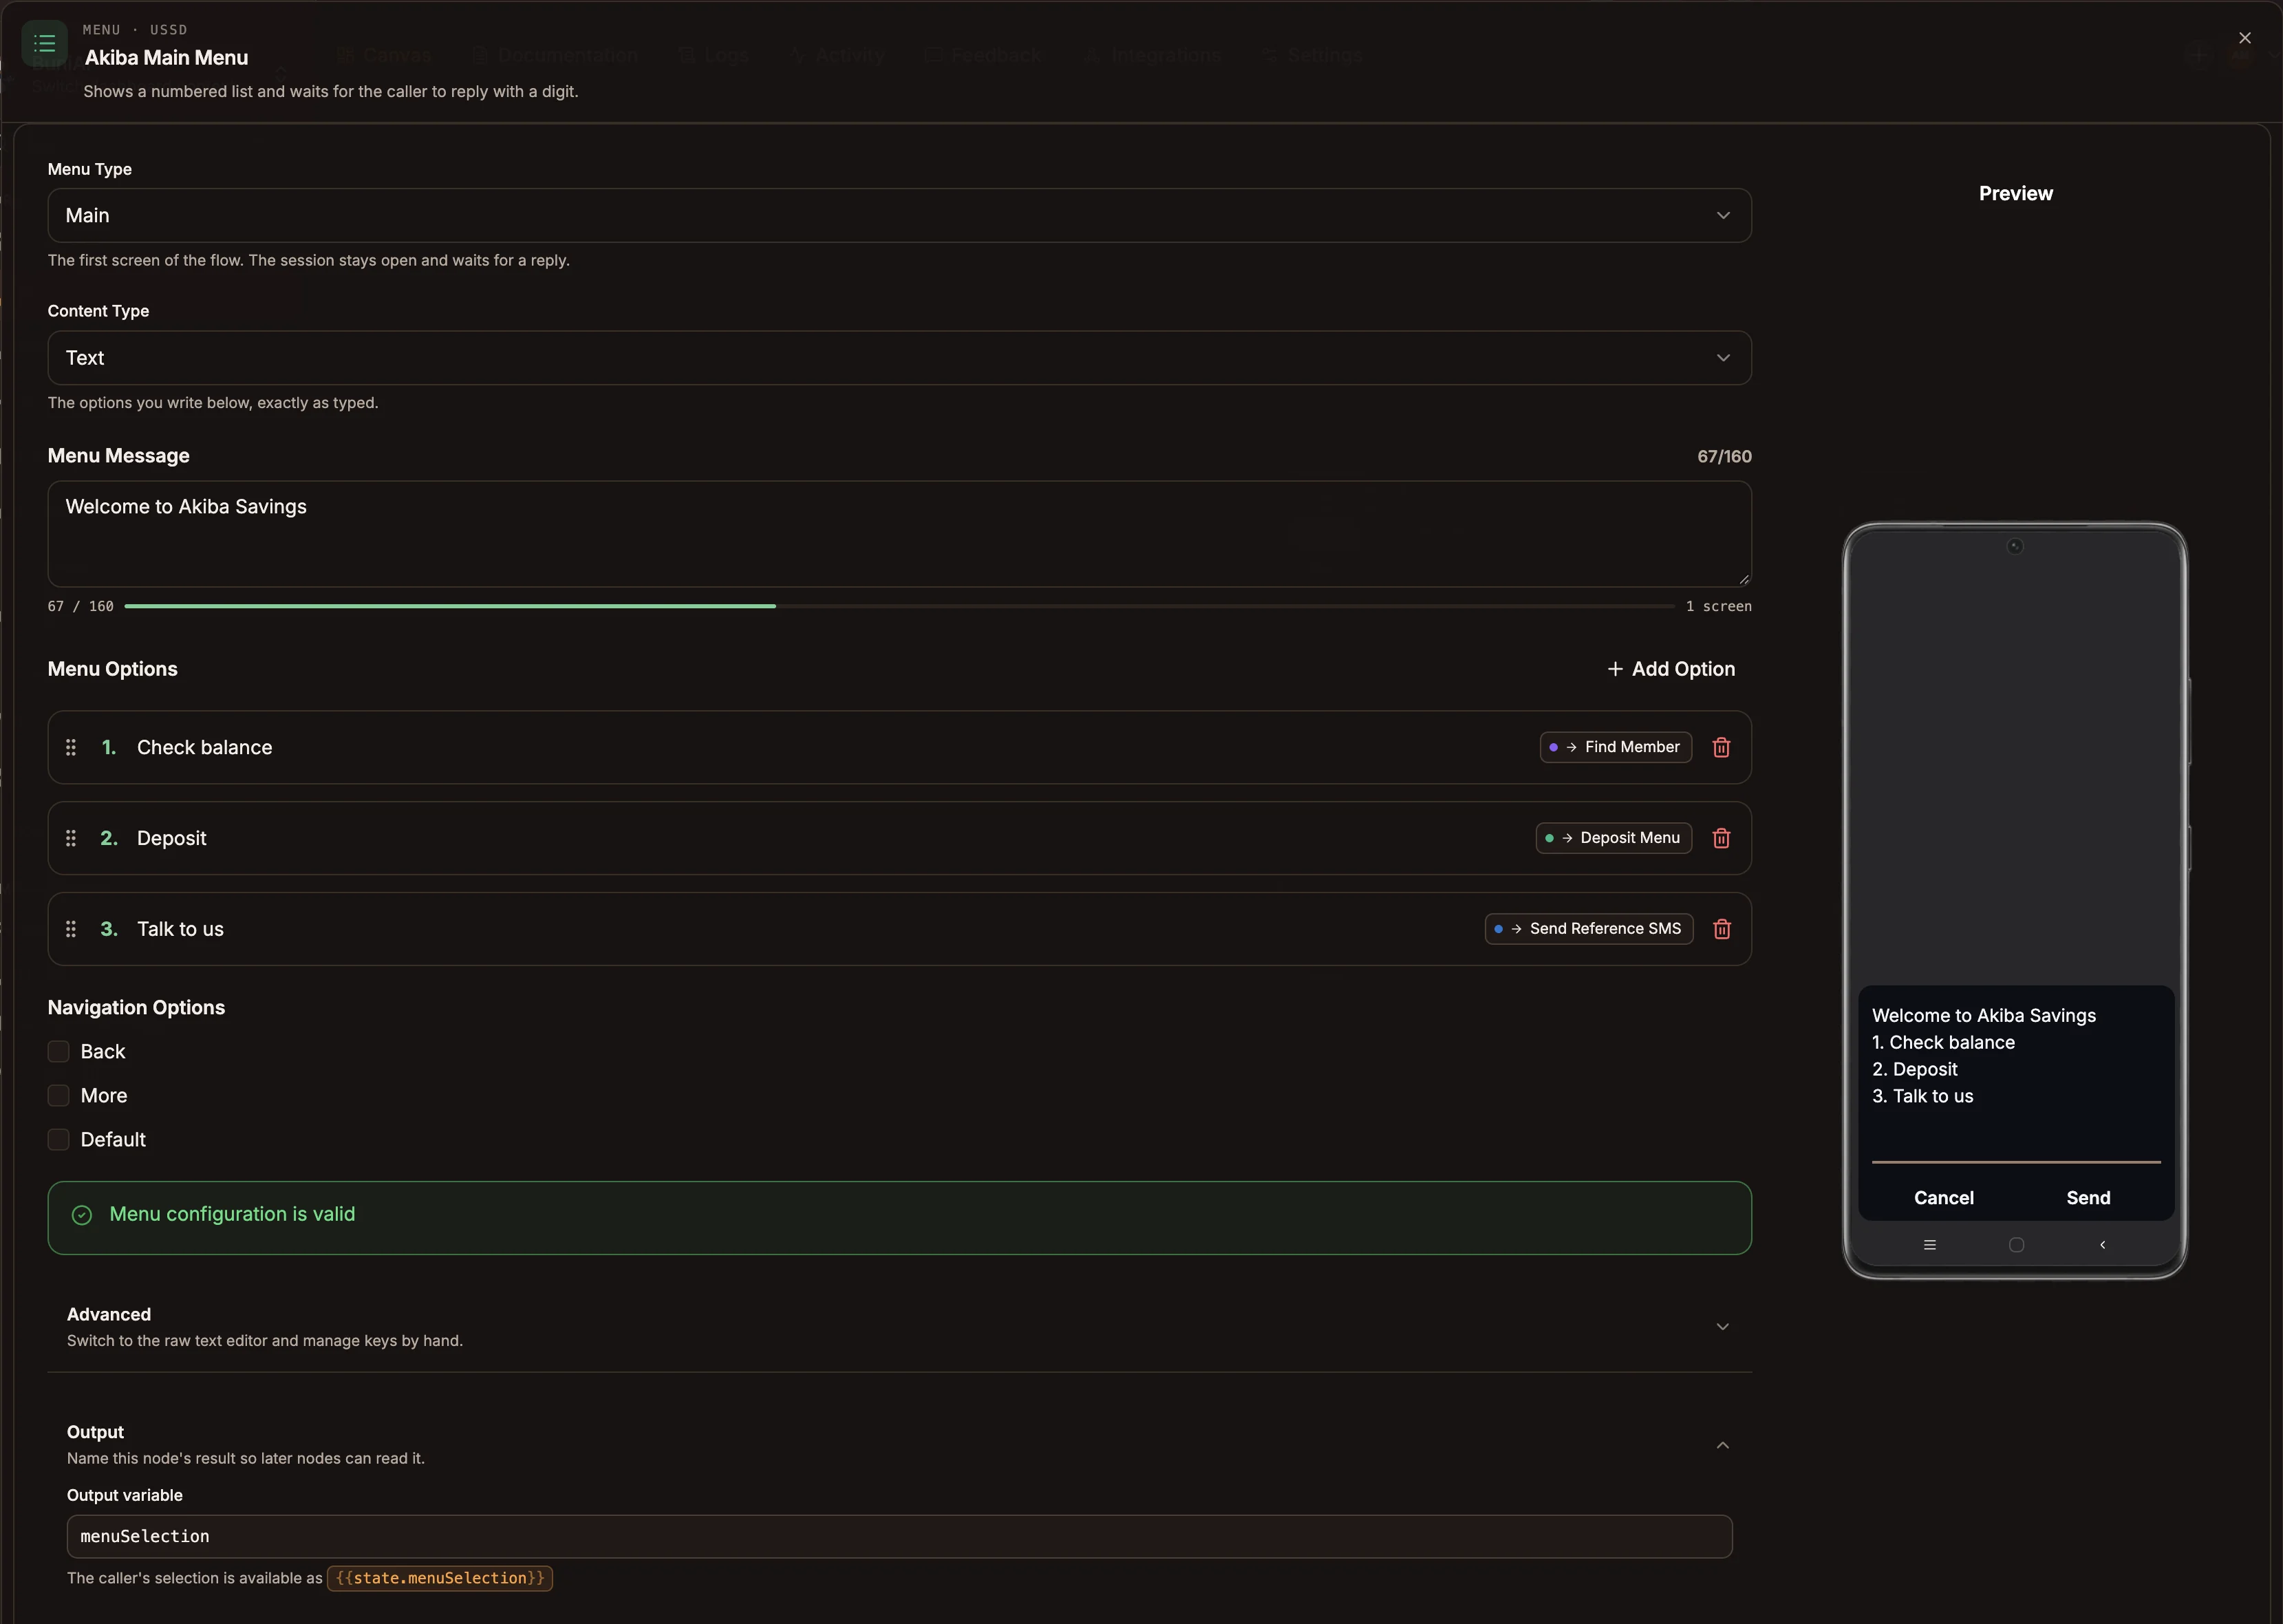
The panel shows your settings on the left and a phone Preview of the screen on the right. The footer counts the characters on the whole screen.
Prop
Type
Menu Options
Shown when Content Type is Text. Select Add Option to add a row. Keys are numbered 1, 2, 3 in order and renumber when you drag a row or remove one.
| Field | Description |
|---|---|
| Option label | The text after the number, for example Check balance. |
| Destination | The node this option leads to. Shows Not connected until you pick one. You can also draw the connection from the option's handle on the canvas. |
Navigation Options
Tick a navigation option to add it to the screen. Each has a Label and a connect button to choose its destination.
| Option | Default key | Default label | If not connected |
|---|---|---|---|
| Back | 0 | Back | Returns to the previous menu. |
| More | 9 | More | Shows this menu again. |
| Default | none | Default | Catches any reply that matches no option or navigation key. |
Advanced
Editor Mode switches between Structured (the message, options and navigation above) and Legacy, a single Menu Title (raw) box where you type the whole screen yourself, for example 1. Check balance on its own line. New Menu nodes start in Legacy. Switch to Structured to get one output handle per option.
Output
Output variable names the caller's reply so later nodes can read it, for example menuSelection makes it available as {{state.menuSelection}}. Use letters, numbers and underscores, and do not start with a number. Leave it empty if nothing downstream needs the reply.
Outputs
| Setup | Handles | What happens on reply |
|---|---|---|
| Structured editor | One per option, labelled like 1 · Check balance, plus one each for Back, More and Default when ticked | The path for the matching key runs. A reply that matches nothing is logged as invalid input and the menu is shown again. |
| Legacy editor | One | The next node runs and receives the caller's reply as its input. Route it with a Router. |
| Last menu | None | The session ends. |
The menu writes these to state:
| Variable | Value |
|---|---|
| Your Output variable | The caller's reply. For a dynamic list, the selected item. |
selectedOption, selectedOptionLabel | The key and label of the chosen option, when options have destinations. |
navigationAction | back, next or default when the caller used a navigation option. |
Example
A savings service starts with a Main menu:
Welcome to Akiba Savings

1. Check balance
2. Deposit
3. Talk to us| Option | Destination |
|---|---|
| 1 · Check balance | An API node that fetches the balance, then a Last menu: Your balance is GHS {{state.balance}}. |
| 2 · Deposit | An Intermediary menu with no options that asks Enter amount:, with Output variable amount |
| 3 · Talk to us | A Last menu: Call 0302 000 000, Monday to Friday, 8am to 5pm. |
Dynamic lists
To let the caller pick from a list, put an Intermediary menu straight after the node that returns the array, set Content Type to Dynamic object list and Display Value to the field to show, such as name. Include ${input} in Menu Message where the list should appear, for example Choose an account: followed by ${input} on the next line.
The list shows four items per screen, with n for the next page and p for the previous one. When the caller picks a number, the selected item goes to the next node as its input and into your Output variable.
Tips and limits
- Keep each screen short. The panel counts the whole screen (message, options and navigation) against 160 characters, turns the count red when you go over, and says how many screens the text would take.
- A menu with nothing after it ends the session. Any menu with no outgoing connection ends the session, just like a Last menu.
- Errors appear above the next menu. When an Error node sets a message, the next menu shows it above its own text, then clears it.
- Keep keys unique. The panel flags duplicate keys and navigation options without a key.
- USSD sessions are short. The network closes a session that waits too long, so keep menus shallow. See Menus and sessions.