Node reference
Every node you can place on the canvas, what it does, and which project types offer it.
A flow is a set of nodes joined by connections. Each node does one job: send a message, ask a question, call an API, branch on a condition, end a call. This section documents every node in the palette, field by field.
Which nodes you see depends on the project type. A USSD project offers Menu, a chatbot offers Reply and Live Chat, a voice project offers the call nodes, and a set of shared nodes (AI Agent, API, Router, Data Store and others) appears in most of them. The grid at the bottom of this page filters by project type.
Add a node
Open the Nodes Library
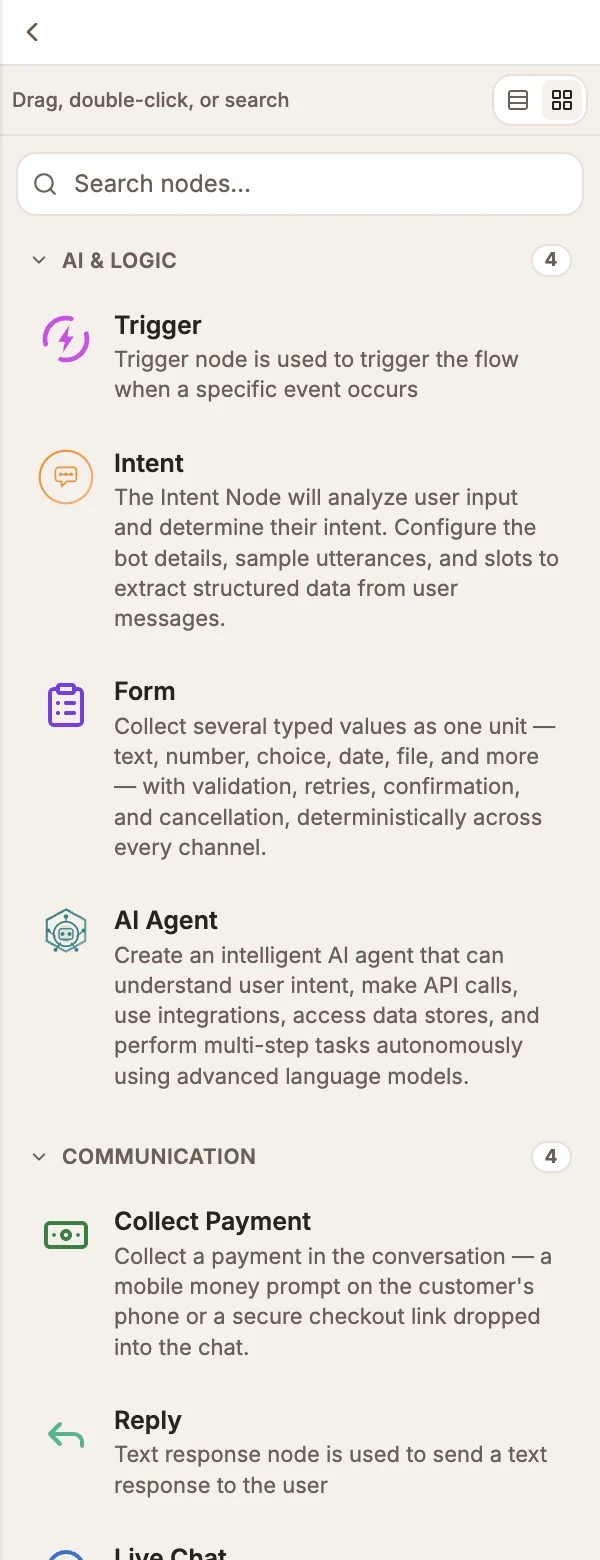
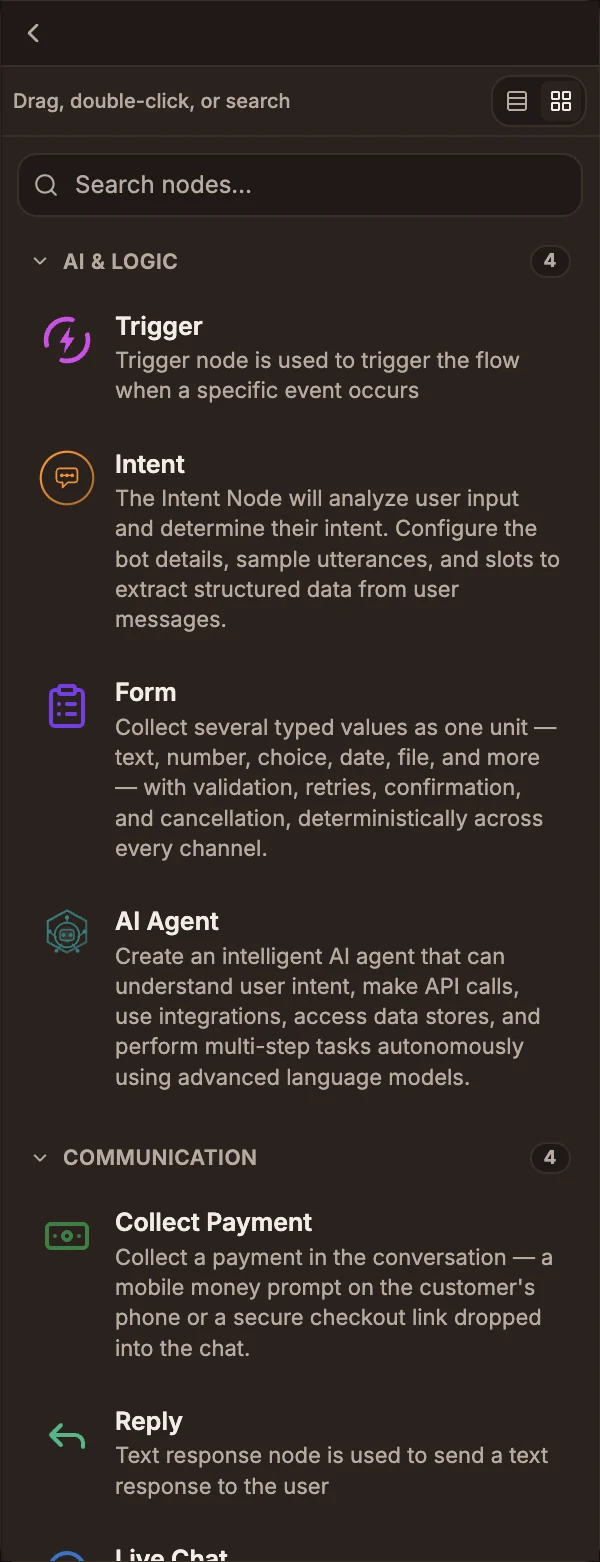
On the project canvas, the Nodes Library panel sits along the left edge, next to the app sidebar. If it is hidden, select the arrow button at the left edge (Show Nodes Library). The default Expanded view groups nodes by category and shows a one-line description under each; switch to Compact view for an icon-only rail that leaves more room for the canvas.
Find the node
Scroll the categories or type in Search nodes…. Hover a node to read its full description.
Place it
Drag the node onto the canvas, or double-click it to add it straight away.
Configure it
Double-click the node on the canvas (or right-click it and choose Edit) to open its settings panel. Each node page in this reference lists the fields in that panel.
You can also add a node from a connection: drag from an output handle and release on empty canvas. A node picker opens (Search nodes... (↑↓ to navigate, Enter to select)), and the node you pick is added already connected. Trigger nodes are not offered here, because they have no input.
Right-click a node for Edit, Comment, Duplicate (Ctrl + D, or ⌘D on a Mac) and Delete. See Building flows and the canvas cheat sheet for the rest of the canvas controls.
Anatomy of a node card
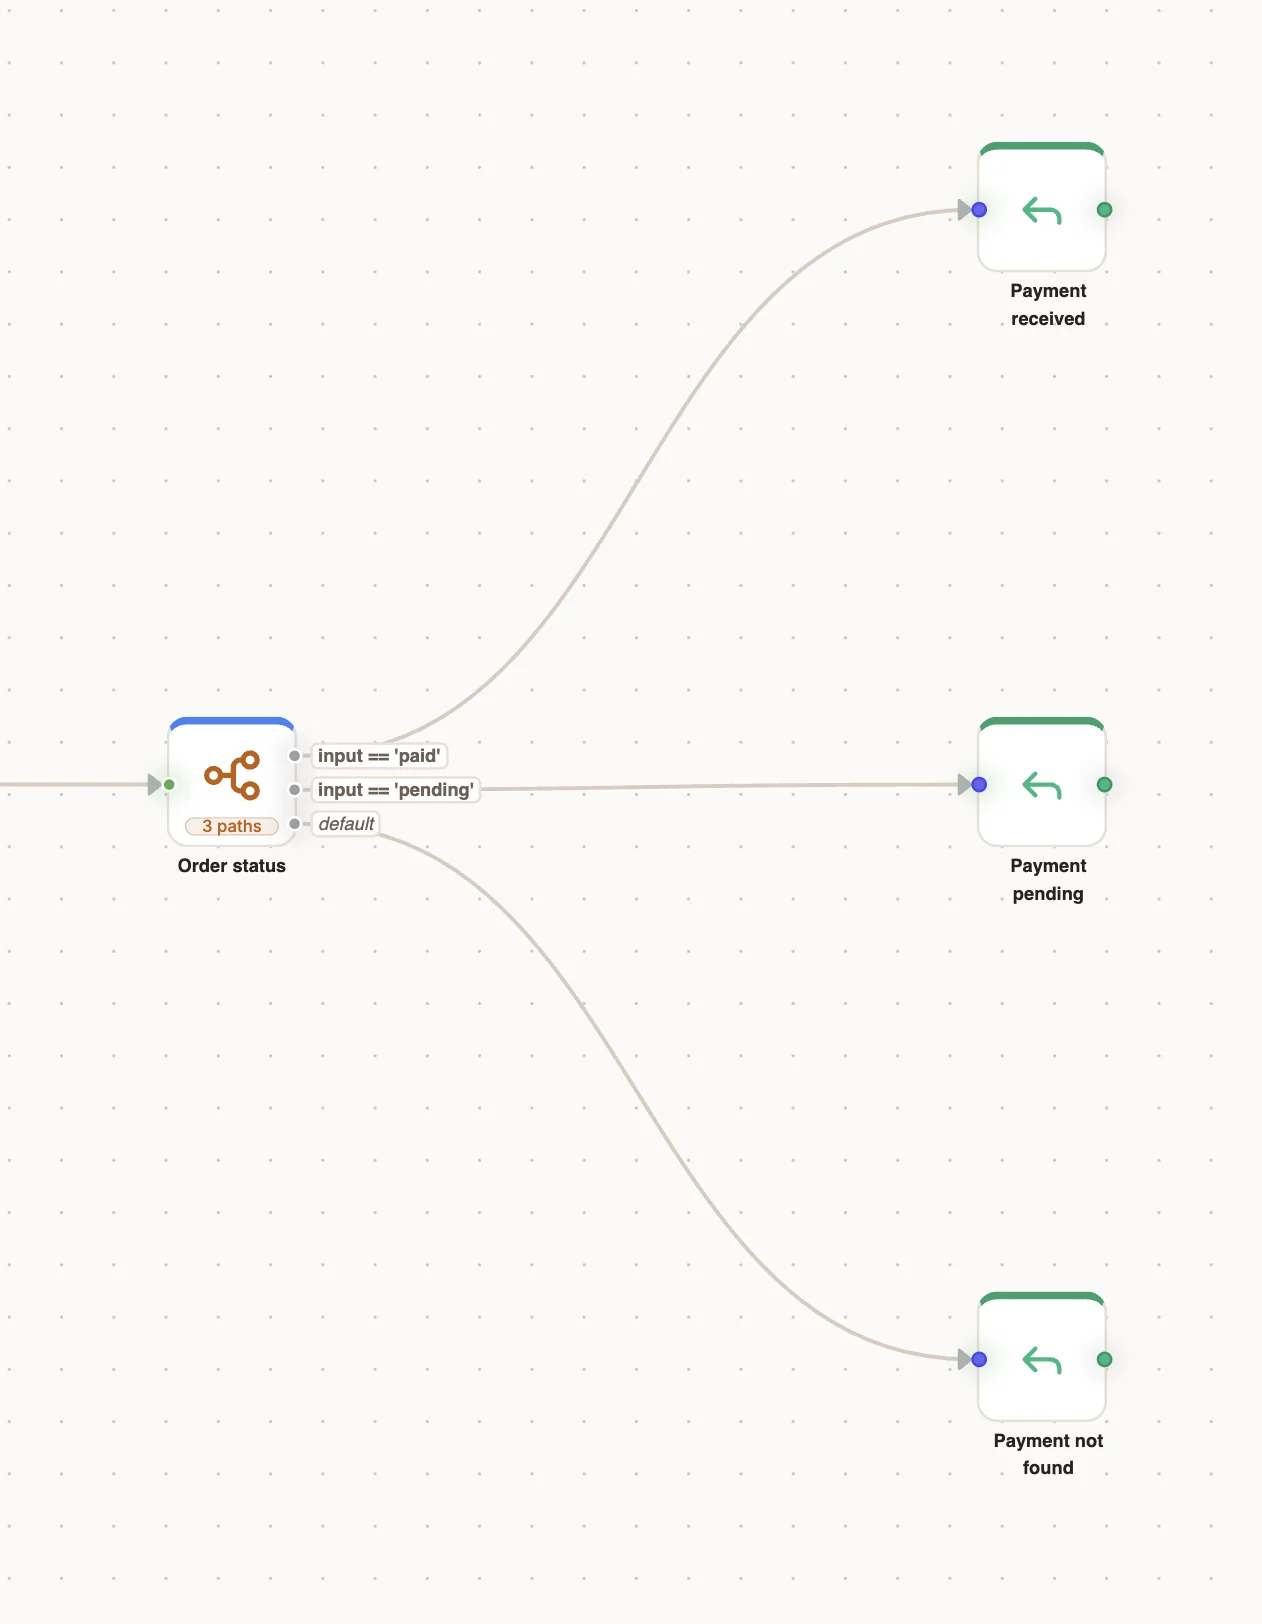
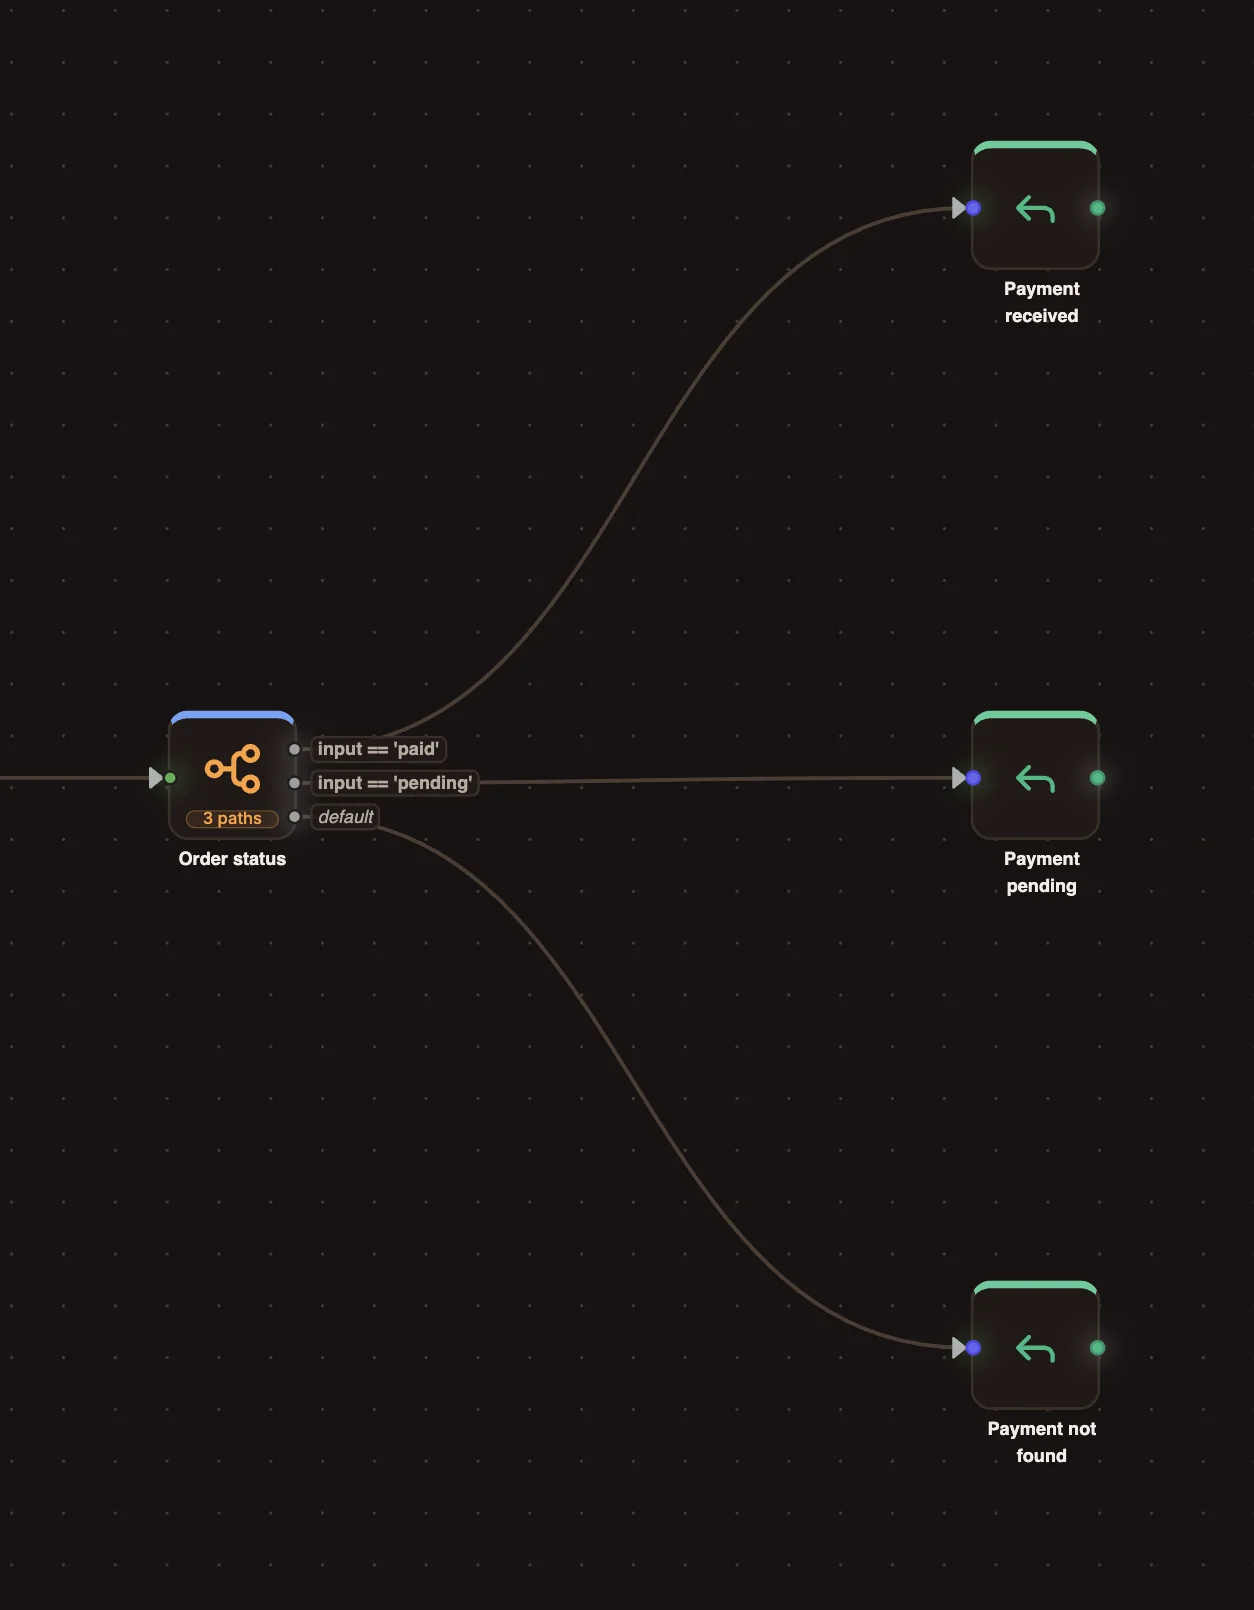
| Part | What it tells you |
|---|---|
| Accent stripe | The coloured bar along the top edge shows the node's family, so you can read a large flow at a glance. Voice nodes each carry their own accent colour. The stripe gives way to a selection ring while the node is selected. |
| Icon and name | The node type's icon and the node's name. A descriptive name makes a large flow easier to follow. |
| Input handle | Where connections arrive, on the left by default. Trigger and call-entry nodes have none, because a run starts there. |
| Output handles | Where connections leave, on the right by default. Nodes with more than one path label each handle (for example a Router's conditions, or a voice menu's keys). Fallback paths such as a default branch, a timeout or a failure are shown in italics. |
The families the stripe distinguishes:
| Family | Examples |
|---|---|
| Trigger | Trigger, Intent |
| Response | Reply, Form, AI Agent |
| Contact | Contact |
| Flow control | Router, Live Chat, Loop, Parallel, Wait, Approval |
| Data | Data Store, API, Integration, Messaging, Set Fields, Filter, Date & Time |
| Logic | Function, Menu |
| Error | Error |
Every path needs an end
A connection that leads nowhere is a bug the caller or user will feel: a USSD session that hangs, a chat that stops replying, a call that goes silent. Give every output handle somewhere to go, and end voice flows with End Call.