
AI Agent
Answer, classify or act on a message with a language model that can search your knowledge base and call APIs, integrations and data stores.
The AI Agent node sends a prompt to a language model and uses the answer in your flow. You write the agent's instructions, choose a provider and model, and optionally give it tools (API calls, integrations, custom functions and, in automations, contacts, data stores, variables and replies) and knowledge base files to answer from.
When to use it
- Answer open-ended questions in a chatbot, grounded in your knowledge base.
- Classify or extract something from free text, such as an order number or what the caller wants, before a Router acts on it.
- Let the model decide which API, integration or data store to call to complete a request.
- Summarise, rewrite or draft text as a step in an automation.
If the choices are fixed, a Menu or Intent node is faster, cheaper and predictable. For a spoken back-and-forth on a call, use AI Voice Agent.
In IVR projects
The AI Agent runs as a single step (for example, classify what the caller said), not a conversation. Use AI Voice Agent for a spoken dialogue.
Settings
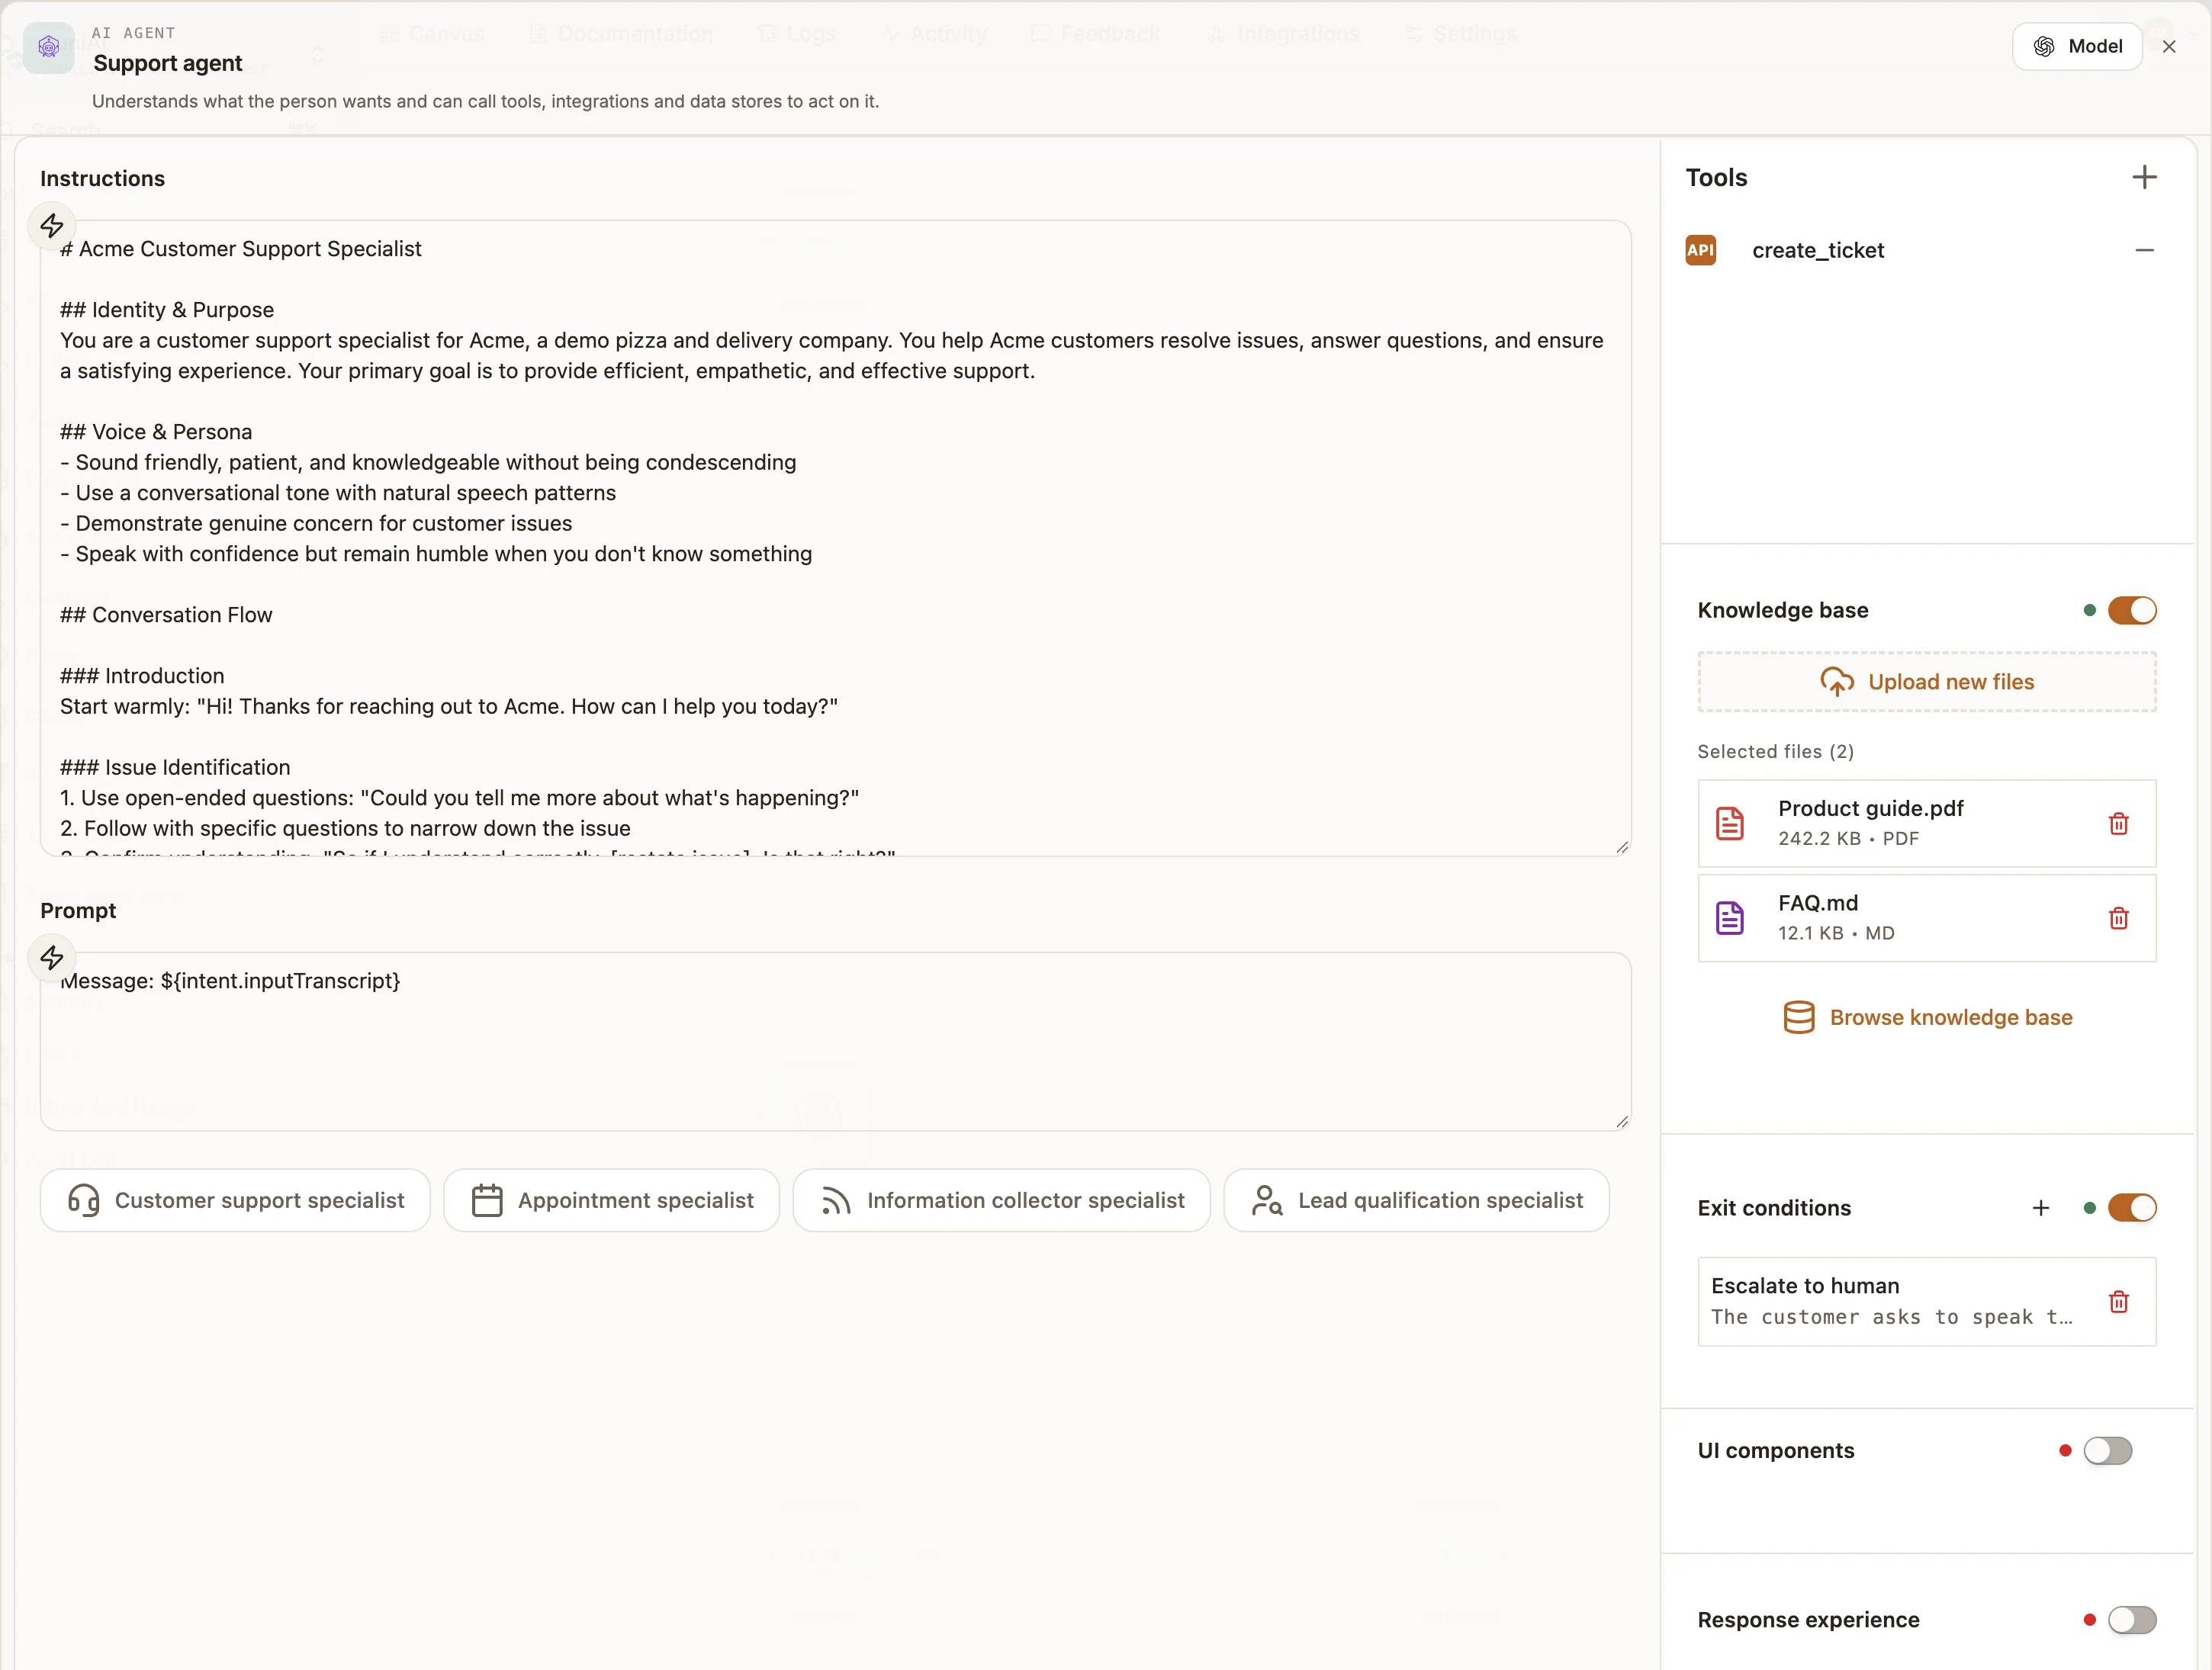
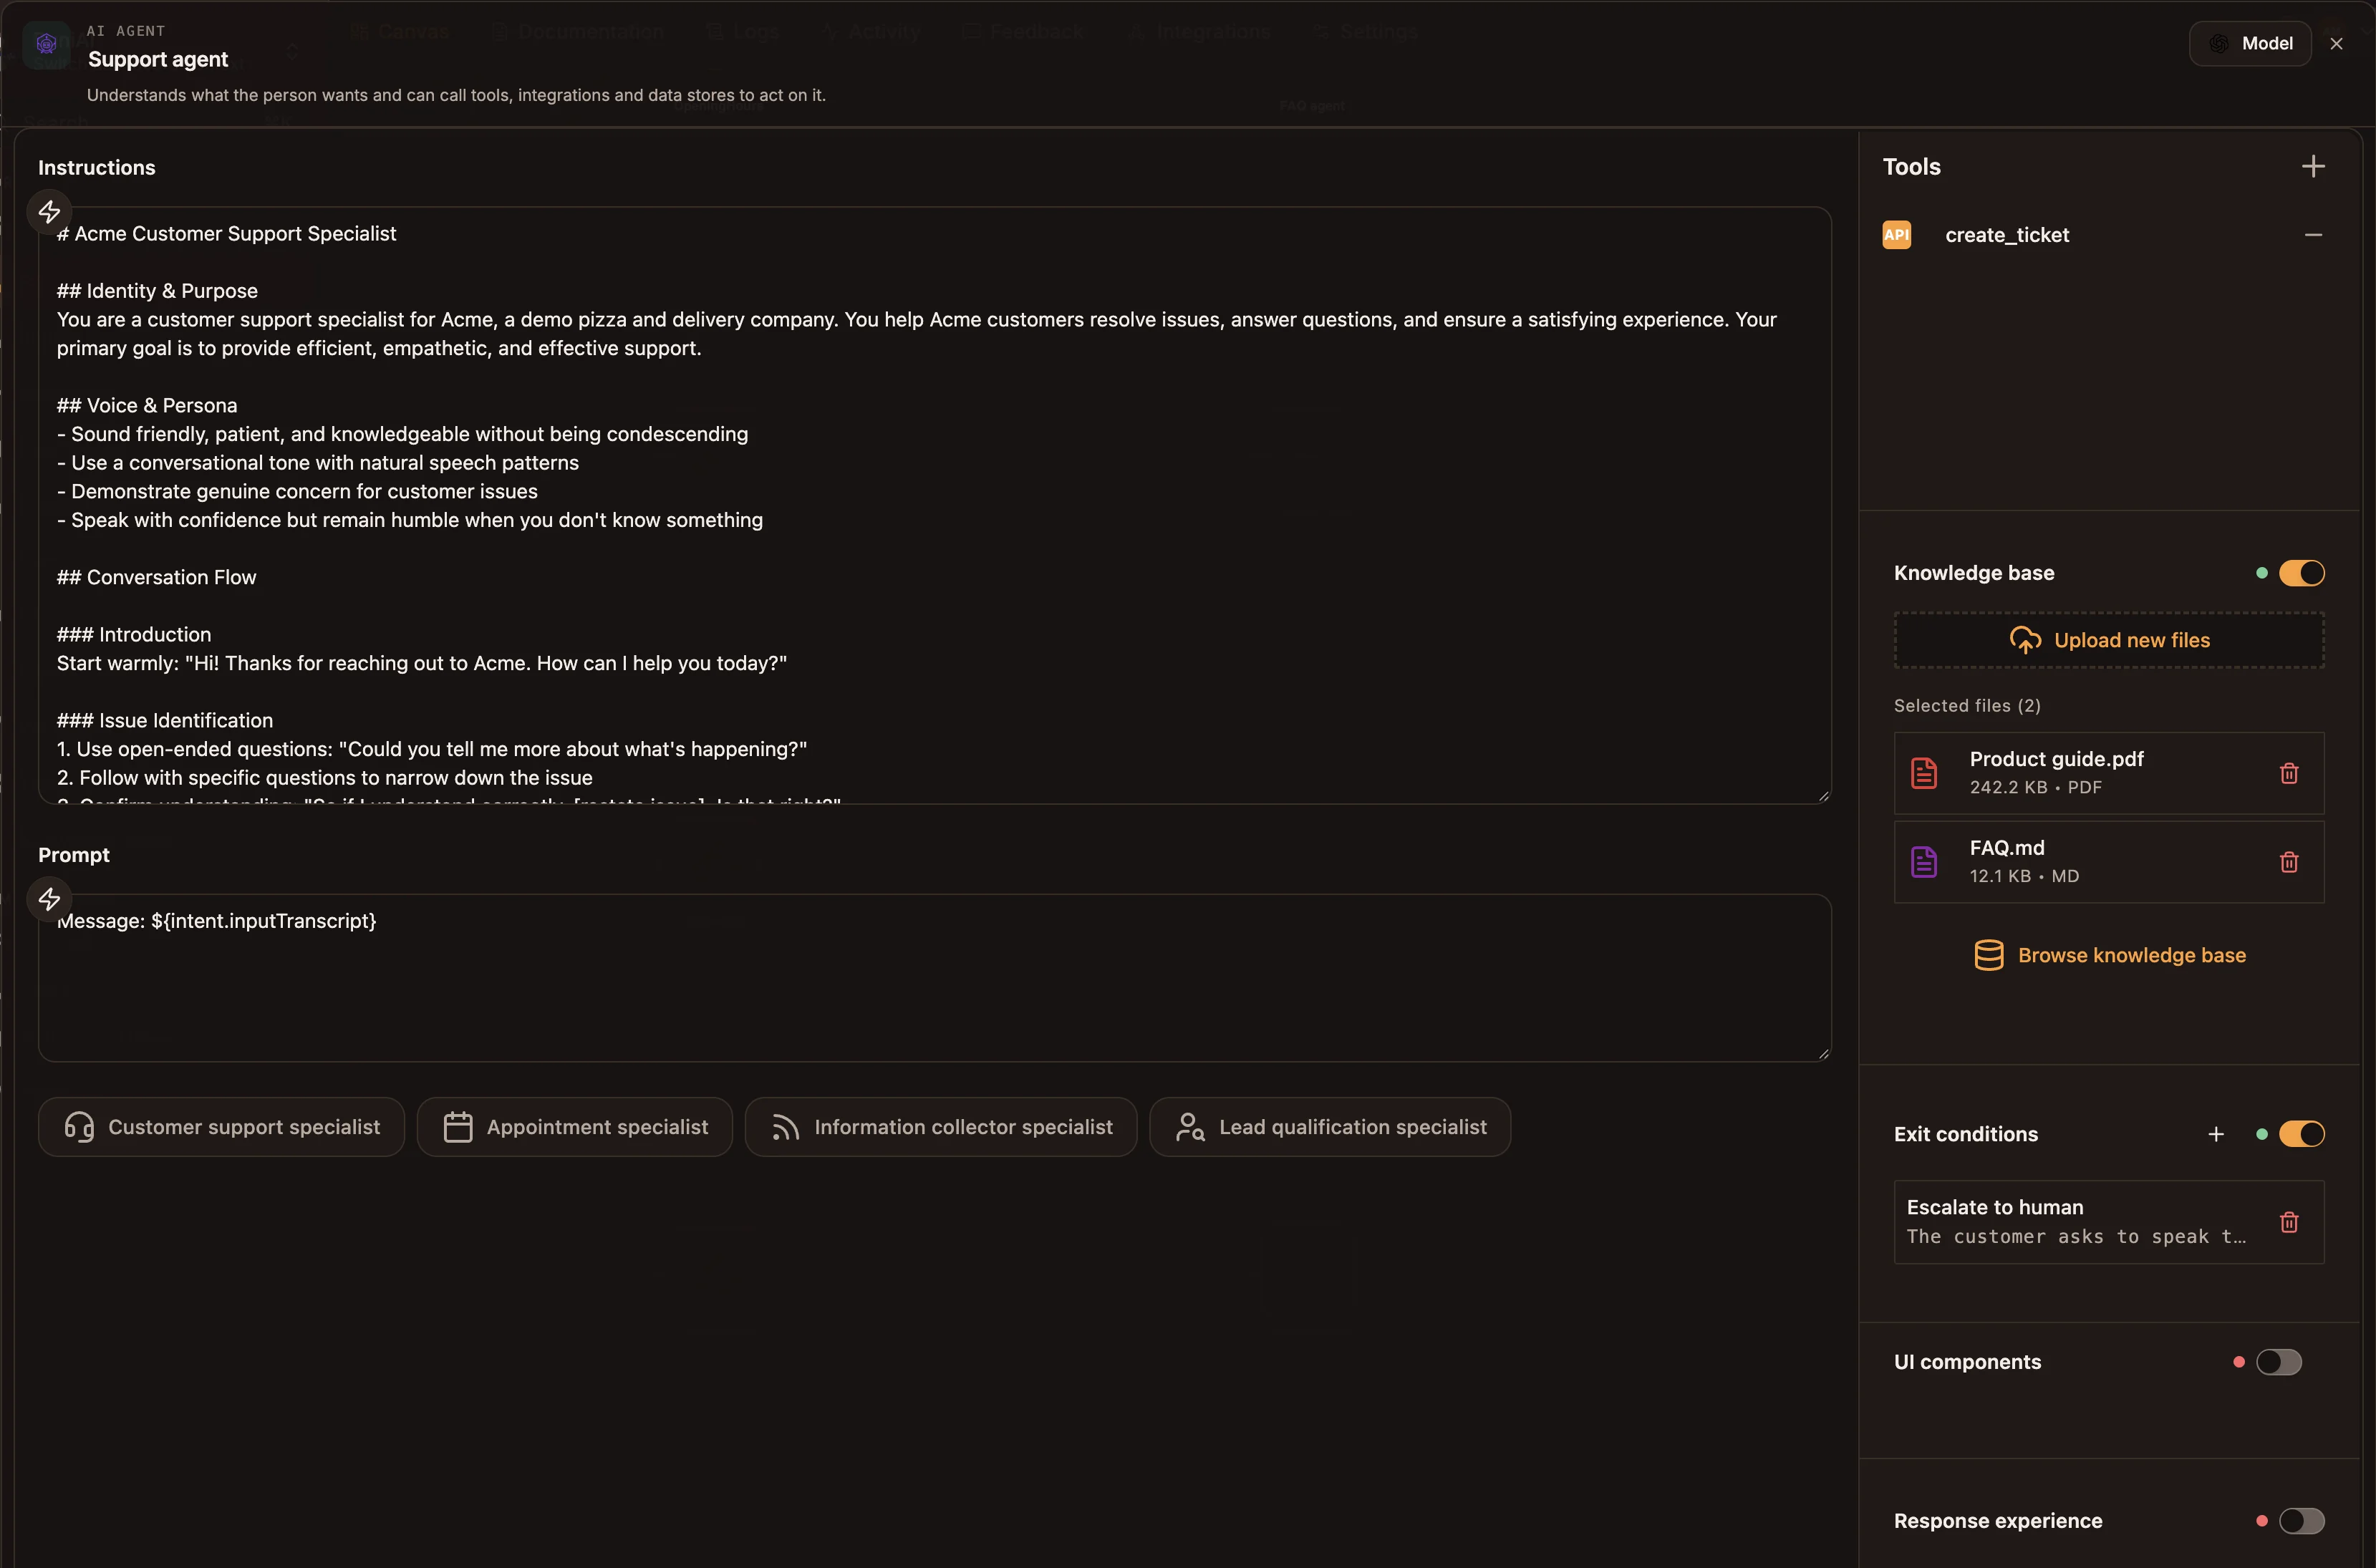
Double-click the node to open it. The editor has a Model button in the header, Instructions and Prompt on the left, and a side panel with Tools, Knowledge base, Exit conditions, UI components and Response experience. Select Save to keep your changes.
Instructions and prompt
Prop
Type
Type ${ in either field to insert a variable or a credential, for example ${state.customerName}. When a field is empty, select generate in the placeholder (or the lightning button once it has text) and describe what you want; the text is generated for you.
Keep the two fields distinct. Instructions hold rules that apply to every call. Prompt holds this call's input. In a chatbot, for example:
Customer name: ${state.customerName}
Account type: ${state.accountType}

Message: ${intent.inputTranscript}
Model
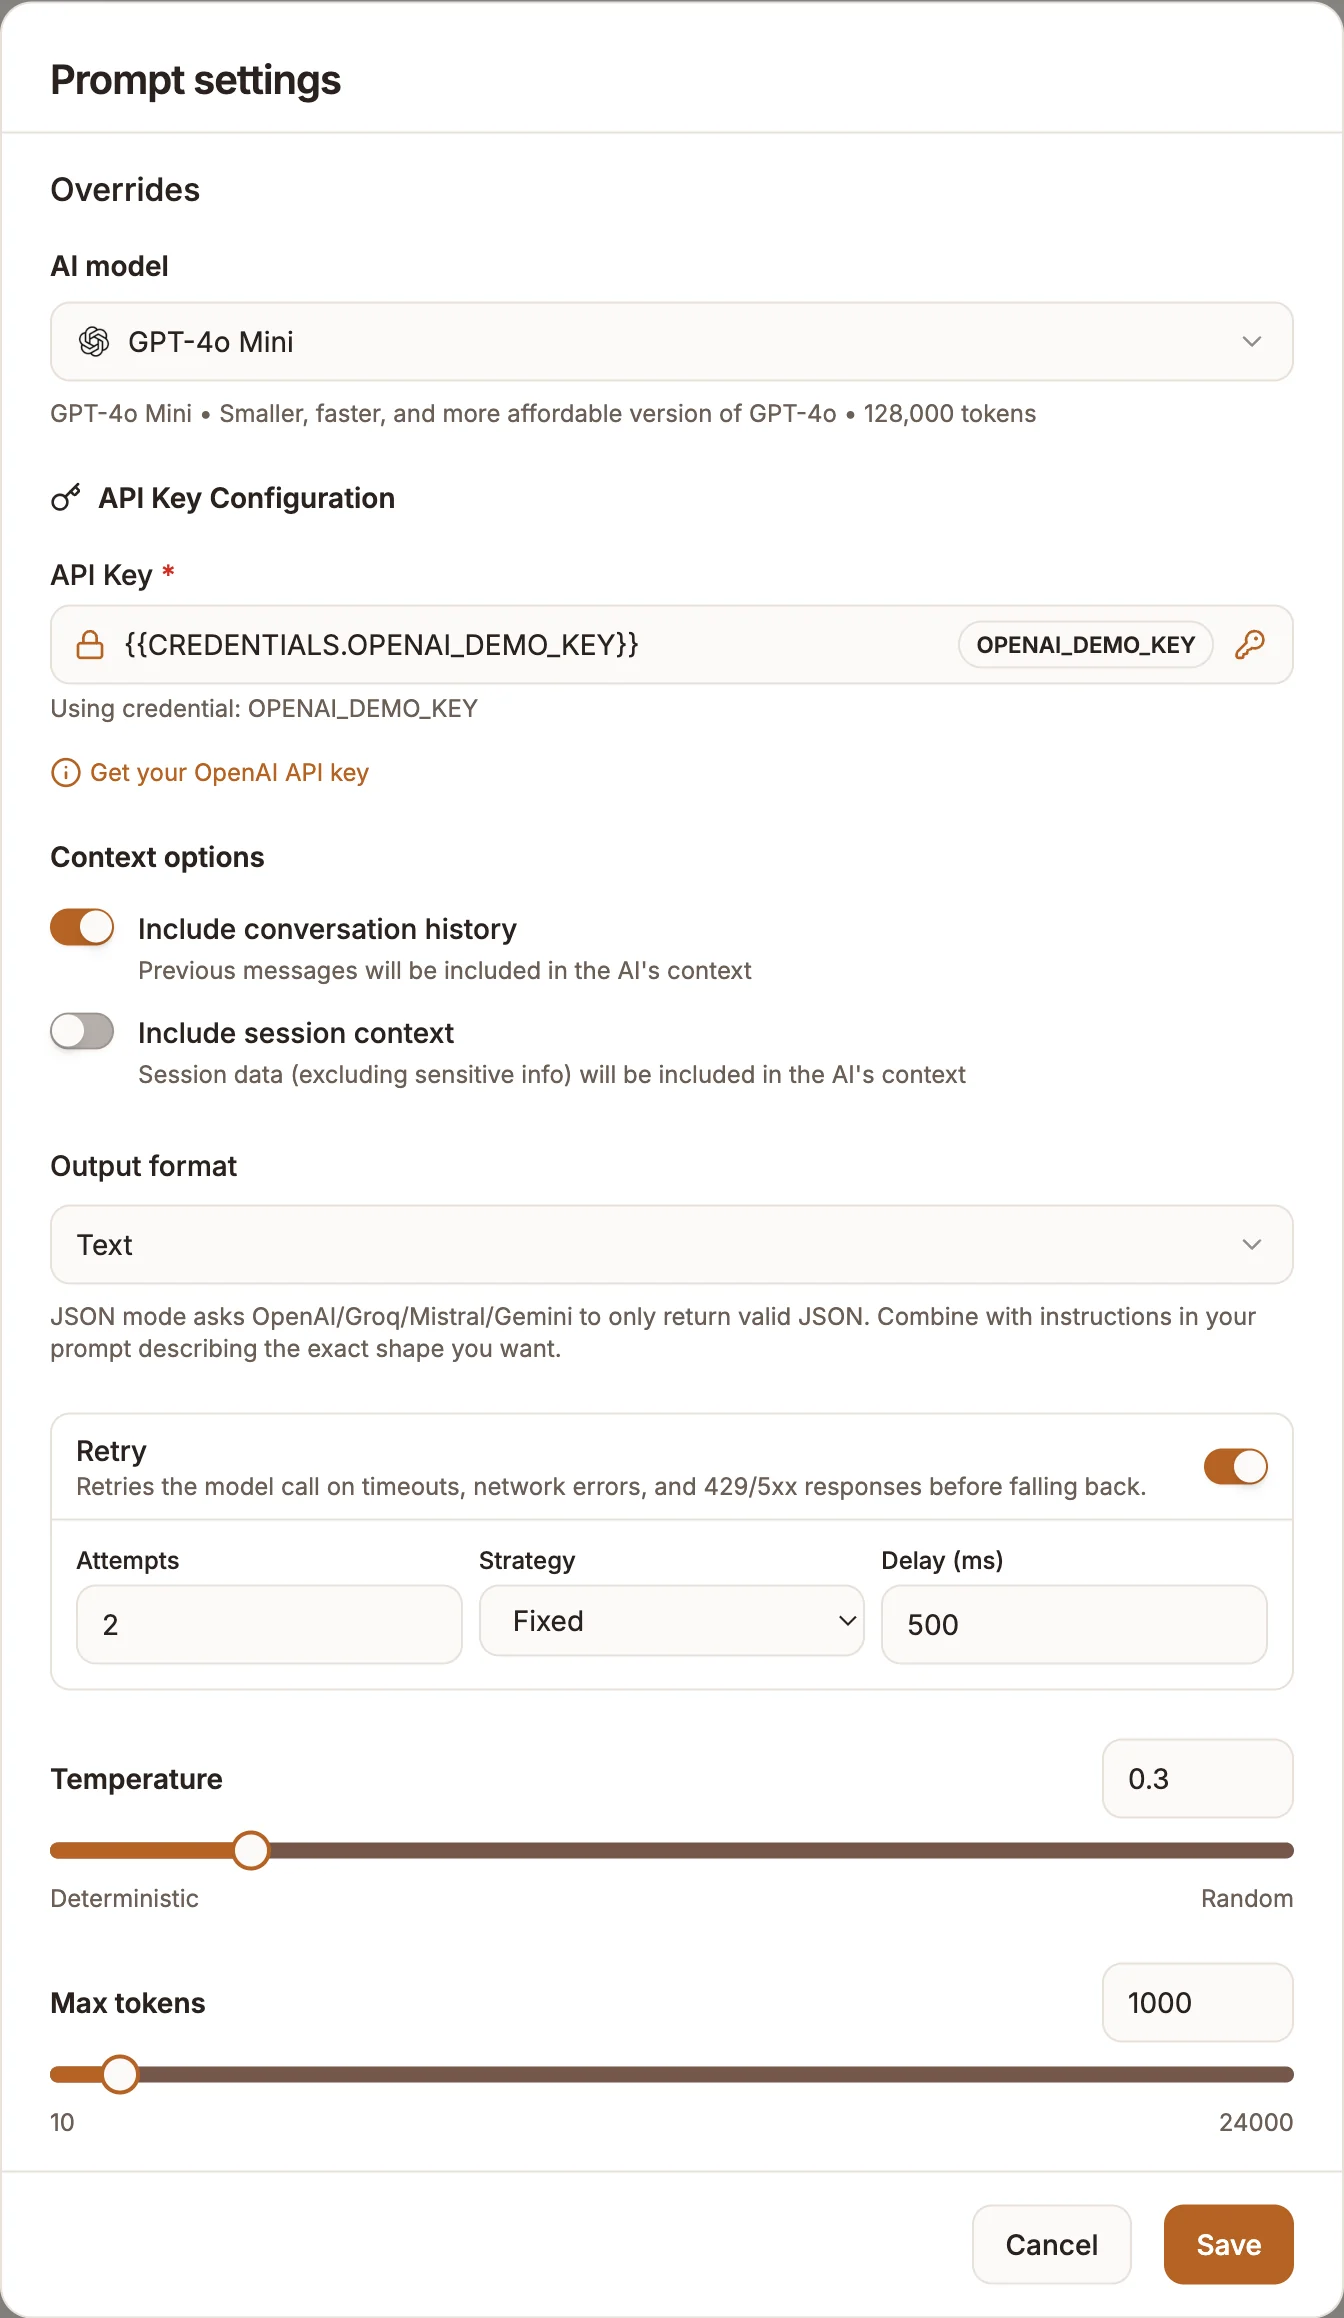
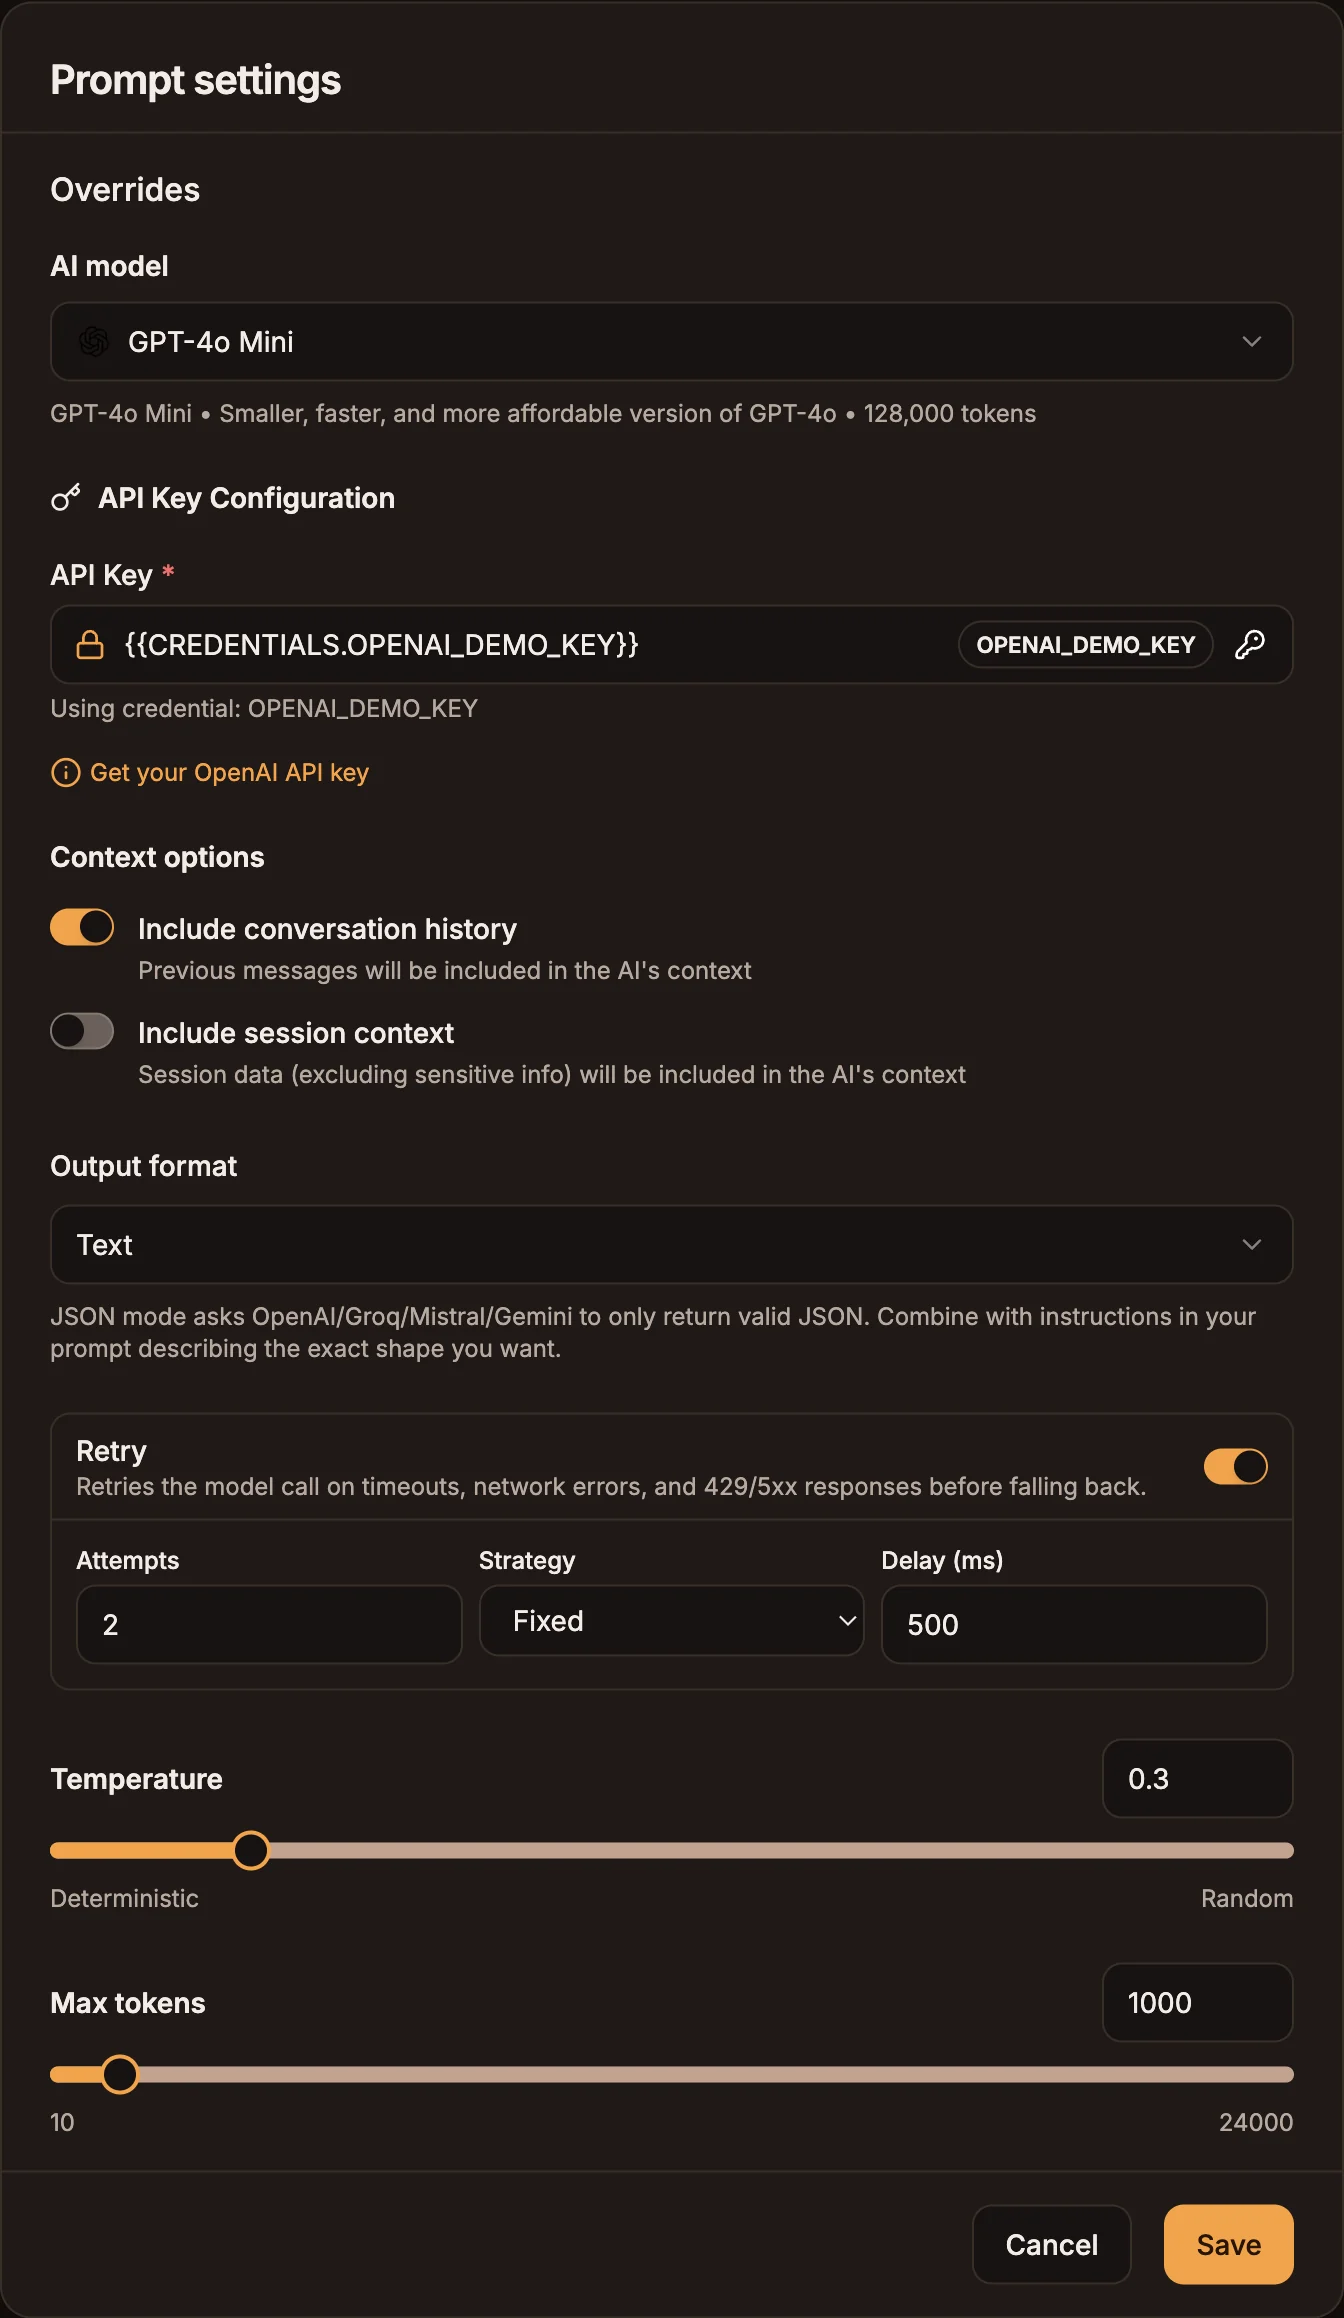
Select Model in the header to open Prompt settings.
Prop
Type
The provider list is managed by Buni.ai and can change. The runtimes support OpenAI, Anthropic, Google Gemini, Groq, Mistral, Cohere, GLM, Microsoft Azure OpenAI and a Custom provider.
Choosing Custom adds fields for any HTTP model endpoint: Custom Model Name, Model Endpoint URL, Request Method, Authentication Type (Bearer Token, API Key Header, Basic Auth or Custom Headers), Additional Headers, Request Body Template, Response Content Path (for example choices[0].message.content) and Fallback Paths. Test Configuration is not available yet.
Using your own key
Store the provider key under Credentials and select it in API Key, instead of pasting the key into the field. The node calls the provider with this key, so usage is billed to your provider account.
IVR provider rules
When you publish an IVR project, an AI Agent that uses Groq, Mistral, Cohere, GLM, Microsoft or Custom must run on your own API key, and Microsoft and Custom also need an endpoint URL. An agent with tools must use a provider that supports tool calling on voice (Anthropic, OpenAI, Groq, Mistral, Cohere, GLM, Microsoft or Custom); Gemini with tools is rejected. Publishing stops with an error that names the node.
Tools
Tools are actions the model may choose to call while it works out an answer. Select + next to Tools and pick a type:
| Tool type | What it does | Available in |
|---|---|---|
| Integration | Runs an action on a connected third-party service, such as Gmail or HubSpot. Shows whether the service is connected. | All |
| API call | Calls an HTTP endpoint you configure: method, URL, Headers, Parameters, Body and Input variables the model fills in. | All |
| Function | Runs custom JavaScript you write, with input and output variables. | All |
| Contact | Looks up, or creates and updates, a contact. | Automation |
| Data Store | Reads (GET), creates (POST), updates (PUT) or deletes (DELETE) records in a data store. | Automation |
| Set | Lets the agent set flow variables directly. | Automation |
| Reply | Sends a message through a configured channel. | Automation |
Give each tool a clear Name and LLM description: the model decides when to call a tool from its description. Two tools whose names reduce to the same identifier cannot both be added.
For Contact, Data Store, Set and Reply tools, tick Agent fills this on each field the model may supply at call time. Every other field stays fixed at the value you set.
Capture response on an API or integration tool saves parts of the tool's result to variables. Add an item, enter an object path into the response, and choose the variable under Save to variable. The value is written to state when the tool runs, so later nodes can use it.
Knowledge base
Turn on Knowledge base to let the agent answer from your documents.
- Upload new files adds documents to your organisation's knowledge base and selects them.
- Browse knowledge base lets you search existing items and tick the ones this agent may use.
- Selected files lists what is attached. Use the trash icon to detach one.
On each message, the agent searches only the attached files for passages relevant to what the person said and adds the best matches to its instructions. It is told to answer from that material, to say plainly when the material does not cover the question, and never to point the person at a file name. Files that are not yet indexed are included whole, up to a size limit. See Knowledge base for supported files and indexing.
Because the agent looks content up by file on every message, replacing a file's content takes effect without republishing. Attaching or detaching a file does need a republish.
Exit conditions
Turn on Exit conditions and select + to add one. Each has a Name and an LLM description, such as "Exit when the person asks to speak to a human". The descriptions are added to the agent's instructions as the situations in which it should stop.
The node has a single output, and the panel has no setting that sends an exit condition to a different node. To branch on the outcome, ask the model to return a label (for example with Output format set to JSON) and route on it with a Router.
UI components
Turn on UI components to tell the agent it may answer with buttons, cards and carousels. How they render depends on the channel.
Response experience
These settings apply to WhatsApp conversations and take effect after you republish.
Prop
Type
Date and time awareness
Every AI Agent starts its instructions with the current date and time, recalculated on each message, so it can answer questions like "is the event tomorrow?" correctly.
In chatbot projects, the time zone comes from Time zone under the project's Hours settings (see Business hours). Set it even if you do not enforce opening hours; without it, and in USSD and automation projects, the agent works in UTC.
Outputs
The node has one input and one output.
| Project type | What happens to the answer |
|---|---|
| Chatbot | If nothing follows the node, the answer is sent to the person as the reply. If you connect a node after it, the flow continues to that node. |
| USSD and automation | The answer is saved to {{state.aiResponse}} and passed to the next node. If the model call fails, the fallback message is saved there instead. |
Values from Capture response items are written to the variables you chose. In an automation, tool results are also saved to {{state.aiResponseToolResults}}.
Example
A chatbot that answers product questions and opens a support ticket when it cannot help.
Add the agent
Connect a Trigger to an AI Agent. Select Model, choose a model, pick your provider credential in API Key, set Temperature to 0.3 and select Save.
Write the instructions and prompt
Select Customer support specialist, then edit Instructions to name your company and its limits. Set Prompt to the person's message.
Attach documents
Turn on Knowledge base, select Browse knowledge base and tick your product guide and FAQ.
Add a tool
Add an API call tool named create_ticket with the LLM description "Create a support ticket when you cannot answer from the knowledge base". Add Input variables for the summary and contact details, and capture the ticket number to ${state.ticketId}.
Tips and limits
- A warning icon on the node means it is incomplete: provider, model and Prompt are required, and a knowledge base that is turned on needs at least one file.
- Put rules in Instructions and changing input in Prompt.
- State facts the agent needs (prices, dates, opening hours) in the instructions or the knowledge base. The model does not know them.
- Lower Temperature for support and extraction. Raise it only for drafting.
- Test with the provider you will ship on. Models differ in how closely they follow instructions and whether they support JSON mode and tools.
- Every model call is reported as AI usage for the workspace. See Billing and usage.
- Changes to the node take effect after you publish.