Web chat widget
Embed a chatbot on your website with the chat widget, customise how it looks and behaves, and control it from your page.
 The web chat widget puts your chatbot on any website: a floating chat button in the corner of the page, or a chat window embedded in the page itself. It needs no account with another provider; you create an embed token, copy a snippet and paste it into your site.
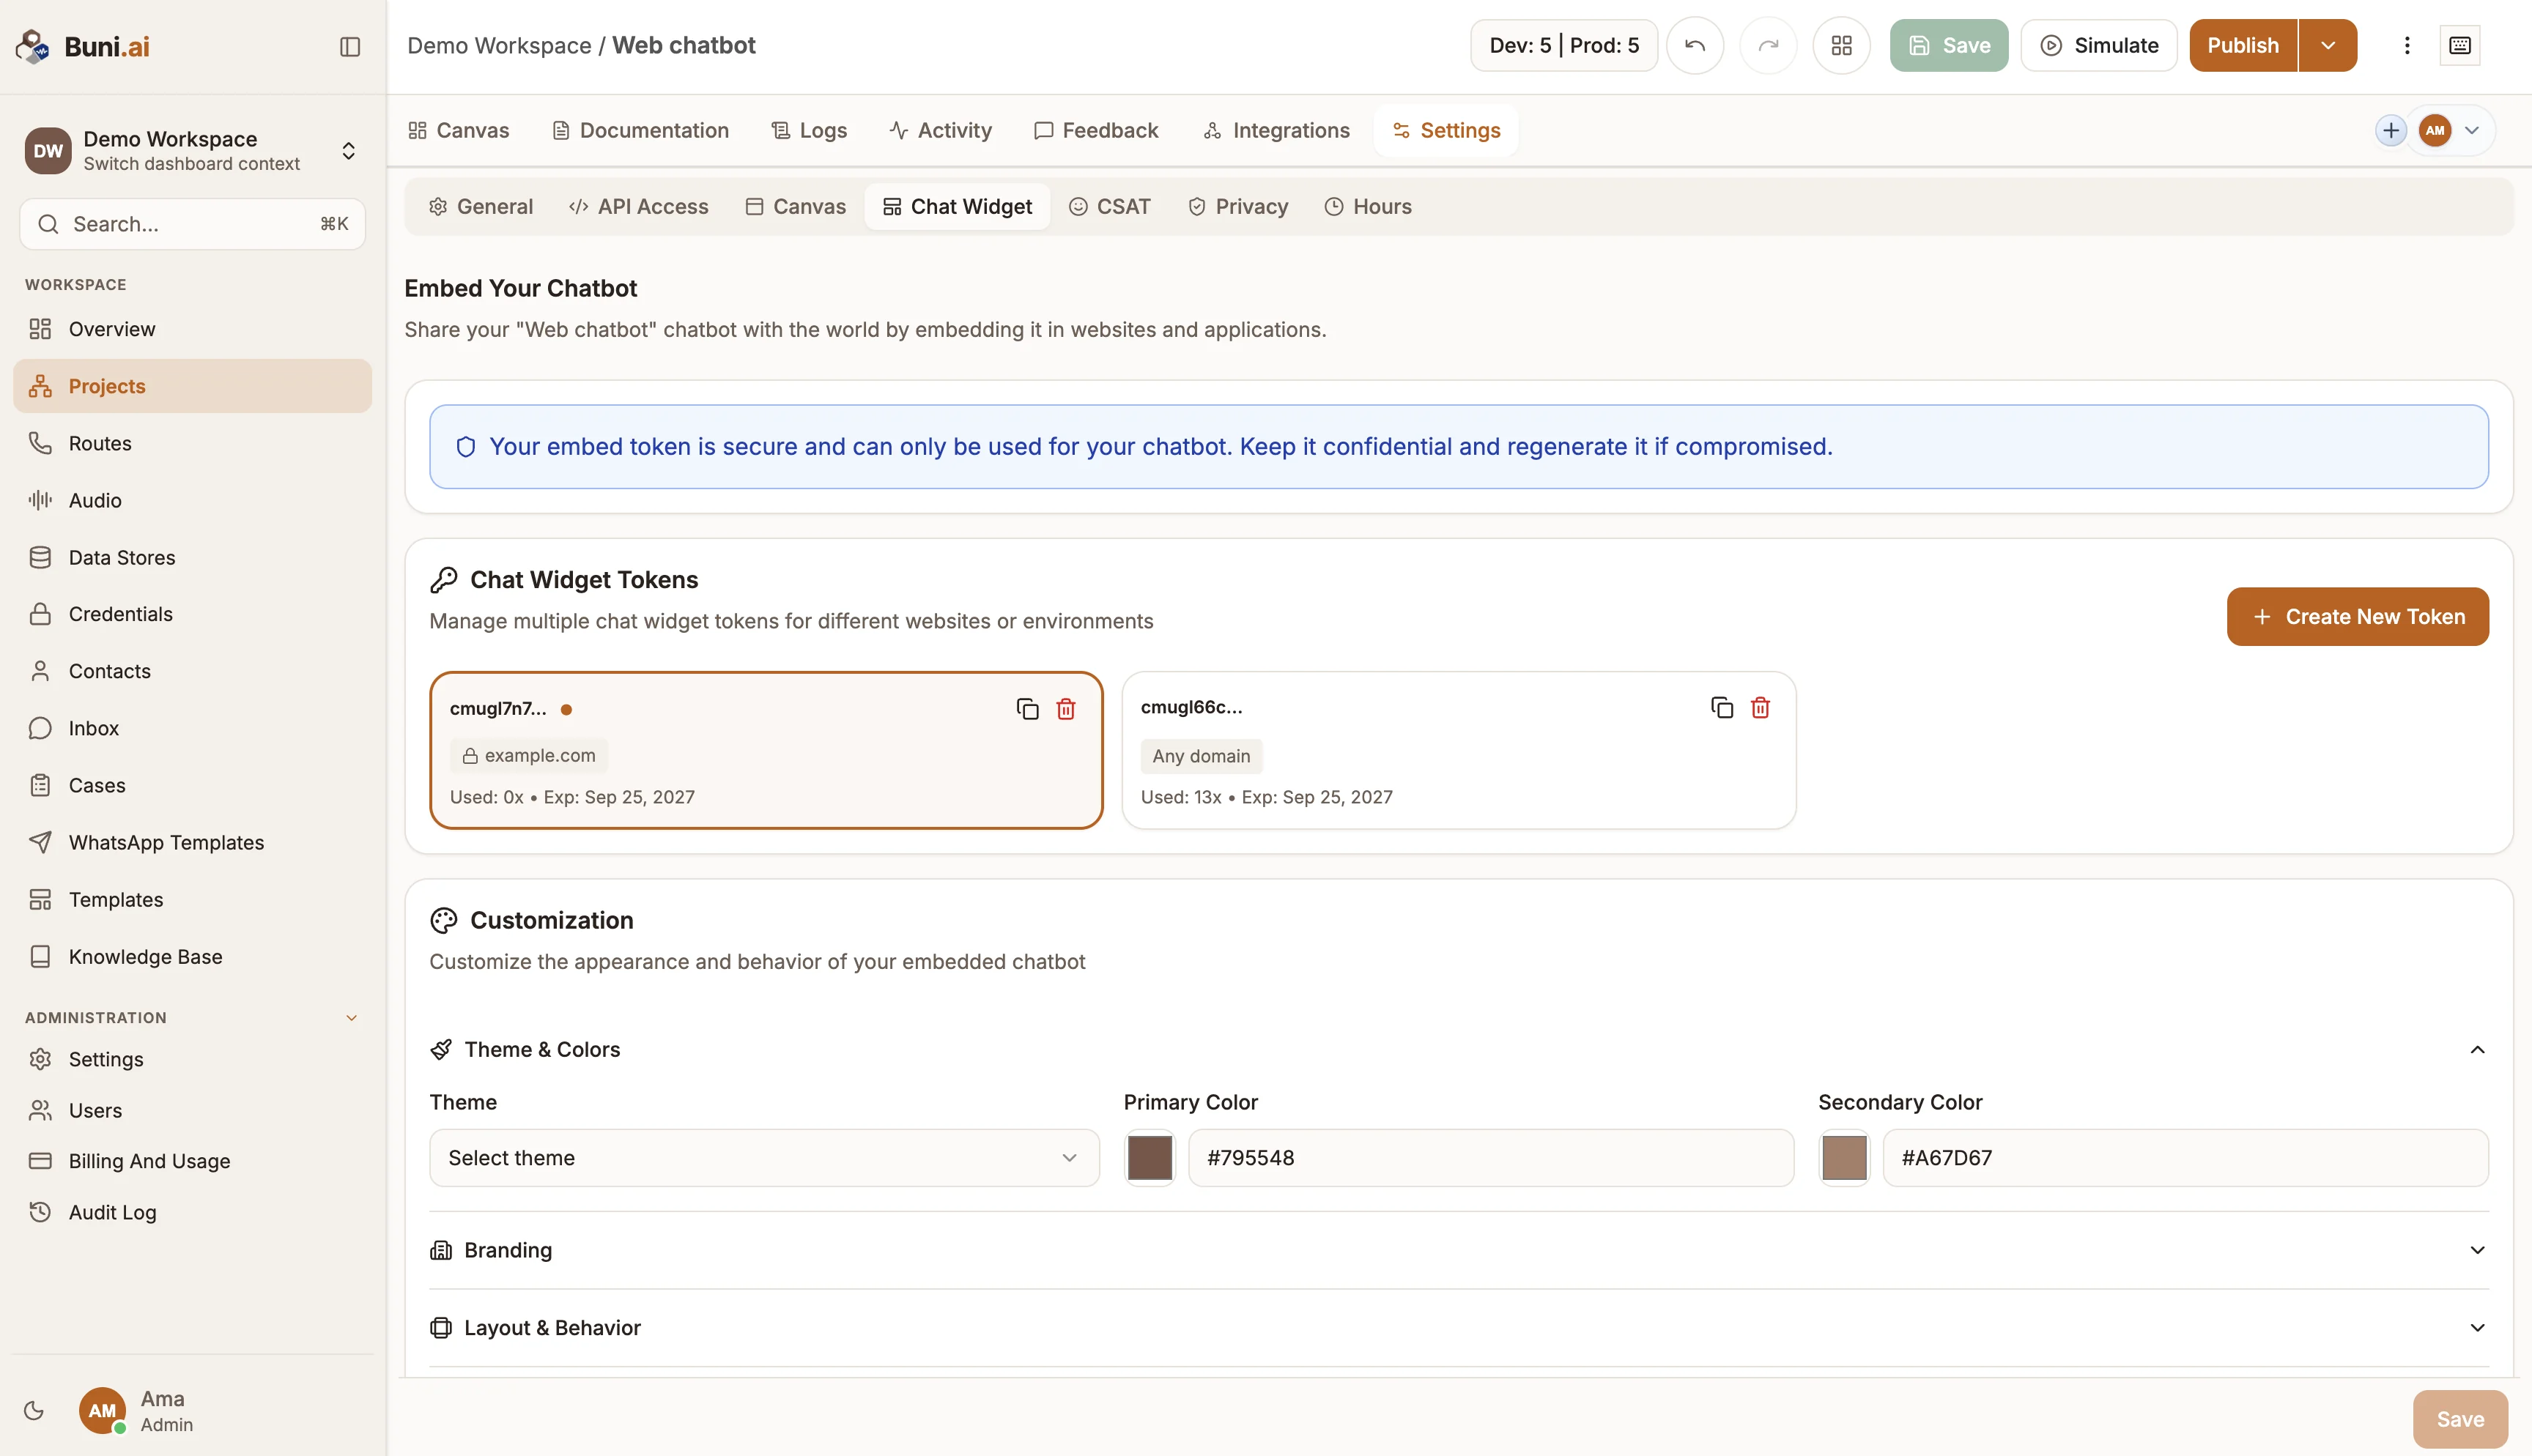
Everything for the widget is on the chatbot project's Settings›Chat Widget tab.
Add the widget to your site
Publish the chatbot
The widget talks to the published version of your chatbot. Publish the project first, and again after every change you want visitors to see.
Create an embed token
Open Settings›Chat Widget. Under Chat Widget Tokens, select Create New Token. In Allowed Domain (Optional), enter the domain the widget will run on, such as example.com. Leave it empty to allow any domain.
Create one token per website or environment, so each can be managed separately.
Customise it
Under Customization, set the widget's colours, branding, position and behaviour. Live Preview shows the result; Open in New Tab opens it full size. Select Save Config when you are done.
Copy the code
Under Chat Widget Codes, pick the tab for your site: iframe, JavaScript, React, Next.js, Vue, Angular or WordPress. The code already contains your token. Copy it.
Paste it into your site
Paste the code into every page that should show the chat, just before the closing </body> tag for the iframe and JavaScript versions. Reload the page and the chat button appears.
Customisation
| Section | Settings |
|---|---|
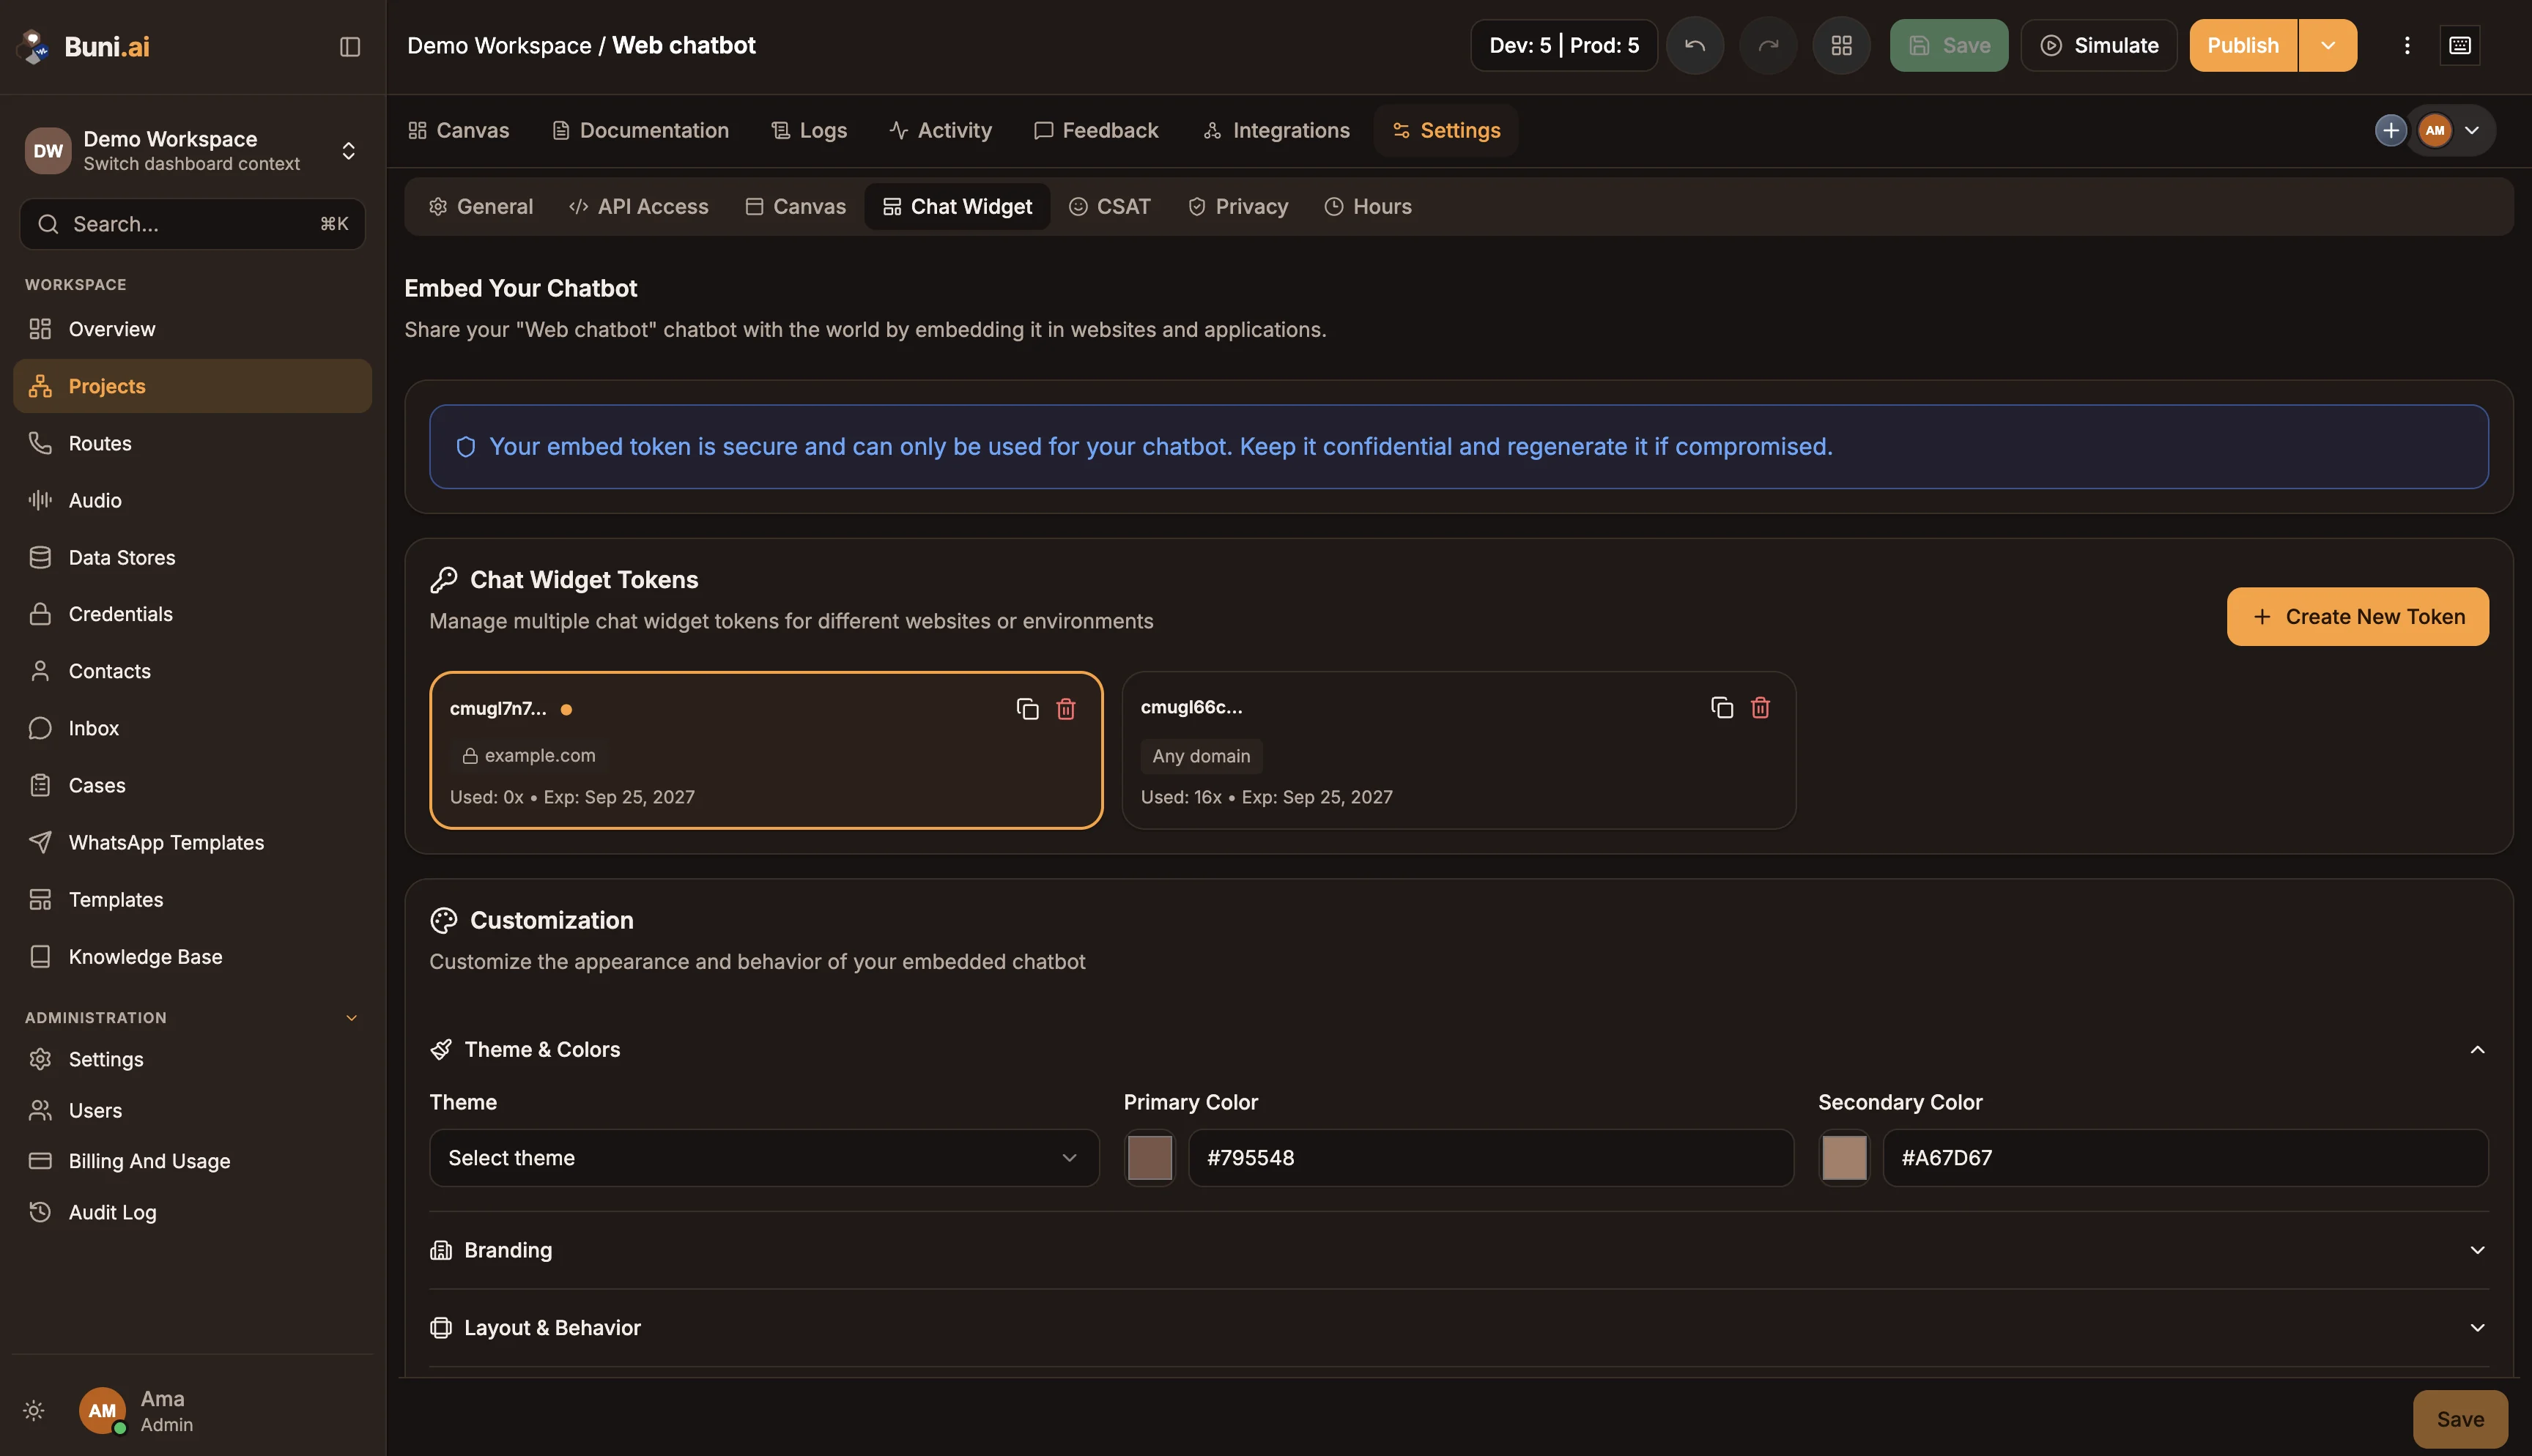
| Theme & Colors | Theme (System Default, Dark Mode, Light Mode), Primary Color, Secondary Color |
| Branding | Company Name, Custom Logo URL, Welcome Message |
| Layout & Behavior | Position (Bottom Right, Bottom Left, Top Right, Top Left, Center), Width (px), Height (px), Trigger Text, Border Radius, Default display mode (Full, Minimal, Hidden) |
| Avatar Customization | Avatar Type (Icon (Chat Bubble), Image (Custom Logo), Text (Initials)), Avatar Text, Avatar Image URL |
Center opens the chat as a centred modal. Leave Trigger Text empty for an icon-only chat button.
Options
| Option | Default |
|---|---|
| Auto-open on page load | Off |
| Start minimized | Off |
| Show minimize/maximize | On |
| Allow minimize (widget mode) | On |
| Allow close button | On |
| Show Buni.ai branding | On |
| Enable on mobile | On |
| Enable file uploads | Off |
| Show message timestamps | On |
| Show trigger button text | On |
| Show privacy policy nugget | Off. When on, set a Privacy message and Privacy policy URL. |
| Show pre-chat form | Off. When on, visitors fill in Pre-chat form fields (by default Name and Email) before chatting. |
| Show start chat button | Off. Set its label with Start Button Text (default "Start Chat"). |
| Hide default trigger (API mode) | Off. Hide the built-in chat button when you open the chat from your own code. |
Auto messages send a message after a delay (in milliseconds) when their conditions match, optionally with buttons and quick replies.
Sessions and feedback
Under Session Management:
- Auto-end inactive sessions with an Inactivity Timeout (minutes).
- Show feedback after session end, with thumbs, multiple-choice or text questions.
- Allow session restart, on by default.
For satisfaction surveys across all channels, use the project's CSAT settings tab instead. See CSAT.
Control the widget from your page
JavaScript snippet
The JavaScript snippet sets window.__buni and loads the widget script:
<script>
  window.__buni = window.__buni || {};
  window.__buni.embedToken = 'YOUR_EMBED_TOKEN';
  window.__buni.theme = 'light';
  window.__buni.position = 'bottom-right';

  (function (d, s, id) {
    var js, bjs = d.getElementsByTagName(s)[0];
    if (d.getElementById(id)) return;
    js = d.createElement(s); js.id = id; js.async = true;
    js.src = 'https://<your Buni.ai domain>/api/embed/widget?token=' + encodeURIComponent(window.__buni.embedToken);
    bjs.parentNode.insertBefore(js, bjs);
  }(document, 'script', 'buni-widget-js'));
</script>
Once loaded, the script exposes window.BuniAIWidget with open(), close() and toggle(), so a button on your page can open the chat:
<button onclick="window.BuniAIWidget && window.BuniAIWidget.open()">Chat with us</button>iframe embed
The iframe code loads the chat from:
https://<your Buni.ai domain>/embed/chat?token=YOUR_EMBED_TOKEN&embedded=trueThe app writes your saved settings into the URL as query parameters. The most useful ones to change by hand:
| Parameter | Values |
|---|---|
theme | light, dark or system |
primaryColor, secondaryColor | A colour, URL-encoded (%23c05c00) |
companyName, welcomeMessage, triggerText | Text |
customAvatar | An image URL |
position | bottom-right, bottom-left, top-right, top-left |
defaultMode | full, minimal or hidden |
autoOpen, showBranding, enableFileUpload, showTimestamps | true or false |
Messages between your page and the iframe
An embedded chat accepts commands from the page that contains it through postMessage. For security, it ignores everything until your page sends a handshake, and then accepts messages only from that page's origin.
const chat = document.getElementById('buni-chat').contentWindow;
const origin = 'https://<your Buni.ai domain>';

// 1. Handshake first
chat.postMessage({ type: 'buni:parent_handshake' }, origin);

// 2. Then send commands
chat.postMessage({ type: 'sendMessage', data: { message: 'I need help with my order' } }, origin);
chat.postMessage({ type: 'theme-change', data: { theme: 'dark' } }, origin);
Command (type) | Effect |
|---|---|
show, hide | Show or hide the chat. |
minimize, maximize | Change the chat's size. |
sendMessage | Send data.message as if the visitor typed it. |
setCustomerData, setSessionVariables | Pass details about the visitor or page into the session. |
clearChat, restartSession | Clear the conversation or start a new session. |
theme-change | Switch to data.theme. |
destroy | Tear the chat down. |
The chat posts events back to your page, including ready, visibility_changed, minimized, maximized, new_message and chat_cleared. Listen with window.addEventListener('message', ...) and check event.origin.
Framework packages
The React, Next.js, Vue and Angular tabs generate code for the @buni.ai/chatbot-react, @buni.ai/chatbot-vue and @buni.ai/chatbot-angular packages. Install the package for your framework and paste the generated component. The WordPress tab generates a snippet for your theme.