
USSD quickstart
Build an airtime top-up menu with Menu and Router nodes, then dial it in the simulator.
In this quickstart you build a small airtime top-up service: the caller picks a fixed amount or types their own, the flow checks the amount, and a closing screen confirms it. It takes about ten minutes and uses five nodes.
You need a Buni.ai workspace and permission to create projects. You do not need a short code or an aggregator account until you go live; the simulator is enough to build and test.
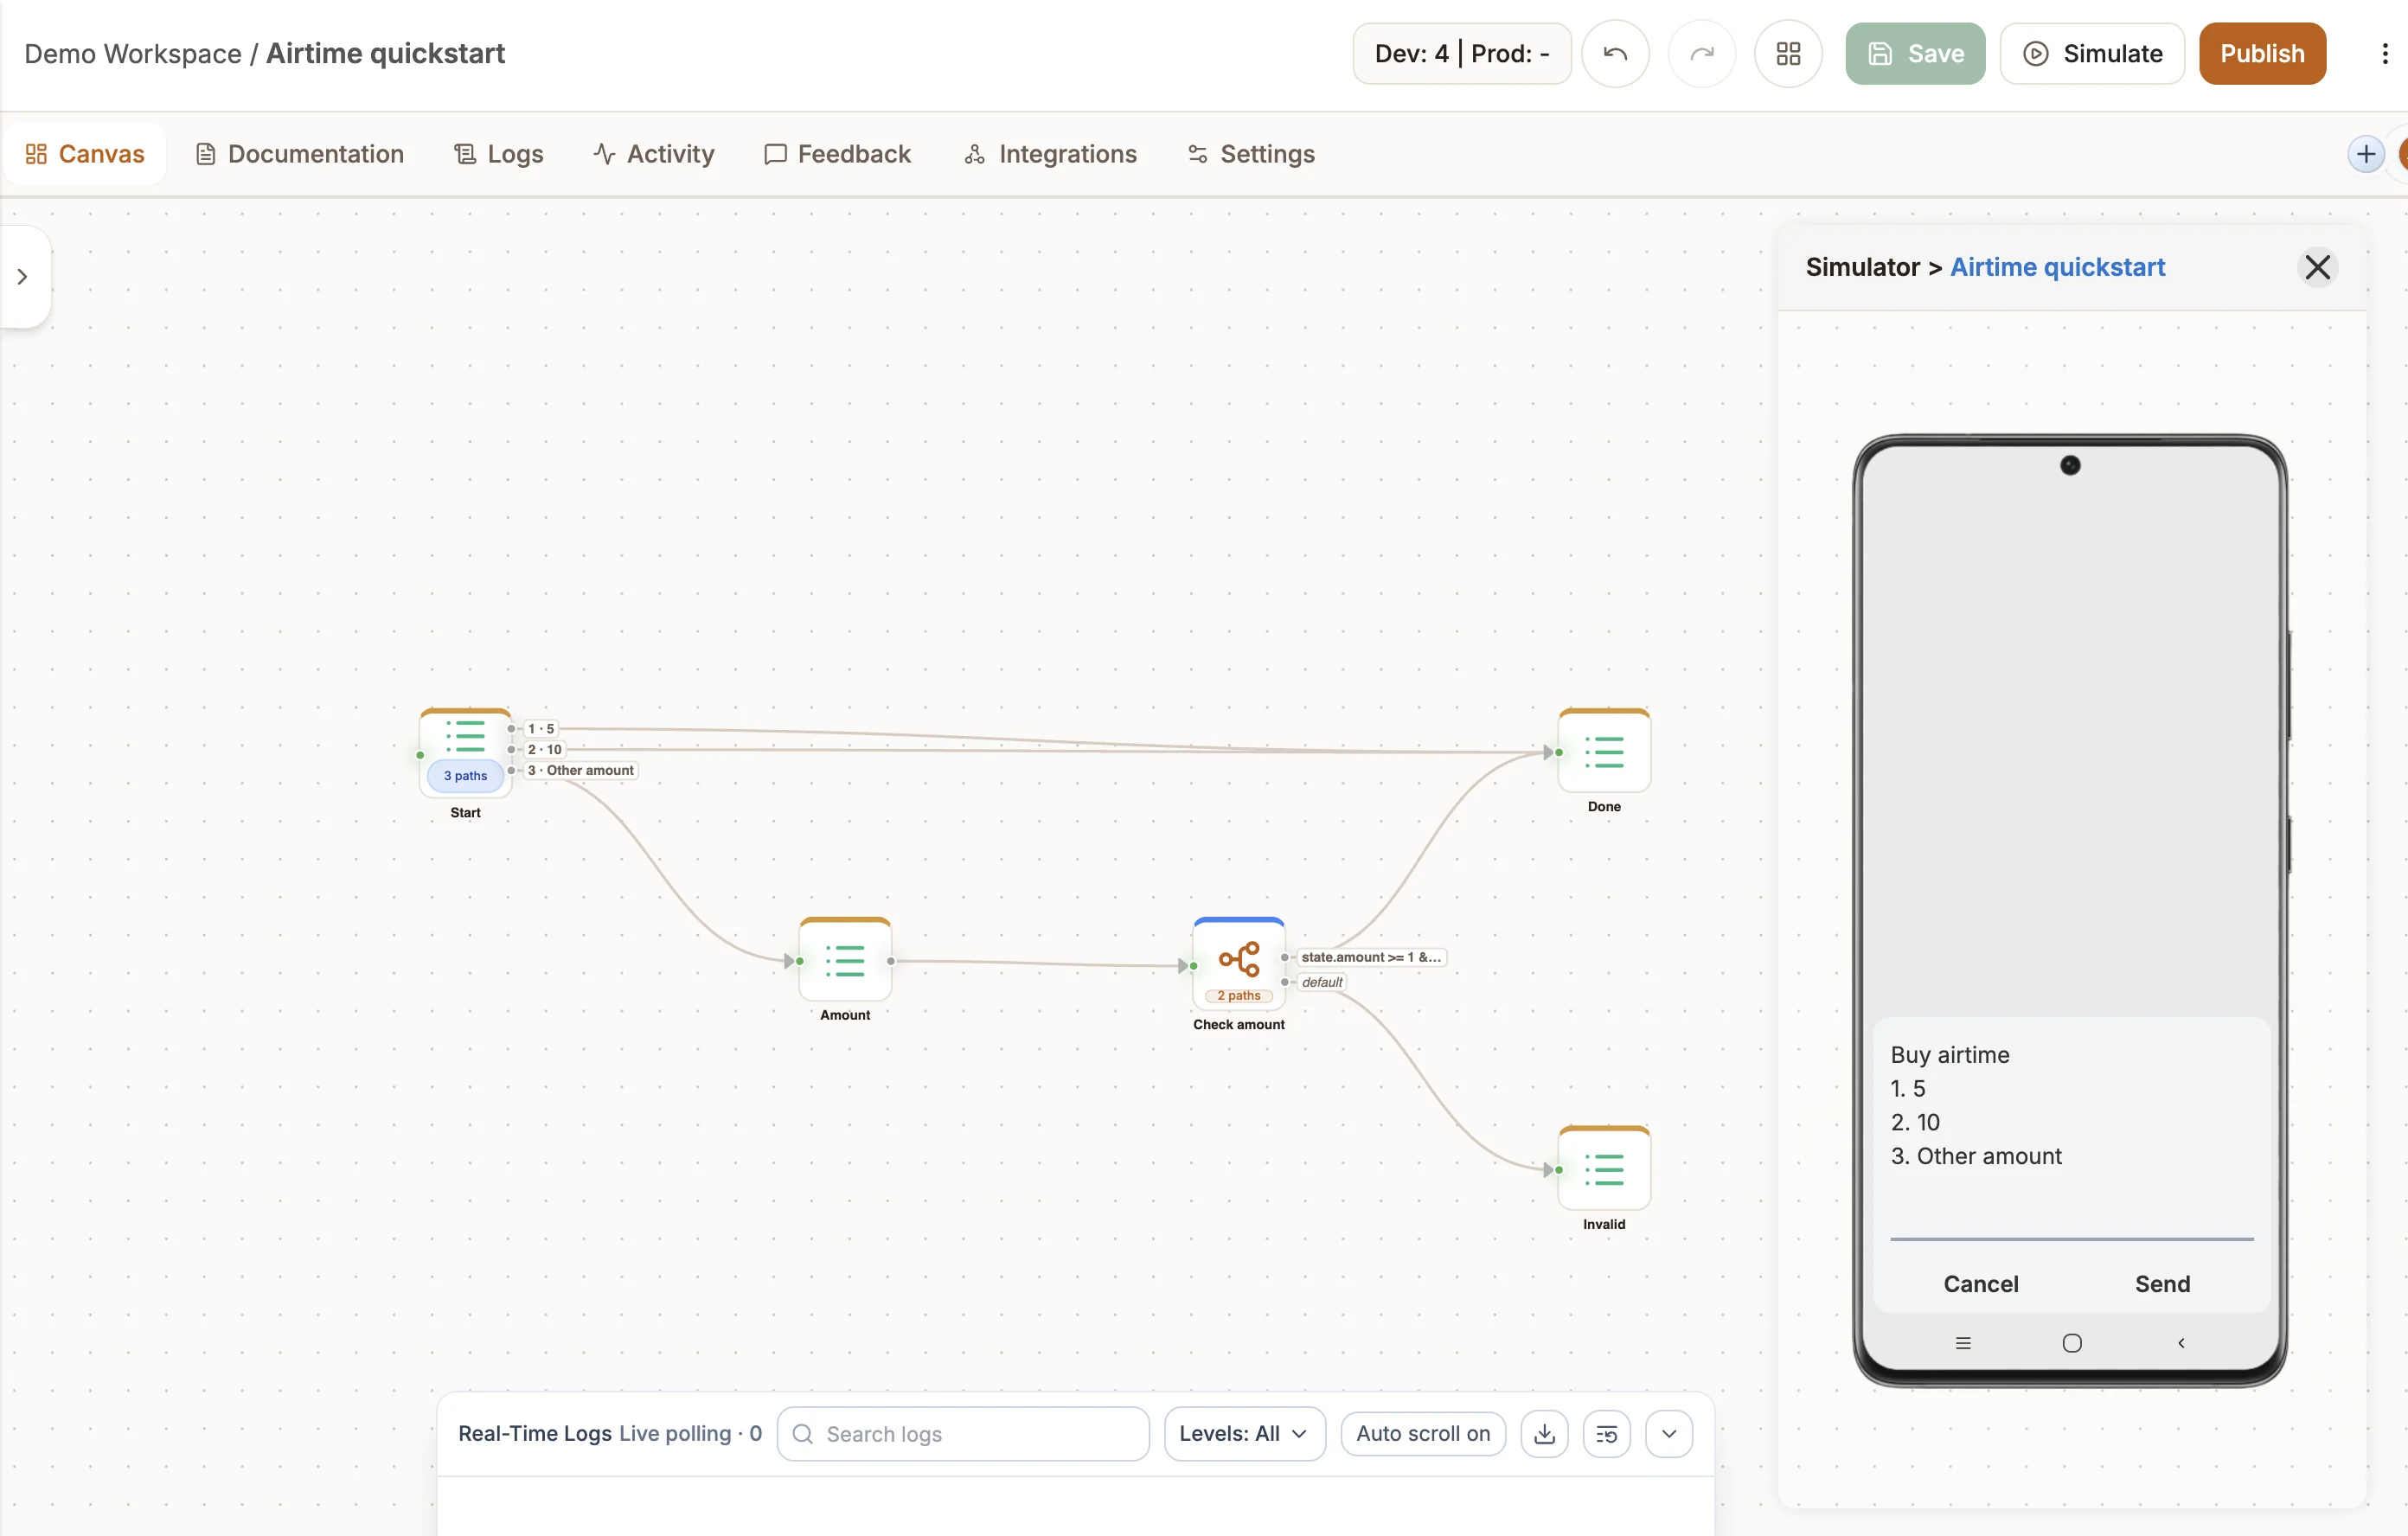
The finished flow:
| Screen | Node | What it does |
|---|---|---|
| Start | Menu, Main | Offers 1. 5, 2. 10 and 3. Other amount |
| Amount | Menu, Intermediary | Asks the caller to type an amount |
| Check amount | Router | Accepts 1 to 100, anything else goes to the fallback path |
| Done | Menu, Last | Confirms the top-up and ends the session |
| Invalid | Menu, Last | Explains the amount was not accepted and ends the session |
Create the project
- Go to Projects and select New project.
- Leave What should this project do? empty. If you describe the project there, AI drafts the flow for you instead, which is useful later but not for this walkthrough.
- Set Start from to A blank canvas.
- Set Channel to USSD.
- Choose a USSD provider: the aggregator your short code is (or will be) provisioned with. It decides the request and response format the published app uses. You can change it later in the project's settings.
- Enter a Project name, for example
Airtime top-up, and select Create Project.
The canvas opens with one Menu node, Start, set as the Main menu. Every session begins there.
Add the other nodes
From the node palette, add three more Menu nodes and one Router node, then rename them Amount, Done, Invalid and Check amount. The name is the text at the top of each node's editor. If you are new to the canvas, see Building flows.
Add them before configuring Start, because a menu option can only point at a node that is already on the canvas.
Build the Start menu
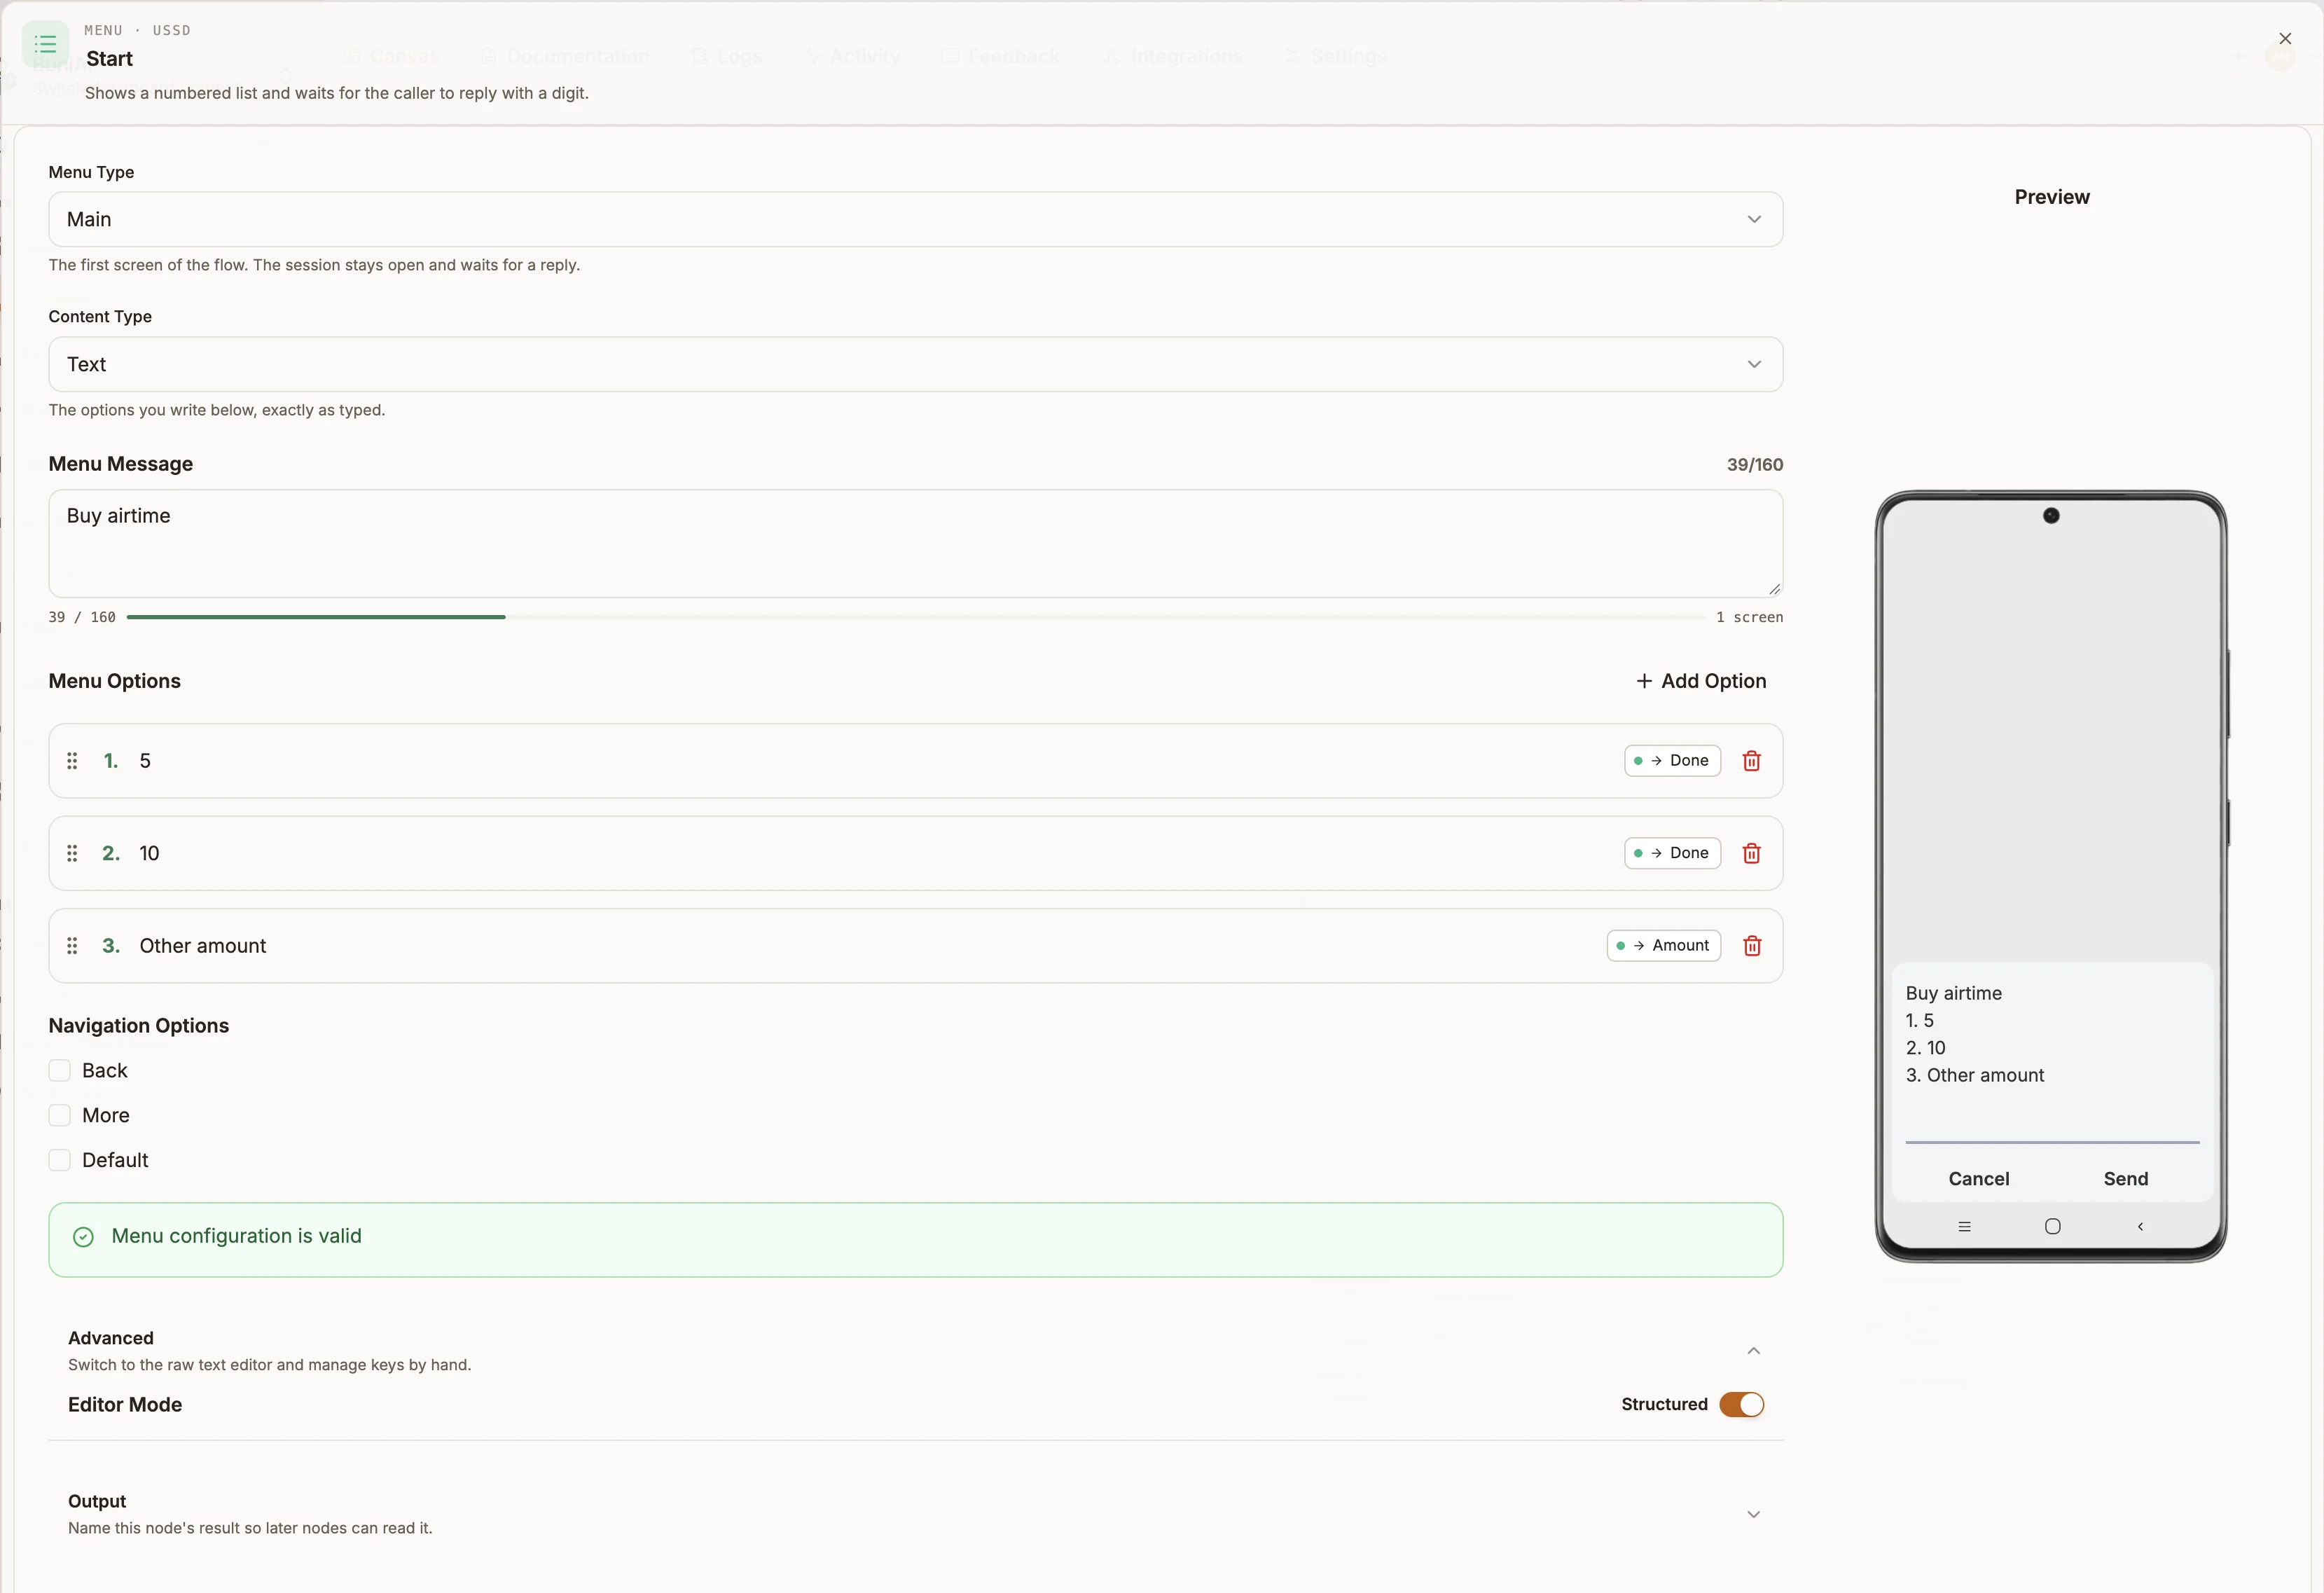
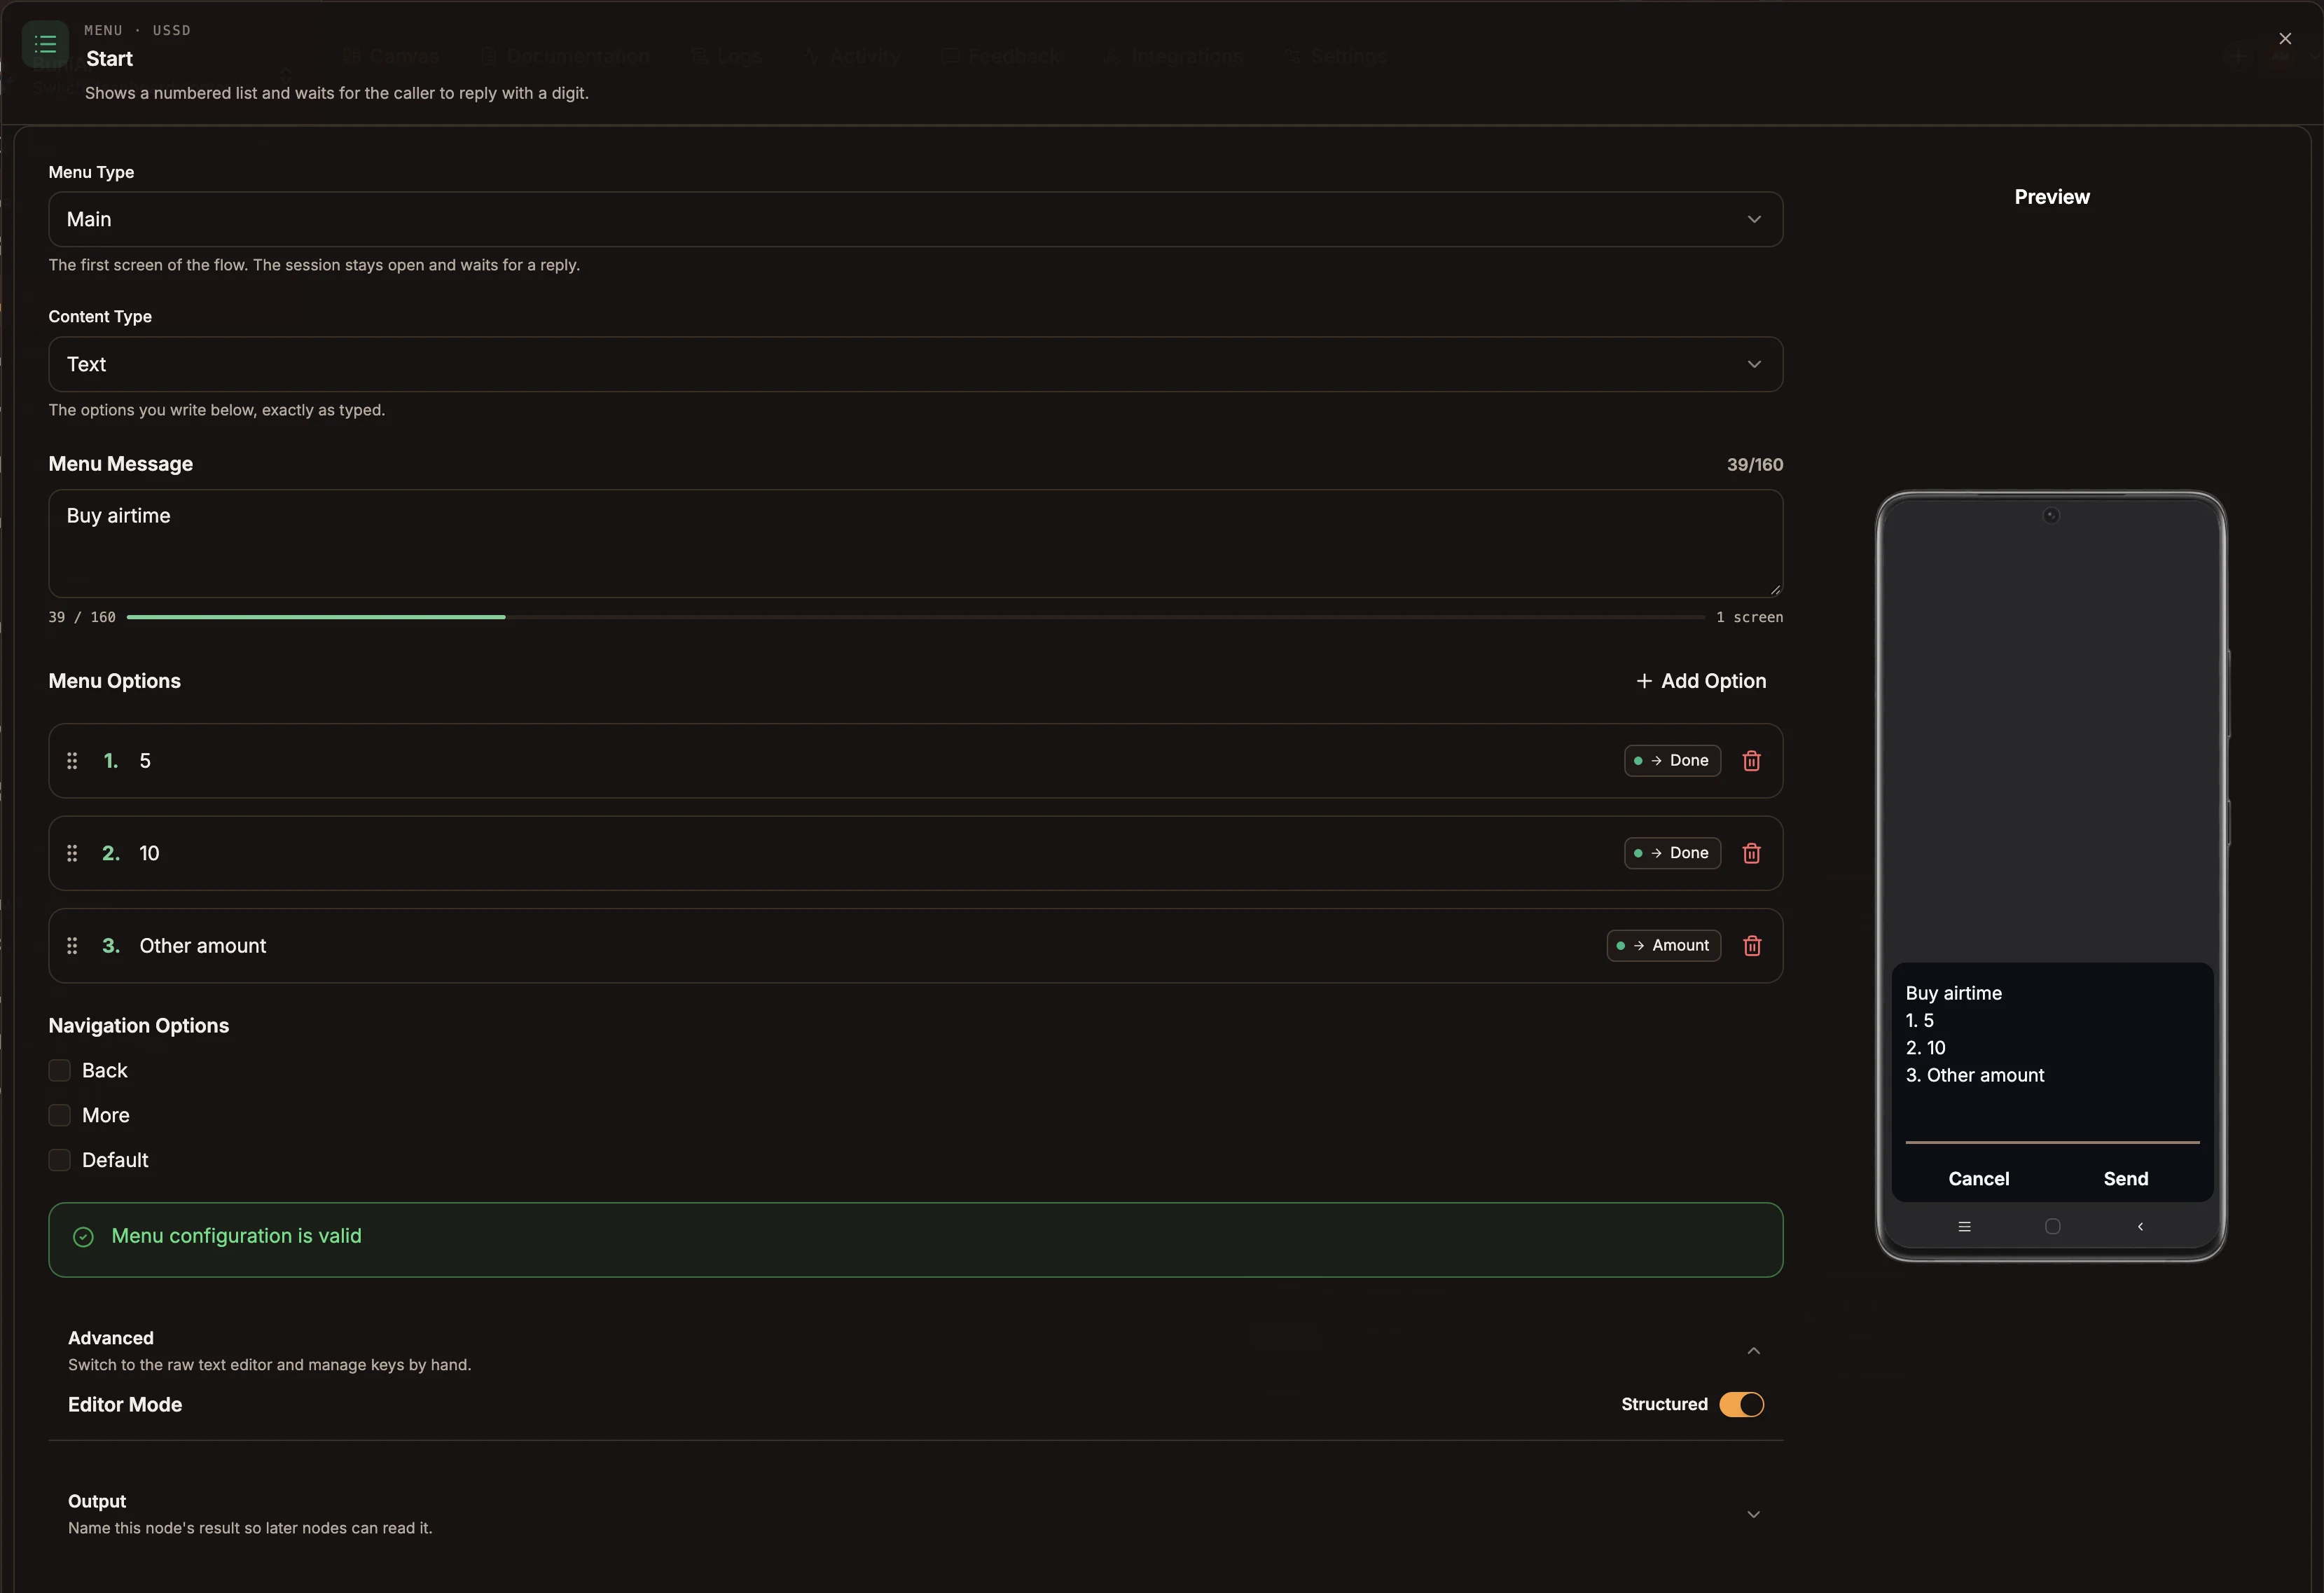
Double-click Start to open its editor. A new project's Start node opens in the raw text editor, so switch it first:
- Expand Advanced and turn Editor Mode to Structured.
- Check that Menu Type is Main and Content Type is Text.
- In Menu Message, replace the sample text with
Buy airtime. - Under Menu Options, select Add Option three times and enter the labels
5,10andOther amount. Keys are numbered for you: 1, 2, 3. - Use the destination picker on each row (it reads Not connected until you choose) to send options 1 and 2 to Done, and option 3 to Amount.
- Select Save.
The Preview on the right shows the screen as a handset displays it, and the counter shows how much of the 160-character limit you have used.
Ask for an amount
Open Amount and, as before, switch Editor Mode to Structured.
- Set Menu Type to Intermediary.
- In Menu Message, enter
Enter amount (1-100): - Leave Menu Options empty. The screen becomes an open prompt that accepts whatever the caller types. The canvas warns that the menu has no options; for a prompt like this that is expected.
- Expand Output and set Output variable to
amount. The reply is then available to later nodes as{{state.amount}}. - Save, then connect the node's output handle to Check amount on the canvas.
Check the amount with a Router
Open Check amount. Routers send the session down the first path whose condition is true.
- Select Add first path and build the condition:
state.amountgreater or equal1. - Add a second clause joined with AND:
state.amountless or equal100. - Turn on the Fallback path. It catches anything the path above does not match, including text that is not a number.
- Save, then connect the first path to Done and the fallback path to Invalid.
Every path on a Router must be connected, or the flow cannot be built. See Router for the other operators and the expression editor.
Write the closing screens
Open Done, set Menu Type to Last, and enter a message. A Last menu shows its text and ends the session, so it has no options.
For a message that works for both routes into Done, keep it general, for example
Your top-up request has been received. Thank you.
Open Invalid, set Menu Type to Last, and enter
Sorry, that amount was not accepted. Please dial again.
Dial it in the simulator
- Save the project. The simulator runs the last saved version of the flow.
- Select Simulate in the project header.
- In the simulator, check Simulator Phone number, then select Simulate (or the call key on the dial pad) to start a session.
- Type
3and select Send, then type250and select Send. You should land on the Invalid screen. - Invalid and Done end the session, and the phone stays on that screen. To dial again,
close the simulator and select Simulate again. Try
1, then3followed by50.
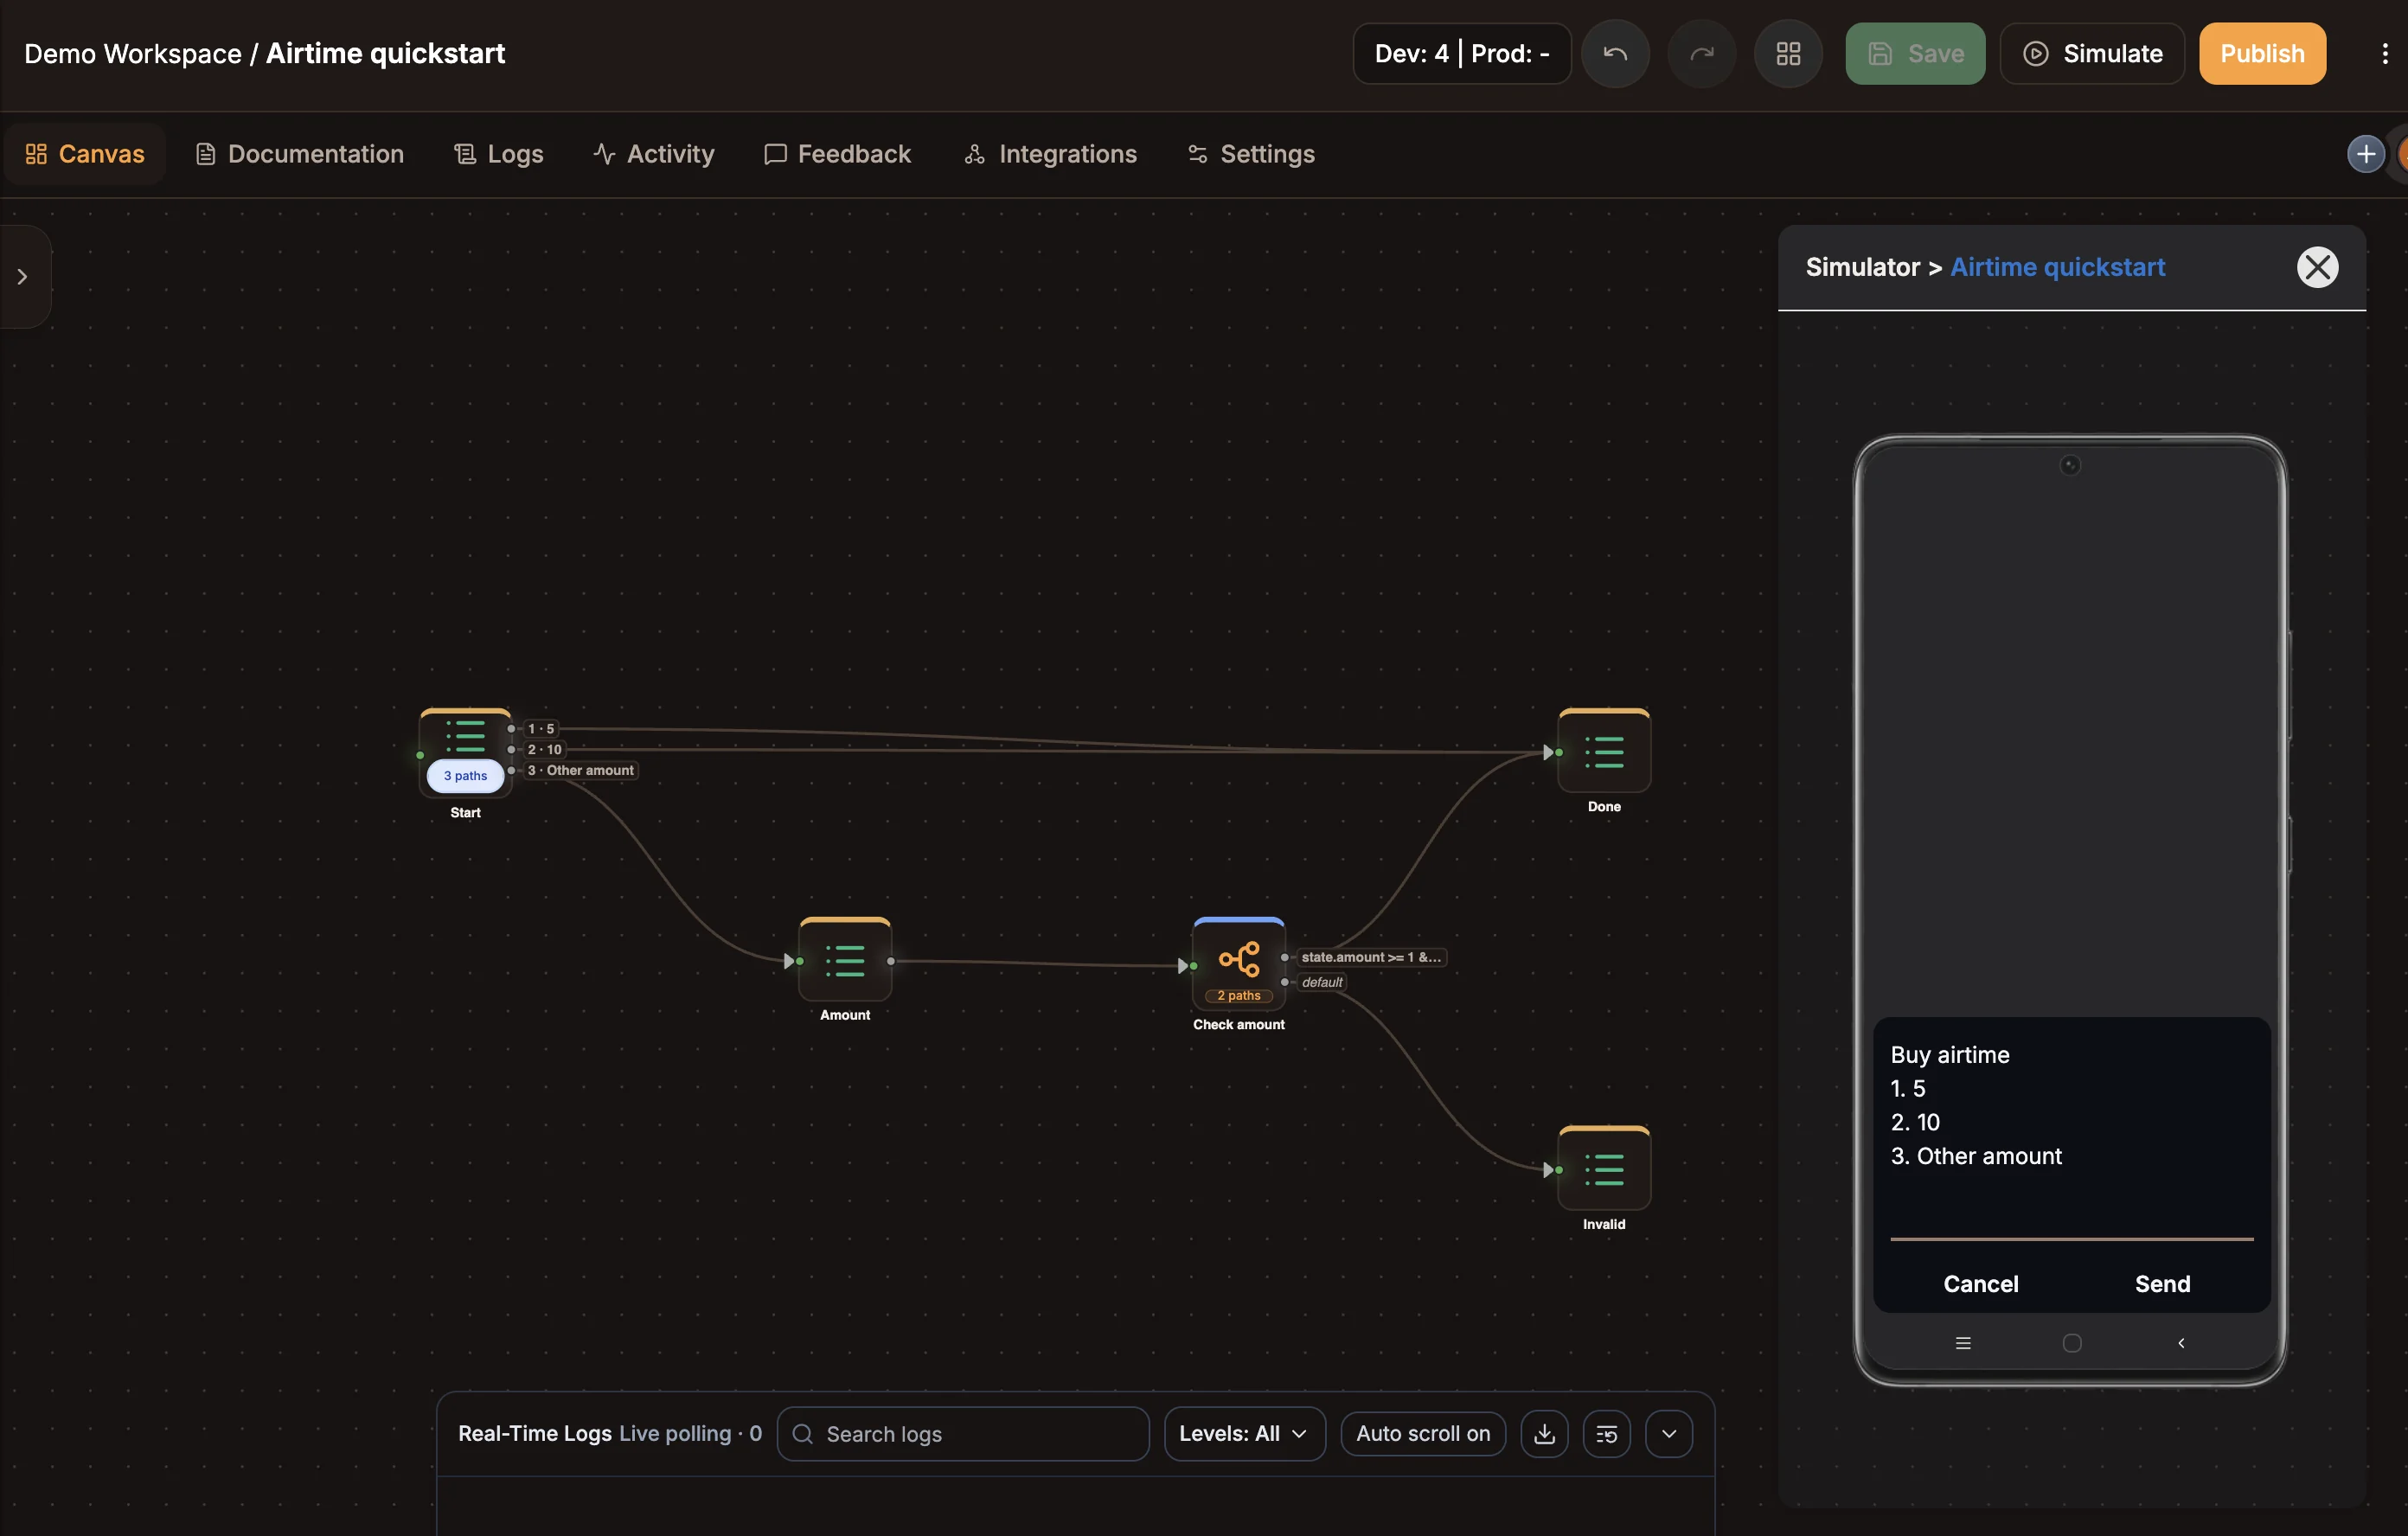
As each screen resolves, the nodes it passed through are highlighted on the canvas, so you can see which path a reply took.
Check that it worked
- Replies
1and2on the first screen go straight to Done. - Reply
3asks for an amount;50reaches Done, while0,250andabcreach Invalid. - Any other reply on the first screen, such as
7, shows the Start menu again. - The session ends on Done and Invalid: the simulator shows no reply field.
Troubleshooting
Next steps
- Make it real: put an API node before Done to call your top-up service, or a Collect Payment node to charge the caller.
- Text the caller a receipt with a Messaging node. See SMS.