
Assignments and routing
How conversations reach agents, how to accept, decline, reassign or pass a chat back to the bot, and how agents get notified.
A chatbot conversation reaches a person when the flow hands it over, usually through a Live Chat node. Buni.ai then picks an agent, or parks the conversation in the queue as Waiting until someone is free. This page covers what happens next and how your team controls it.
How an agent is chosen
The Live Chat node sets the Assignment Strategy for its handoff:
| Strategy | Behaviour |
|---|---|
| Round Robin | Distributes chats evenly among available agents. |
| Availability Based | Assigns to the agent with the lowest current workload. |
| Skill Based | Matches the customer's needs with agent skills. |
An agent is only offered a chat while they have room for it. Each agent has a Max Concurrent Chats limit (3 unless you change it), and a chat is never assigned to someone already at their limit. If nobody can take it, the node's fallback action applies; with Add to Queue the conversation waits as Waiting in everyone's list.
When an agent frees up capacity, by resolving a chat, passing one to the bot or declining one, Buni.ai gives them the oldest waiting conversation they have not already declined.
Accept or decline an assignment
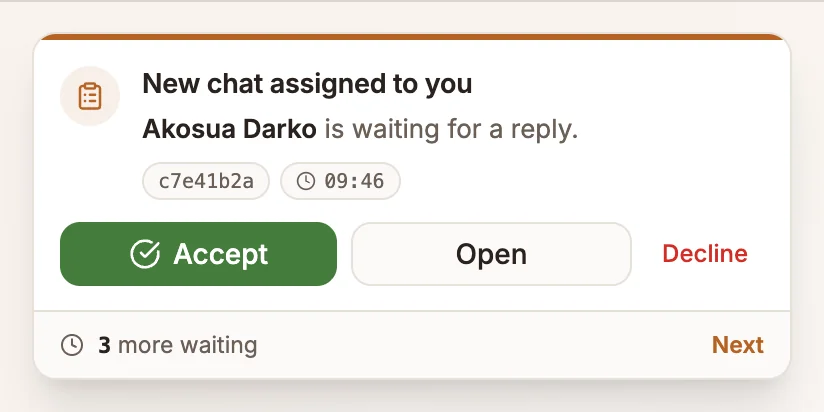
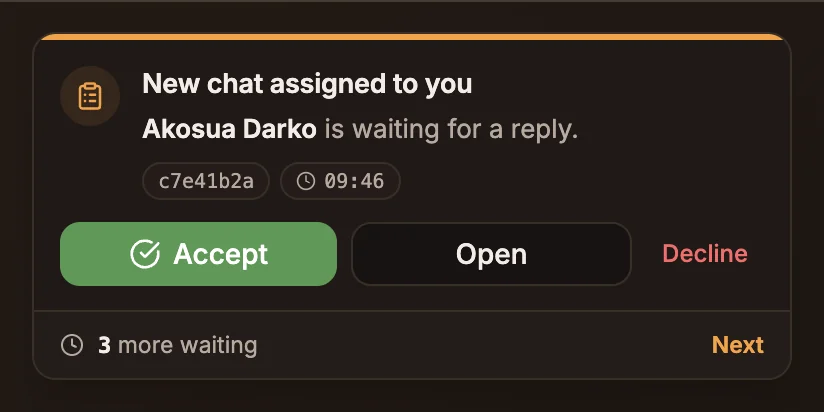
When a chat is assigned to you, a card appears: New chat assigned to you, with the customer's name, channel and time.
- Accept takes the conversation. Its status becomes Active.
- Open shows the conversation without accepting yet.
- Decline hands it on. Buni.ai offers it to the next available agent who has not declined it, or returns it to the queue as Waiting if there is nobody.
If several assignments are pending, the card shows how many more waiting, and Next moves to the next one. Until you accept, the row in the list shows Assignment Pending.
To skip the confirmation step, turn on Auto-accept new assignments in Settings›Chat Settings in the Inbox header.
Take a conversation yourself
- On a Waiting row, select Accept Chat.
- On a conversation the bot is handling, the composer is replaced by Bot is handling this conversation. Select Take Over to take it.
- From any row, open the row menu and choose Assign to Me.
Reassign or hand back to the bot
Open the row menu (or Assign in the conversation's menu) to see:
| Option | Effect |
|---|---|
| Assign to Me | Assigns the conversation to you. |
| A teammate's name | Assigns it to that agent. Their status is shown next to their name. |
| Pass to Bot | Ends the handoff. The bot answers the customer's next message. |
Only the agent who holds a conversation can give it to someone else. If a teammate holds it, the options are disabled with Already assigned to and their name. Waiting and unassigned conversations can be assigned by anyone.
Agents, groups and skills
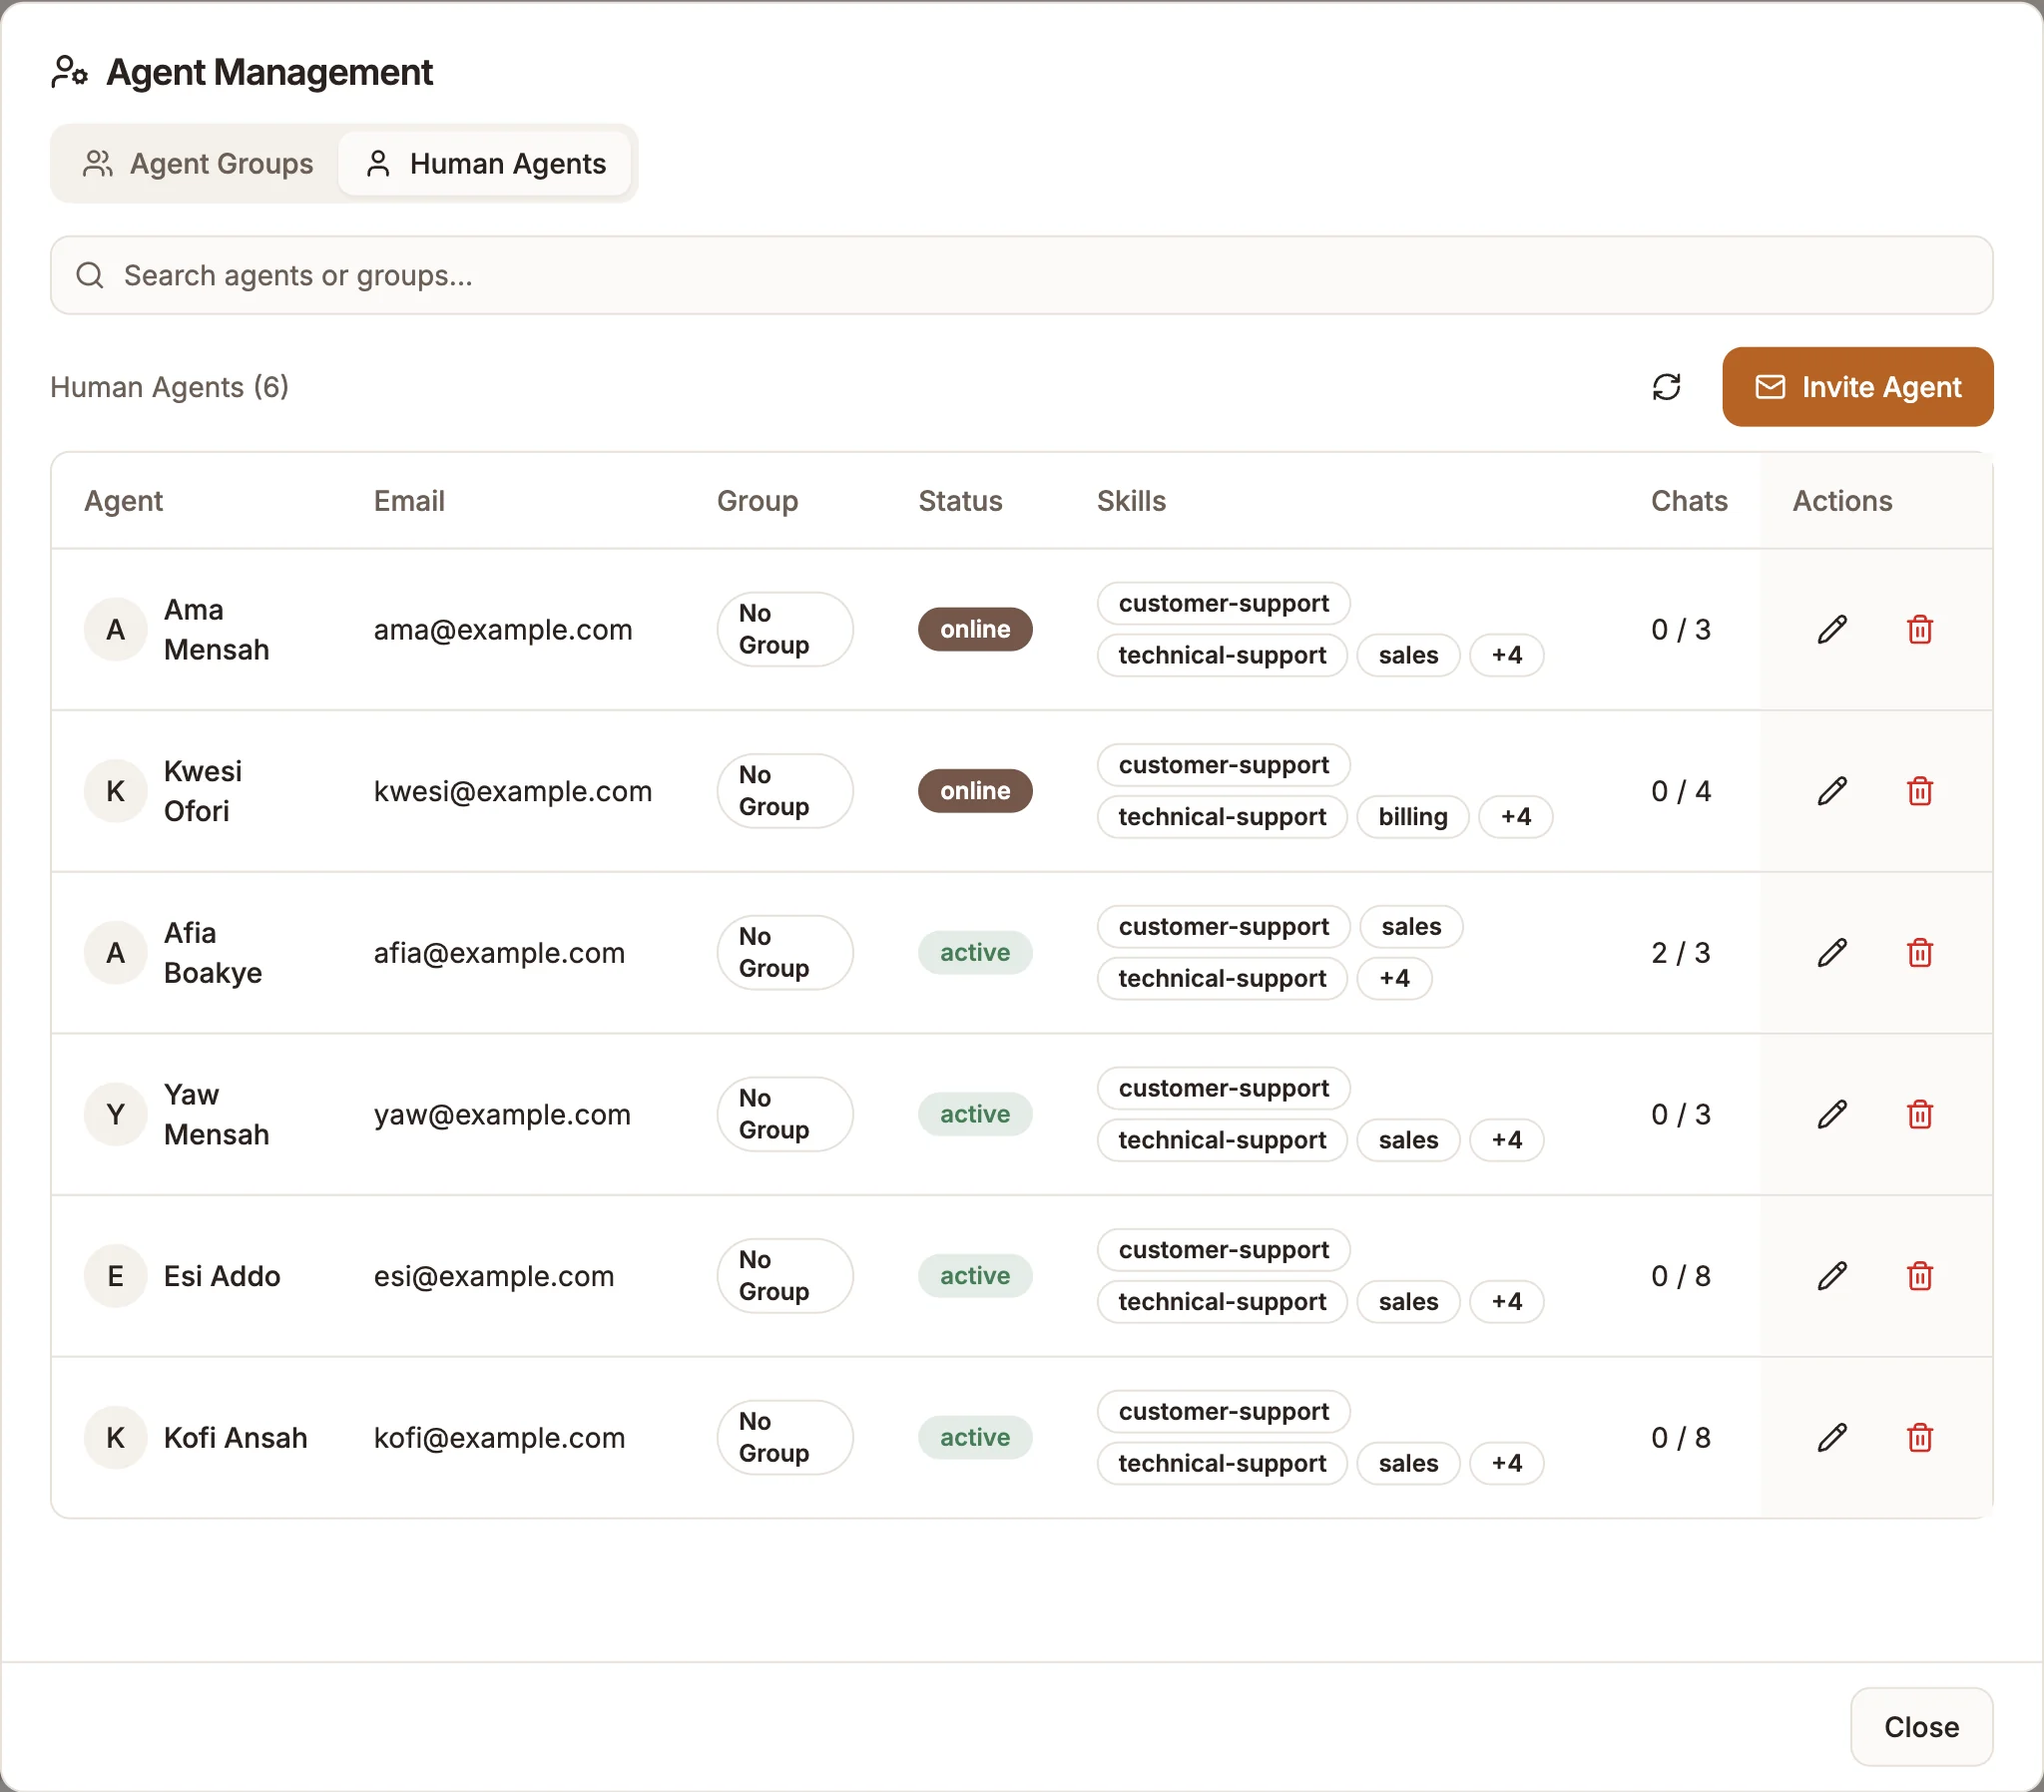
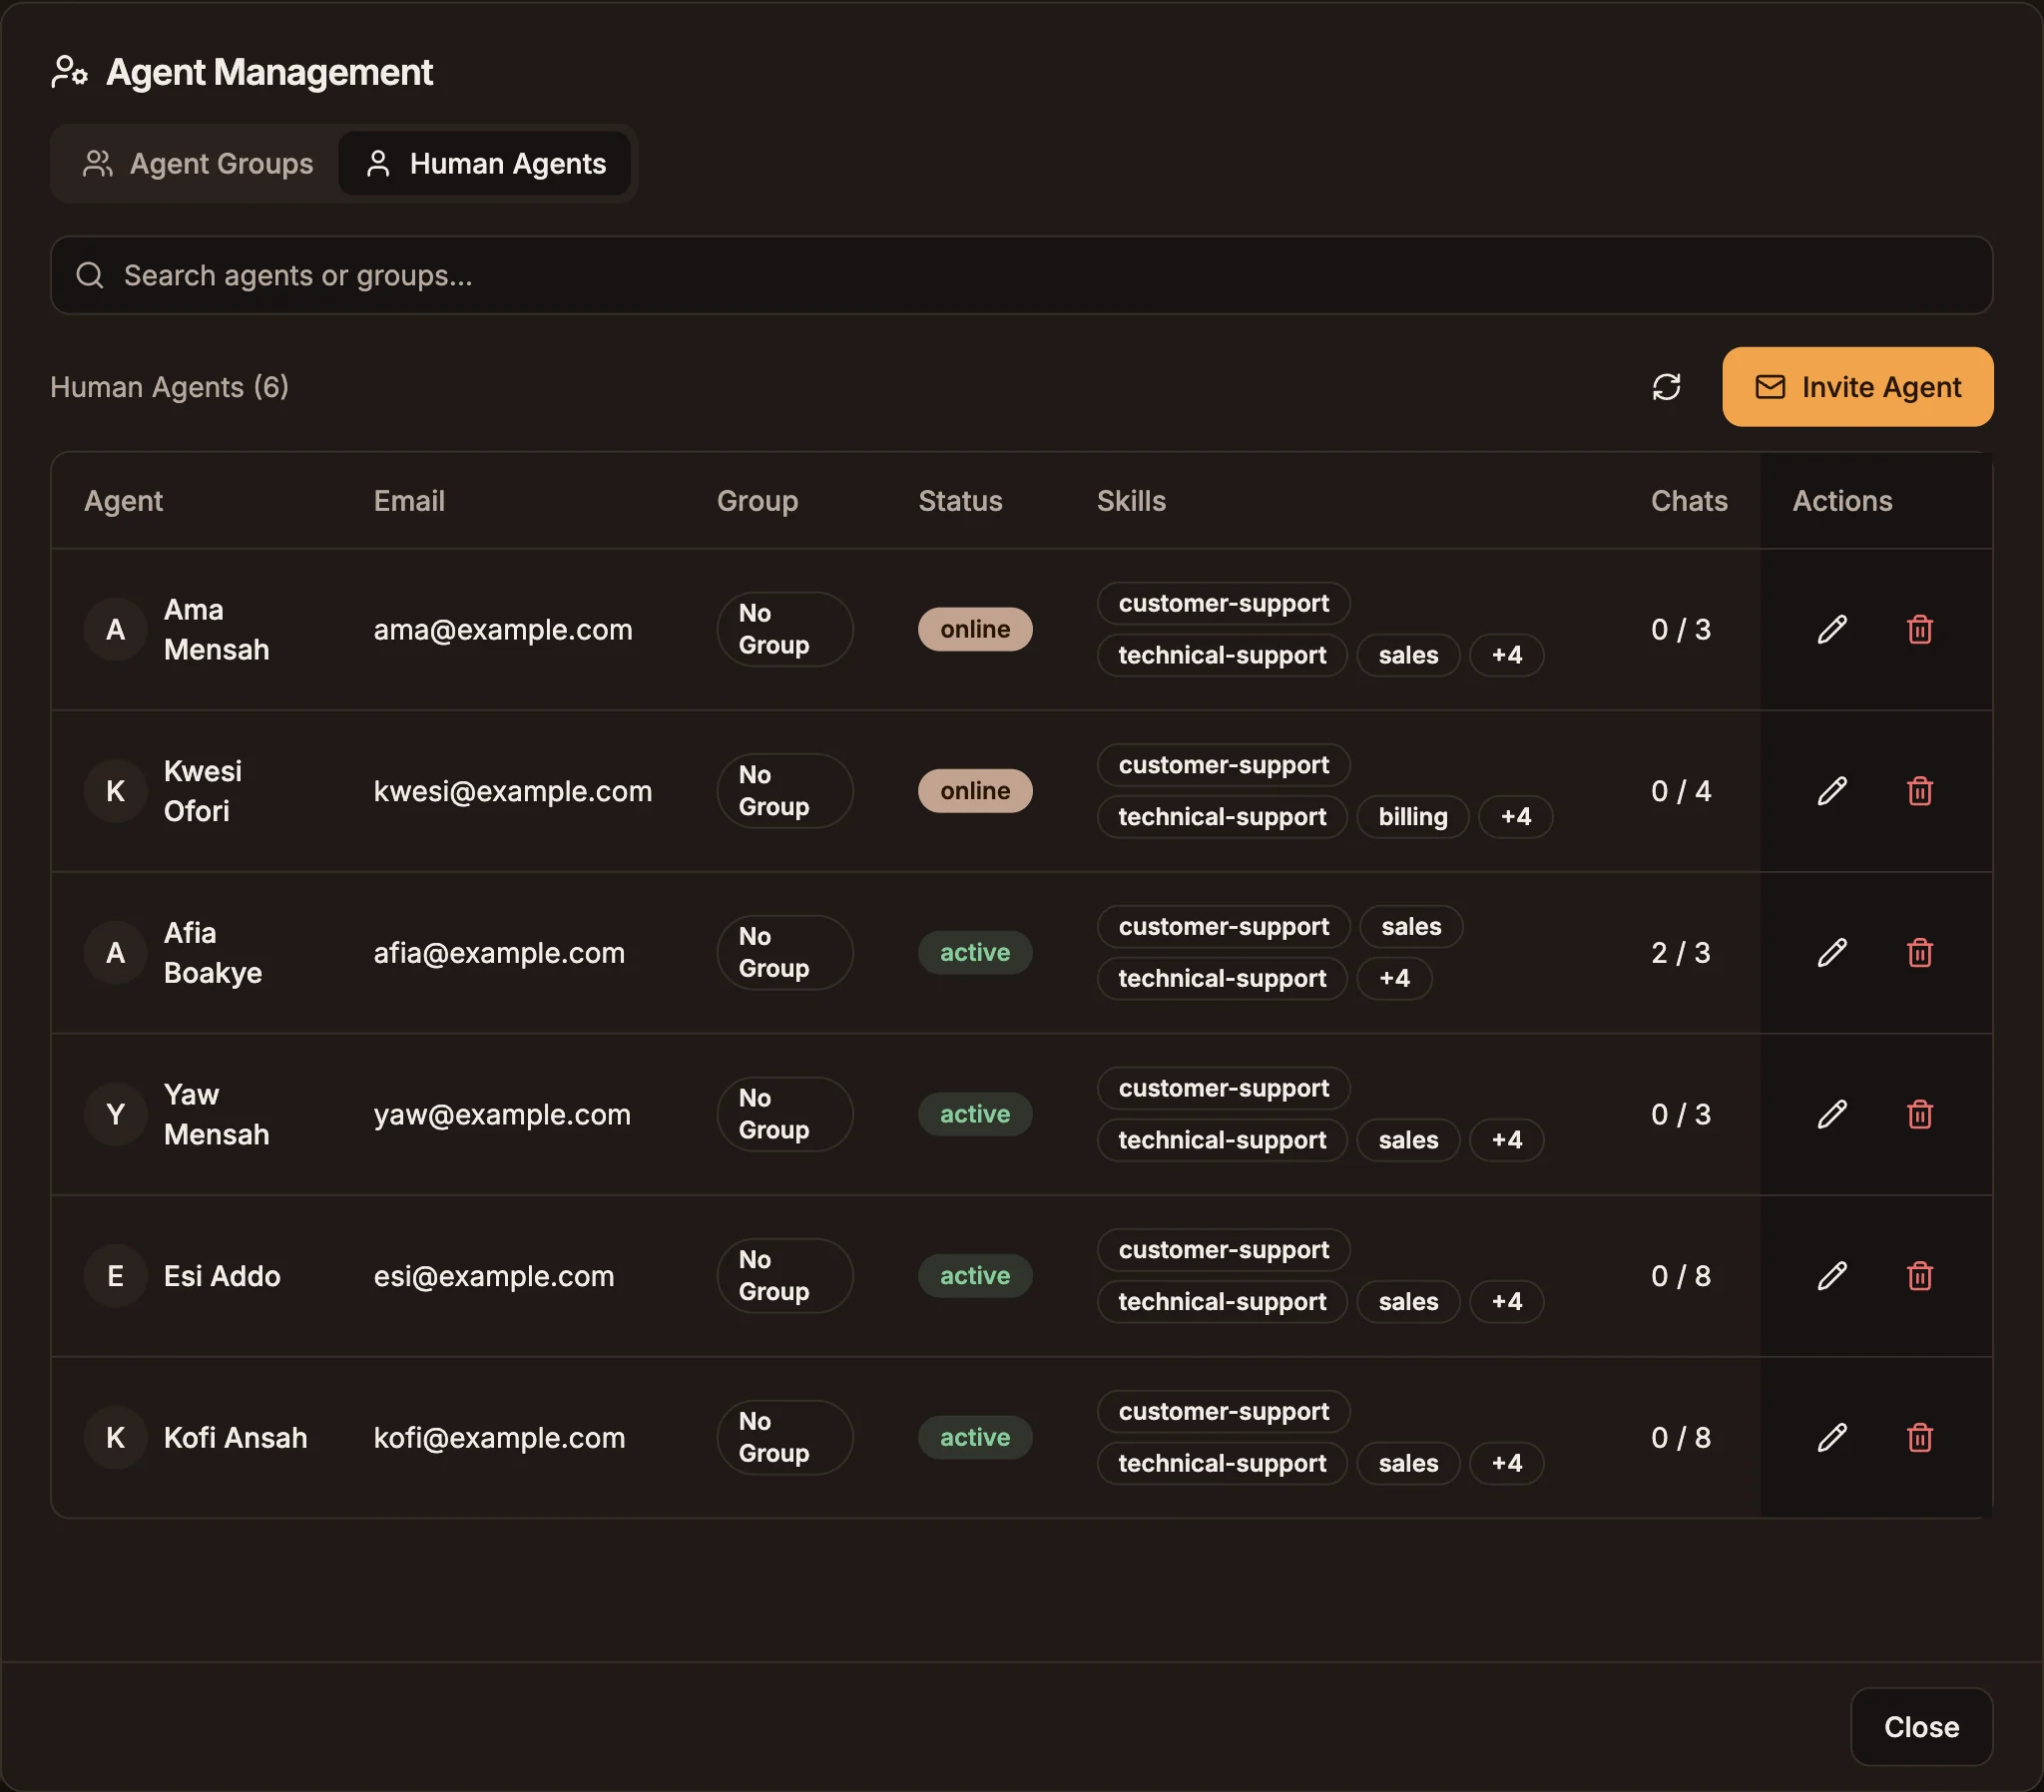
Admins and supervisors manage the team from Manage Agents in the Inbox header. The Agent Management dialog has two tabs.
Agent Groups lists your groups. Add Group opens a form with:
| Field | Purpose |
|---|---|
| Group Name, Description | How the group appears when you pick it in a Live Chat node. |
| Priority | The group's priority. |
| Max Wait Time (seconds) | How long a customer waits before the fallback applies. |
| Fallback Action | Add to Queue, Send Message, Request Voicemail, Schedule Callback or Return to Bot. |
| Active | Whether the group is in use. |
Human Agents lists each agent with their group, status, skills and current chat count. Invite Agent adds an organization member as an agent. For each agent you set:
| Field | Purpose |
|---|---|
| Agent Group | The group they belong to. |
| Status | Such as Available, Away, Busy or Offline. |
| Skills | Used by the Skill Based strategy. |
| Max Concurrent Chats | How many chats they can hold at once. |
| Take phone calls | Adds them to voice call routing. They take one call at a time. |
| Assigned project | For voice: they are offered this project's calls first, and no other project's calls. Leave on Any project for someone who covers everything. |
| Phone number | Where calls ring when they are not signed in, and where WhatsApp assignment alerts go. |
Notifications
Each agent sets their own notifications in Settings›Notifications in the Inbox header.
| Setting | What it does |
|---|---|
| Enable browser push notifications | Alerts even when the app is not in front. Choose New chat assignments, New messages and Session status updates. |
| Play notification sounds, Enable vibration (mobile devices) | Sound and vibration for alerts. |
| Enable quiet hours | Pauses notifications and emails between set times in your time zone. |
| Enable email notifications | Emails you when you are offline and a chat is assigned to you, a customer writes, or a session changes status. You set the minimum time between emails for the same chat (1 to 10 minutes). |
| Enable WhatsApp alerts | Sends a WhatsApp message to your phone when a chat is assigned to you and you have not accepted it. Off by default. |
The bell icon in the header lists recent notifications, with Mark all as read and Clear all.
WhatsApp agent alerts
WhatsApp alerts need two things:
- A Phone number on your agent profile in Manage Agents.
- An approved WhatsApp service template for agent alerts. Create it from WhatsApp Templates with Set up service templates, which submits the correct template to Meta for you. Service templates do not count against your plan's template limit. See WhatsApp templates.
Quiet hours apply to WhatsApp alerts the same way they apply to email.
Related
Inbox
Answer customers who need a person, work USSD and voice reports, and find any conversation across your chatbot, USSD and voice projects.
Replying to customers
Write replies in the Inbox composer, attach files, use canned responses, and understand typing indicators, read receipts and the WhatsApp 24-hour window.