Quickstart
Build a chatbot that answers from your own documents, test it in the simulator, publish it and put it on your website in about ten minutes.
In this quickstart you create a chatbot, give it an AI agent that answers from your own documents, test it in the simulator, publish it and add it to a website with the chat widget.
You need: a Buni.ai account and an organization, and a document to answer from (a PDF, Word file or text file works well). To publish and embed the bot (steps 5 and 6) your organization needs a paid plan.
Free plan
On the Free plan you can build and test in the simulator, but you cannot publish. The Free plan also limits how many projects you can create. See Billing and usage.
Create the project
- Check that the right organization is selected at the top of the sidebar.
- Select Projects in the sidebar, then New project.
- In What should this project do?, describe the bot. For example: "Answer customer questions about our delivery times, prices and returns policy using our FAQ document. If it cannot answer, offer to connect them to a person."
- Set Channel to Chatbot.
- Leave Start from on A blank canvas. Your description still shapes what gets built.
- Optionally, fill in Project name. If you leave it empty, the name comes from your description.
- Select Create with AI.
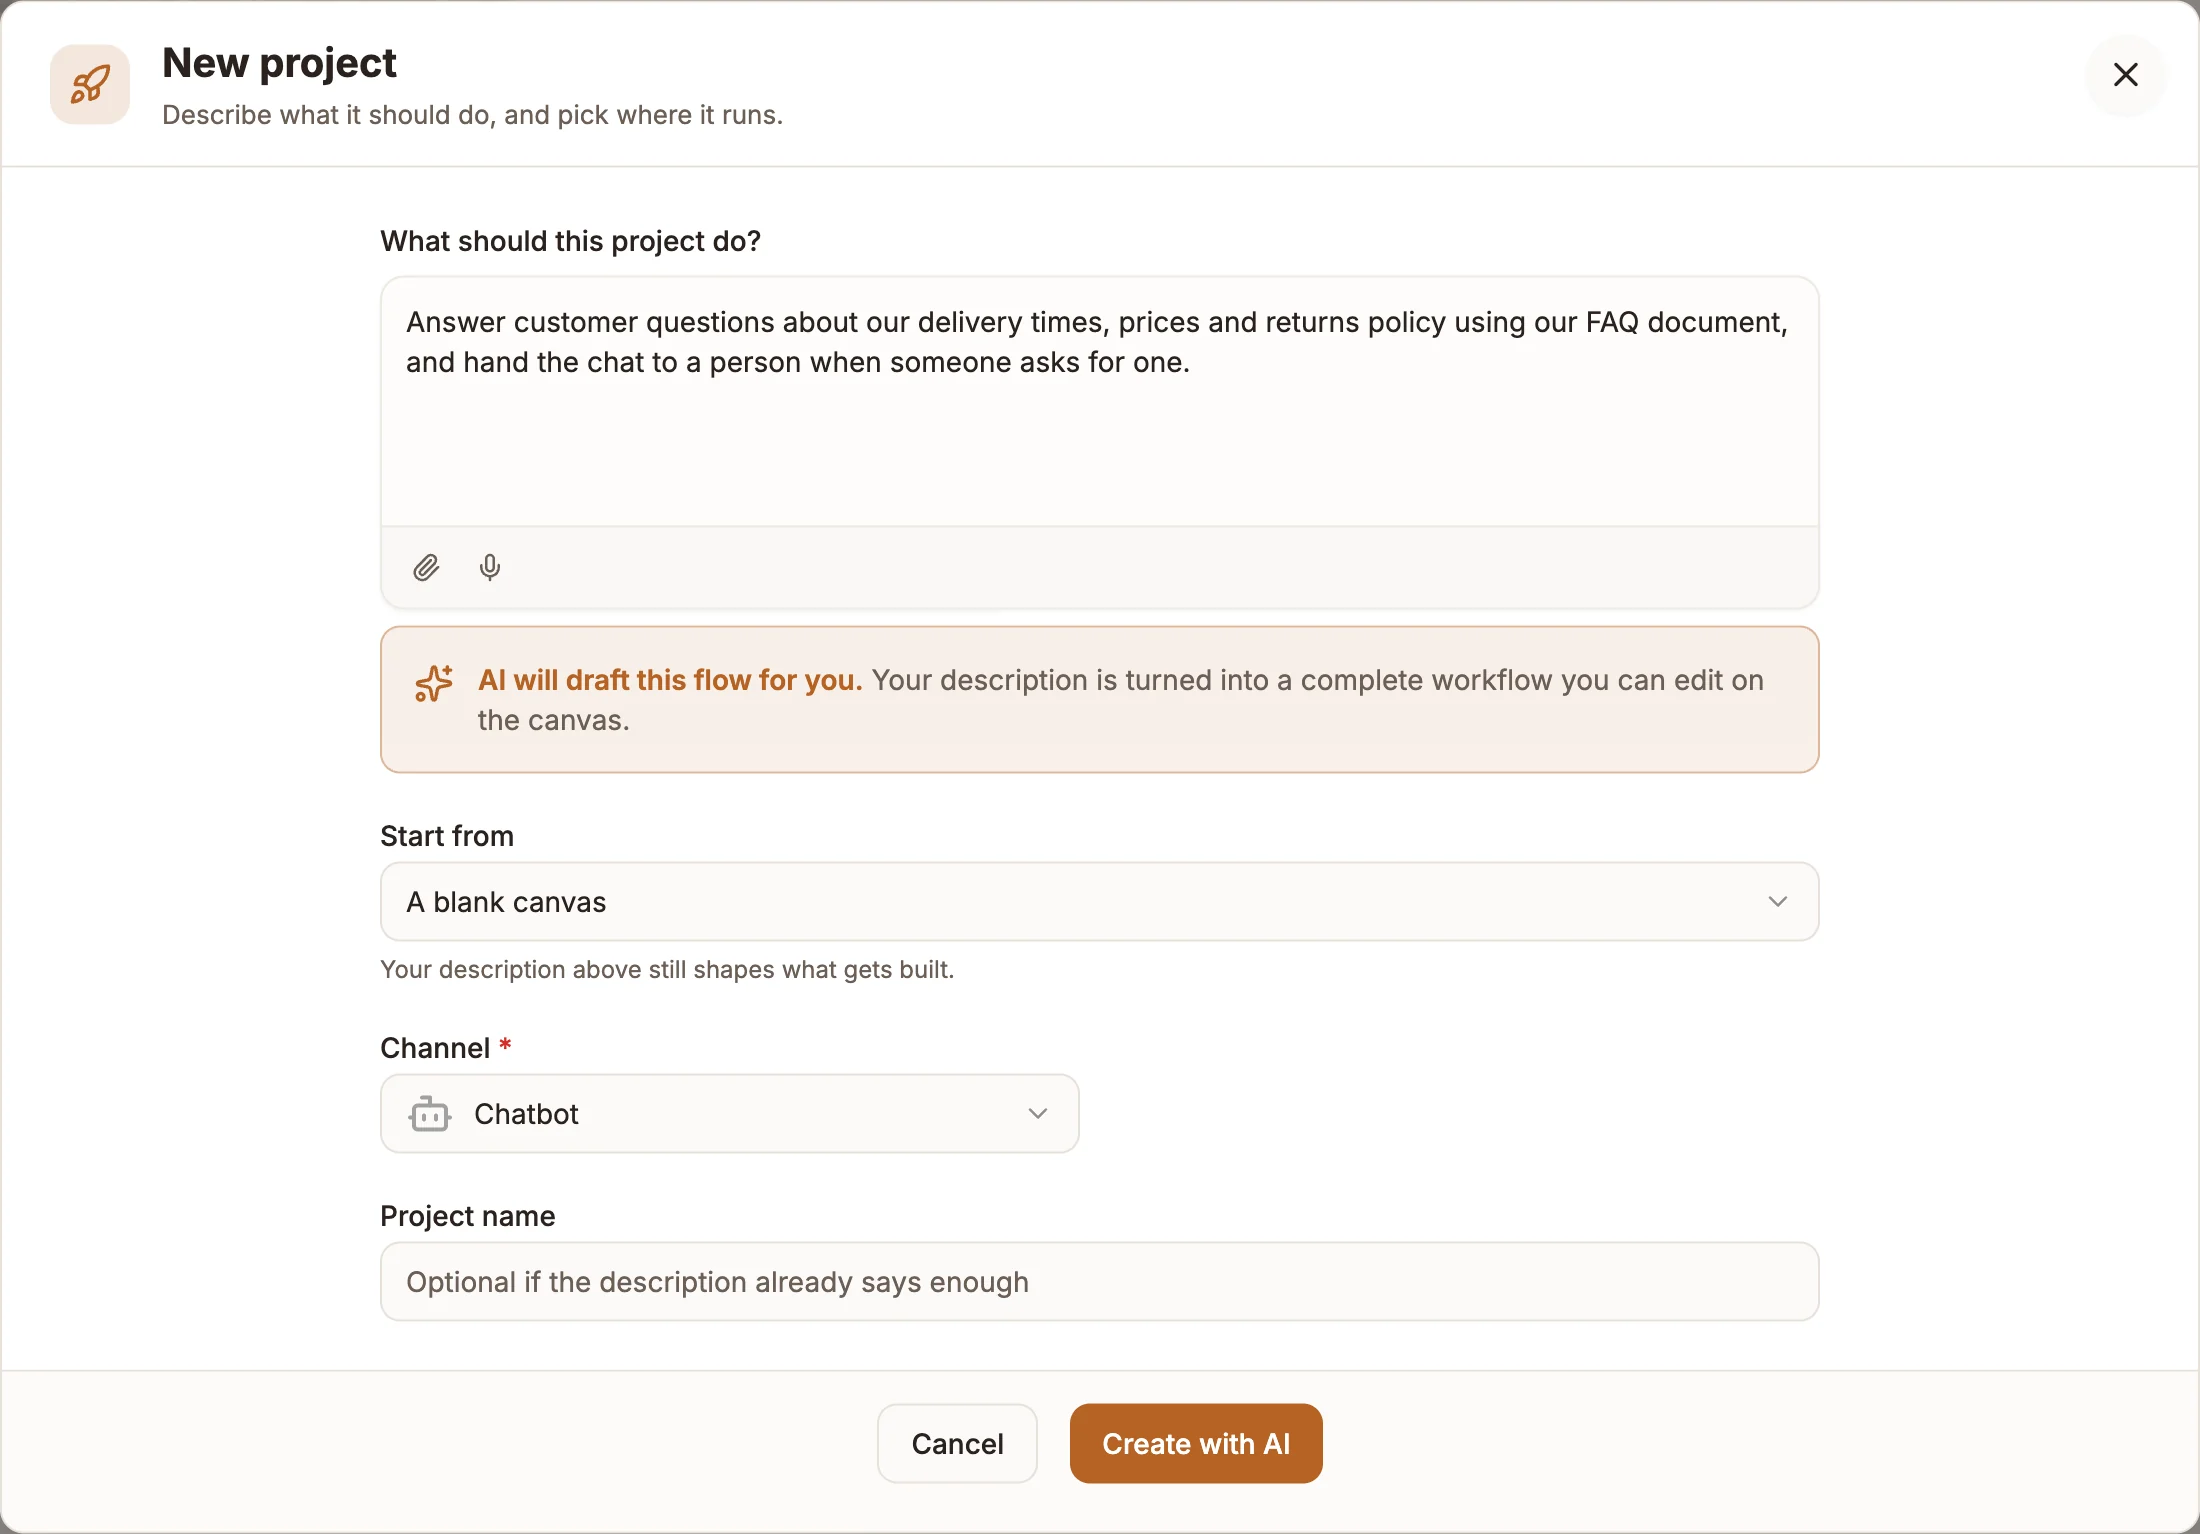
If you would rather build everything yourself, leave the description empty and select Create Project instead. A blank chatbot starts with a small working flow: a Trigger node, a Simple Greeting intent and a Hello Response reply.
Let Buni draft the flow
The project opens on the Canvas tab and Buni, the AI assistant, opens beside it with your description. Buni may ask a few clarifying questions first. Answer them, and it builds the flow on the canvas.
Look over what it built. You can keep asking Buni for changes in plain language, such as "add a button to talk to a person". See AI assistant.
Add an AI Agent with a knowledge base
If Buni already added an AI Agent node, open it and skip to item 4. Otherwise:
- Open the Nodes Library on the left of the canvas and search for AI Agent.
- Drag the AI Agent node onto the canvas, or double-click it to add it.
- Connect the Trigger node to it: drag from the Trigger node's handle to the AI Agent node. If you started from the blank starter flow, delete the Simple Greeting and Hello Response nodes first.
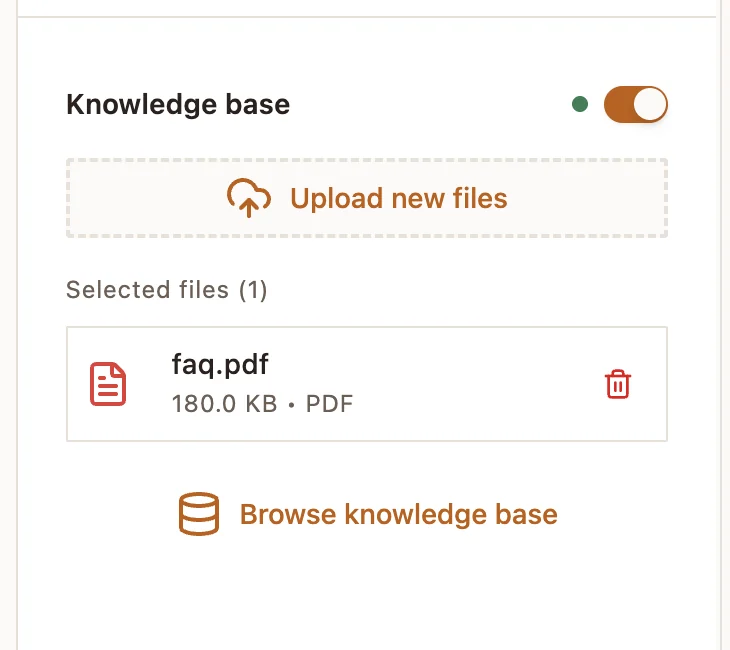
- Open the AI Agent node and turn on Knowledge base.
- Select Upload new files to add your document, or Browse knowledge base to pick one your organization already uploaded.
- Write the agent's instructions: who it is, what it should help with and what to do when the document does not cover a question.
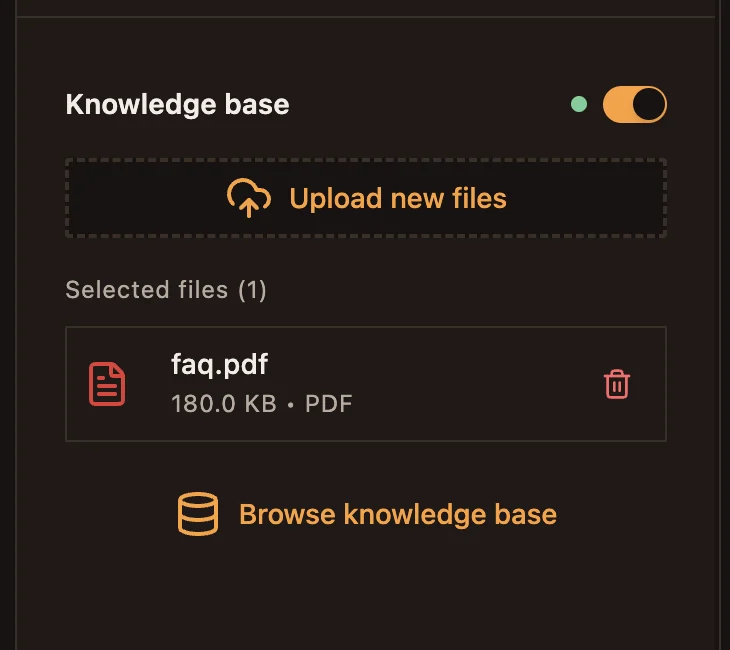
For fixed answers that should never vary, use a Reply node instead of, or alongside, the AI Agent. See AI Agent and Knowledge base for every option.
Test in the simulator
- Select Save in the bar at the top of the canvas.
- Select Simulate. A chat window opens over the canvas, with Real-Time Logs docked below.
- Type a question your document answers into Write a message... and send it.
As the bot runs, each node it passes through is highlighted on the canvas, and the logs show what every node did. Select a log entry to jump to its node. Try a question the document does not cover, and check the agent handles it the way you asked.
See Simulators.
Publish
- Select Publish.
- Optionally, add Release Notes and a Version Name, such as "First release".
- Select Publish in the panel.
Publishing makes the current flow Live, the version real users reach. See Publishing.
Put it on your website
- Open the Settings tab and select Chat Widget.
- Adjust the widget's look if you want to.
- Under Chat Widget Codes, choose how you want to add it (iframe, JavaScript, React / Next.js, Vue, Angular or WordPress) and copy the code.
- Paste the code into your website.
The Chat Widget tab only offers codes once the project is published. See Web chat widget.
Check it worked
Open the page where you added the widget, start a chat and ask a question. The run's log entries appear in the project's Logs tab when you set its environment to Production, and the session is counted in the Activity tab.